


The project title should be self-explanatory and try not to make it a mouthful. (Although exceptions exist- awesome-readme-writing-guide-for-open-source-projects - would have been a cool name)
Add a cover/banner image for your README. Why? Because it easily grabs people's attention.
The best dimensions for the banner is 1280x650px. You could also use this for social preview of your repo.
What are all those flashy thingies below the title?
Looks nice doesn't it? Those are called badges and they do improve the readability by giving some quick insights right?
There are endless badges that you could use in your projects. And they do depend on the project. Some of the ones that I commonly use in every projects are given below.
You can use Shields IO for making badges. It is a simple and easy to use tool that you can use for almost all your badge cravings.


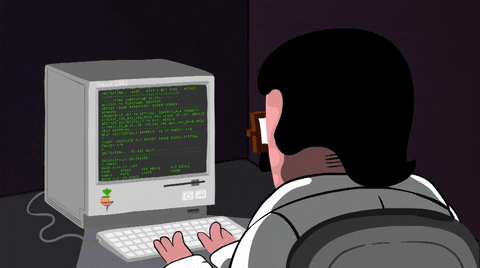
After you have written about your project, it is a good idea to have a demo/preview(video/gif/screenshots are good options) of your project so that people can know what to expect in your project. You could also add the demo in the previous section with the product description.
Here is a random GIF as a placeholder. ( You can add any Gif which explains your project)
After you have introduced your project, it is a good idea to add a Table of contents or TOC as cool people say it. This would make it easier for people to navigate through your README and find exactly what they are looking for.
Here is a sample TOC(wow! such cool!) that is actually the TOC for this README.
- Project Title
- Demo-Preview
- Table of contents
- Installation
- Usage
- Development
- Contribute
- License
- Footer
You might have noticed the Back to top button(if not, please notice, it's right there!). This is a good idea because it makes your README easy to navigate.
The first one should be how to install(how to generally use your project or set-up for editing in their machine).
This should give the users a concrete idea with instructions on how they can use your project repo with all the steps.
Following this steps, they should be able to run this in their device.
A method I use is after completing the README, I go through the instructions from scratch and check if it is working.
Here is a sample instruction:
To use this project, first clone the repo on your device using the command below:
git init
git clone https://github.com/almabetter-school/nsfw-filter.git
This is mandatory and it is used to give the user info on what is to usage of the project.
This is the place where you give instructions to developers on how to modify the code.
You could give instructions in depth of how the code works and how everything is put together.
You could also give specific instructions to how they can setup their development environment.
Ideally, you should keep the README simple. If you need to add more complex explanations, use a wiki. Check out this wiki for inspiration.
This is where you can let people know how they can contribute to your project. Some of the ways are given below.
Add future scope of your ptoject and call out for contribution.
This is to give people an idea how they can raise issues or feature requests in your projects.
You could add contact details for people to get in touch with you regarding your project.
Adding the license to README is a good practice so that people can easily refer to it.
Make sure you have added a LICENSE file in your project folder. Shortcut: Click add new file in your root of your repo in GitHub --> Set file name to LICENSE --> GitHub shows LICENSE templates ---> Choose the one that best suits your project!
you can add the name of the license and provide a link to it like below.
GNU General Public License version 3
It's mandatory to add a footer because you can use this to convey important info.
Let's make it an image because by now you have realised that multimedia in images == cool(*please notice the subtle programming joke).
So that is it... You have completed your training young grasshopper. Now it is time for you to use this ideas for your projects.
Don't forget your README Sensei(cool twitter handle idea) when your project takes off with your Awesome README.
Leave a star in GitHub, give a clap in Medium and share this guide if you found this helpful.
Now folks, the moment you've all been waiting for! The footer! [Audible gasp]
