简体中文 | English
A simple application of using a large language model for translation.
My main use case
While reading English literature, I prefer to compare translated versions. Although some software already has built-in translation functions, I still favor translations from large language models. However, I have to copy and paste the English text each time and manually add prompts, and the translated text doesn't align well for comparison.
Therefore, I have developed this software based on Avalonia and Semantic Kernel to address my own needs, and I'm open-sourcing it so that everyone can use it for free. I hope it will be of help to those with similar needs.
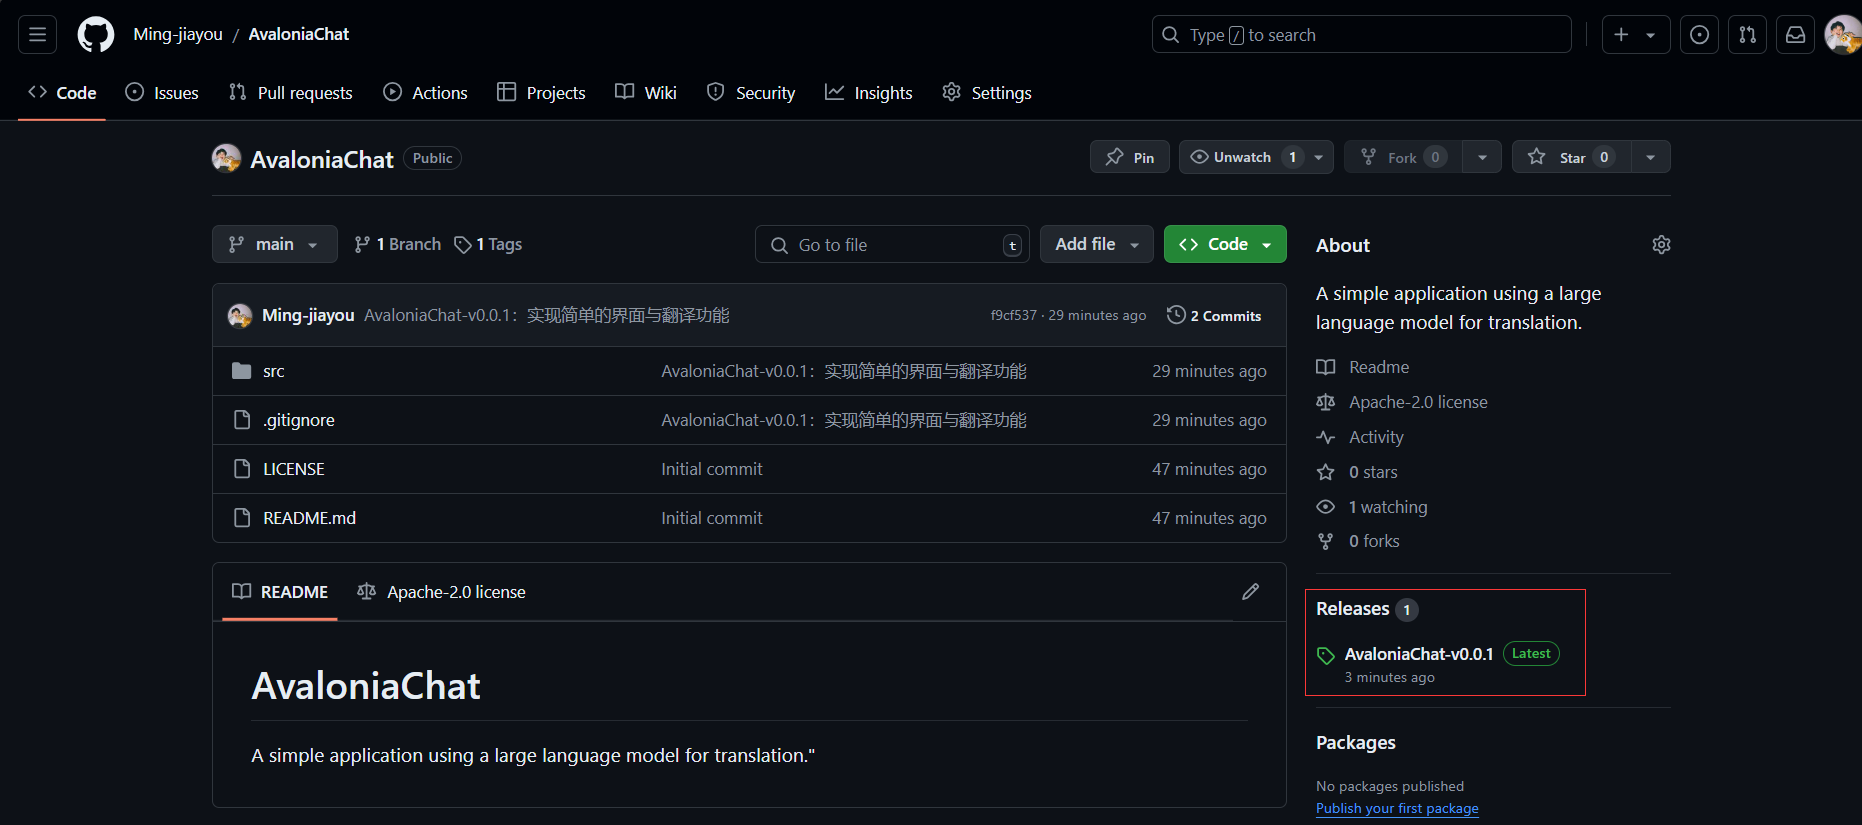
Note the 'Releases' section here:
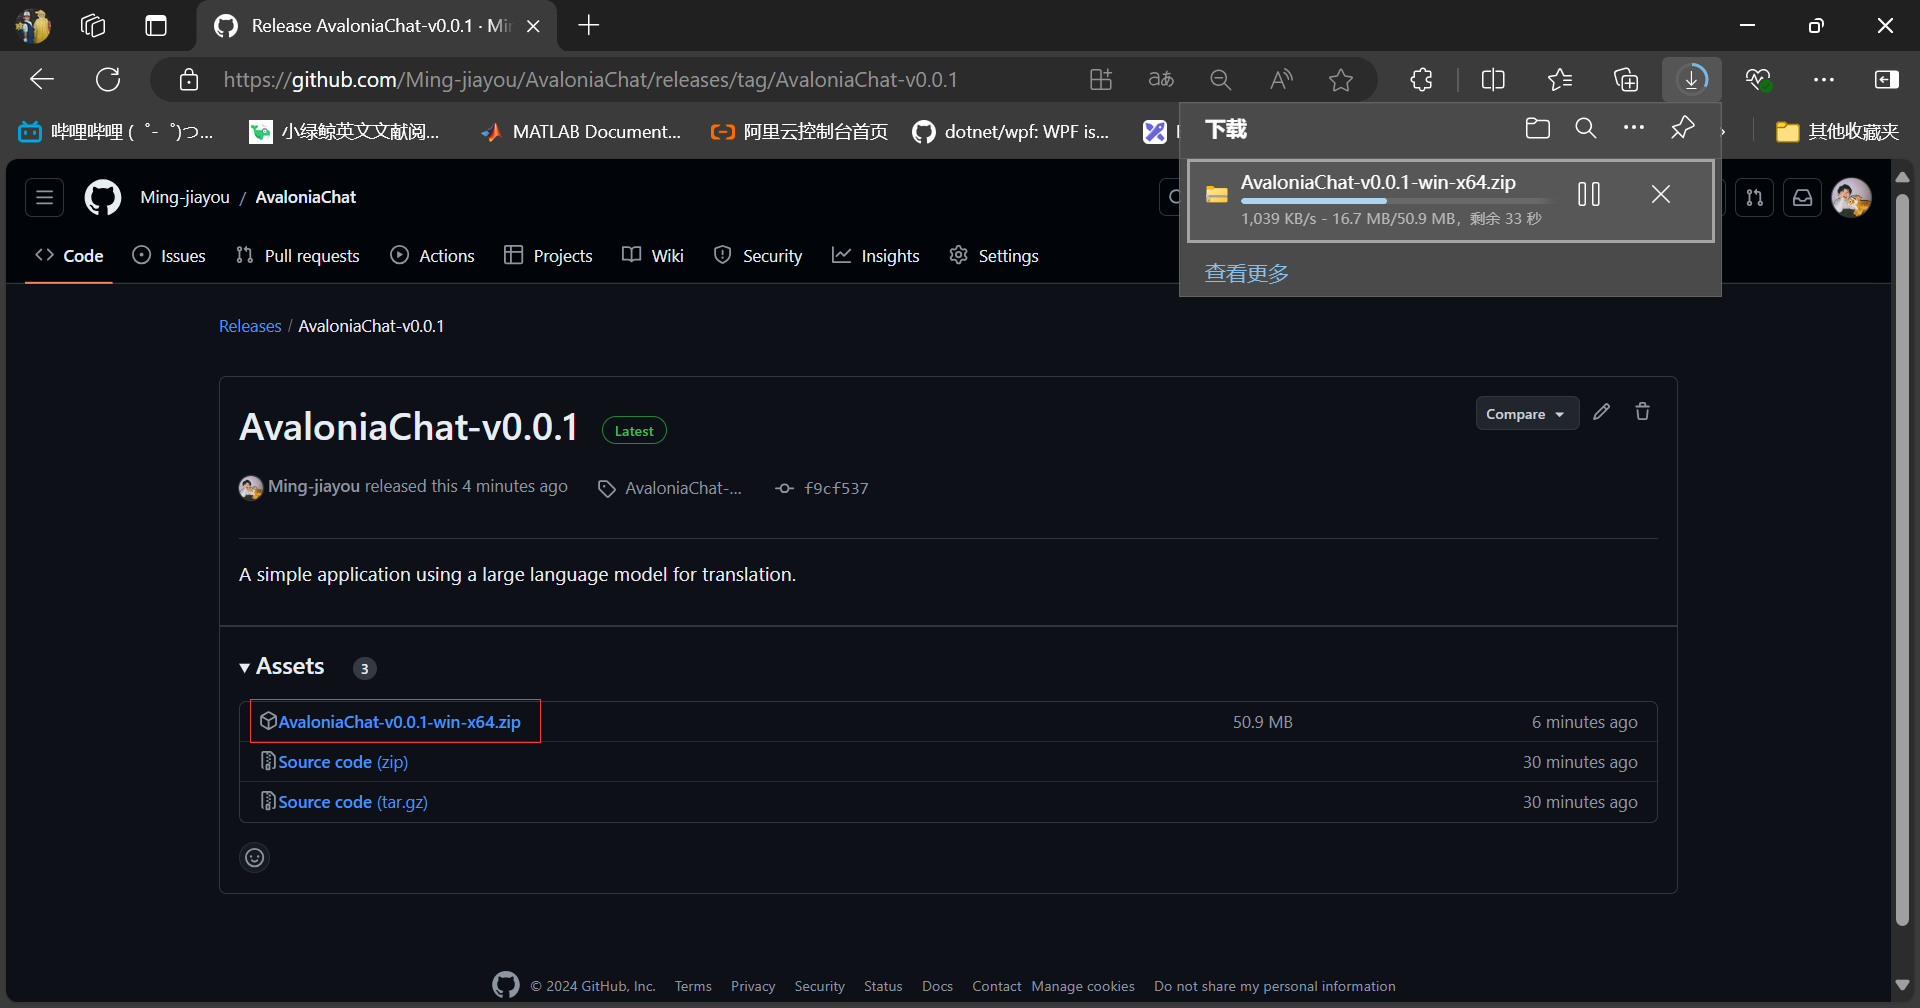
Clicking on the 'AvaloniaChat-v0.0.1-win-x64.zip' will result in the download:
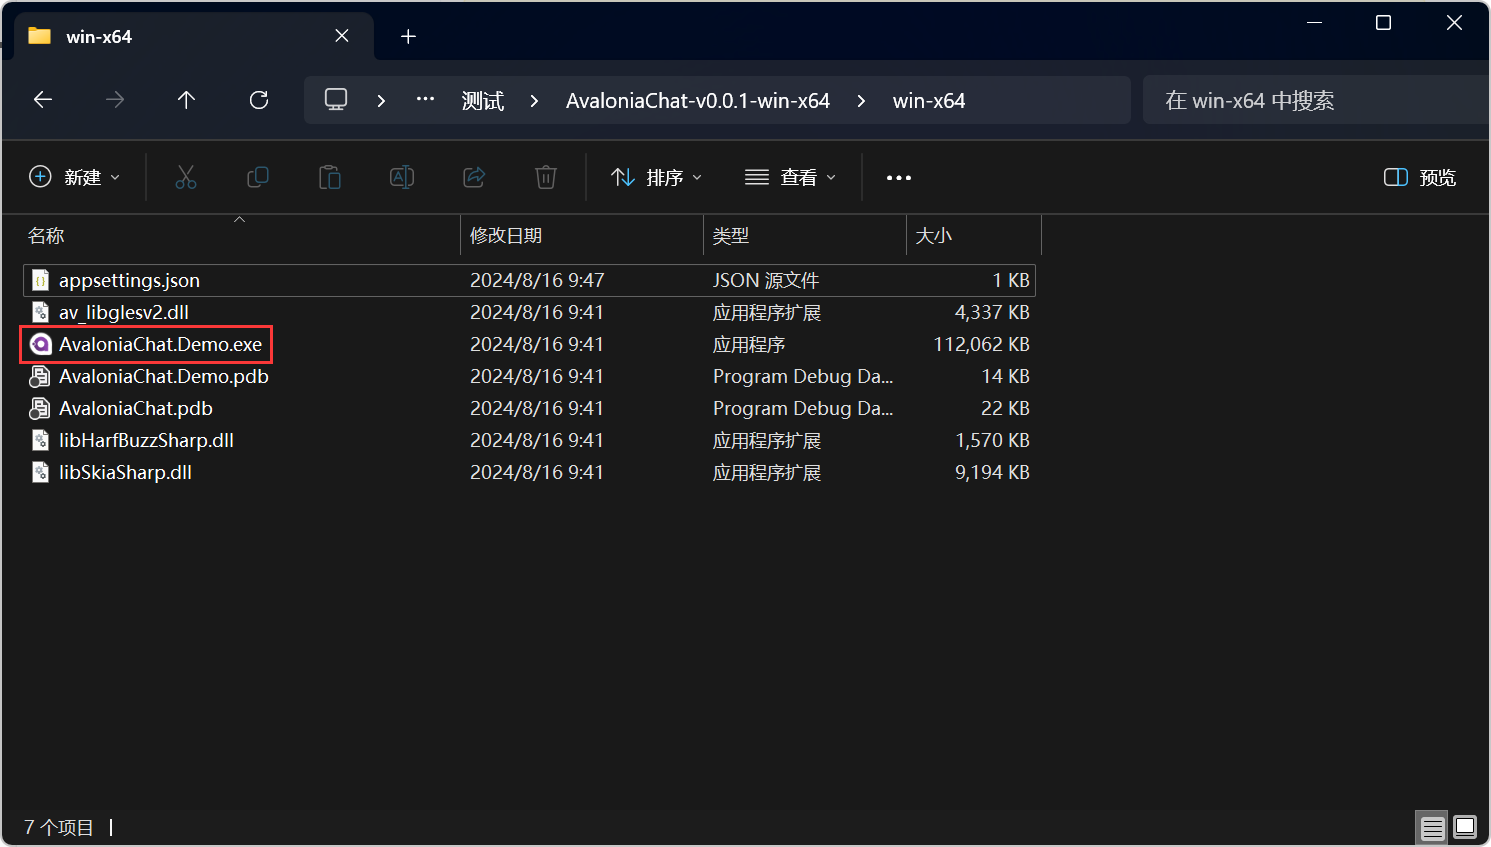
After decompressing, open the folder and it looks like this:
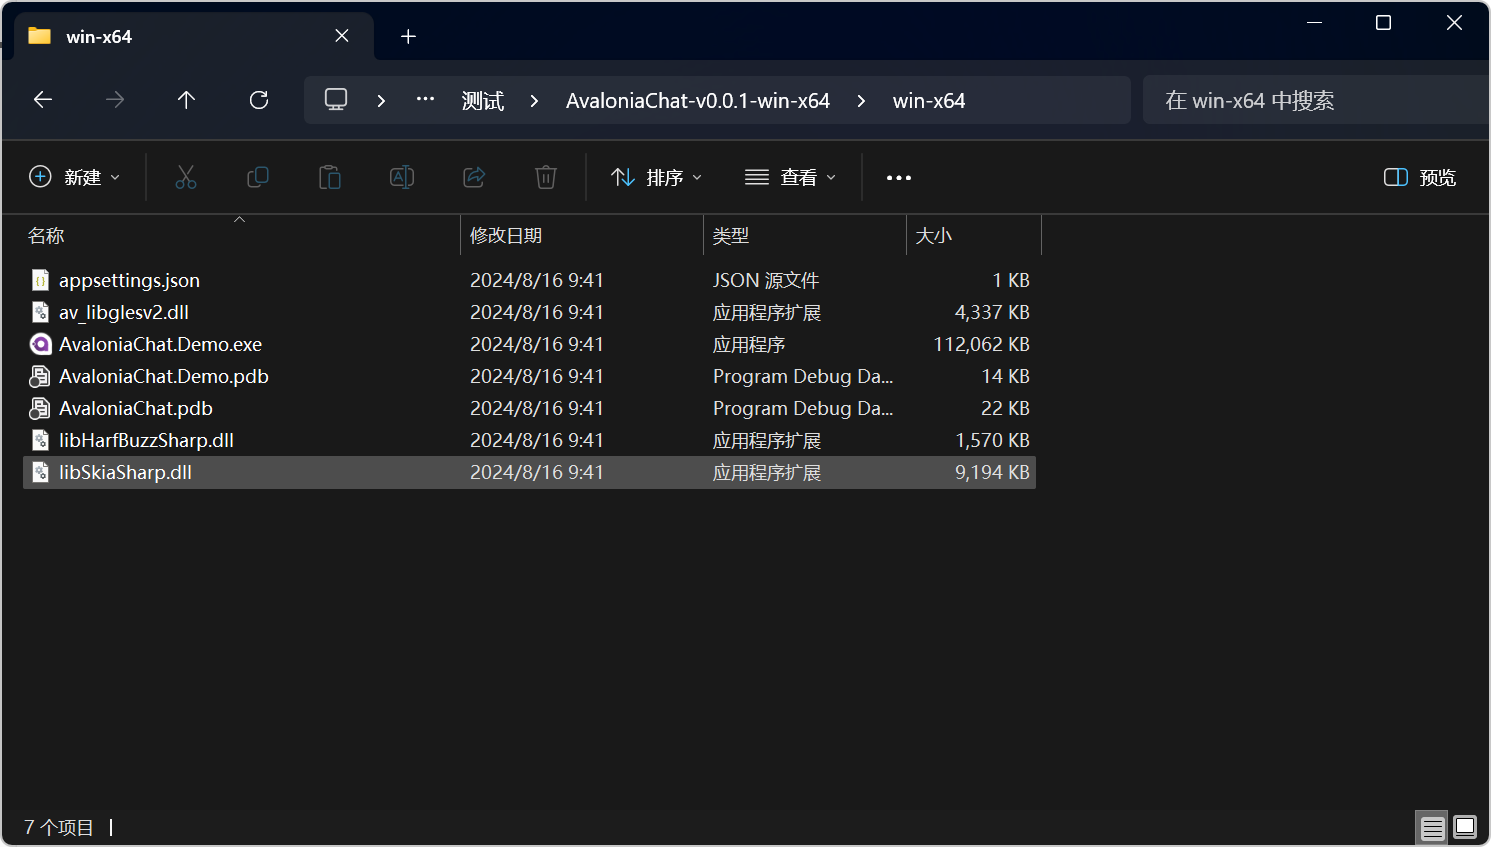
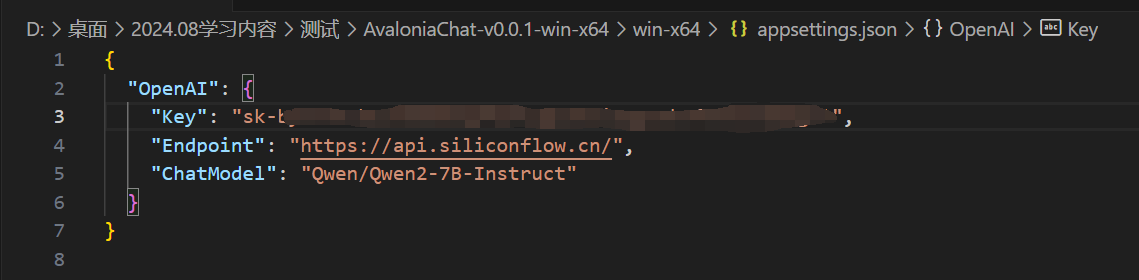
Now, all you need to do is make a simple edit to the appsettings.json file, which is used to configure the large language model you're using.
Taking SiliconCloud as an example, it is most recommended to use SiliconCloud. Both Qwen/Qwen2-7B-Instruct are reportedly free and have fast inference speeds.
After registering on SiliconCloud, create an Api Key and copy this Api Key:
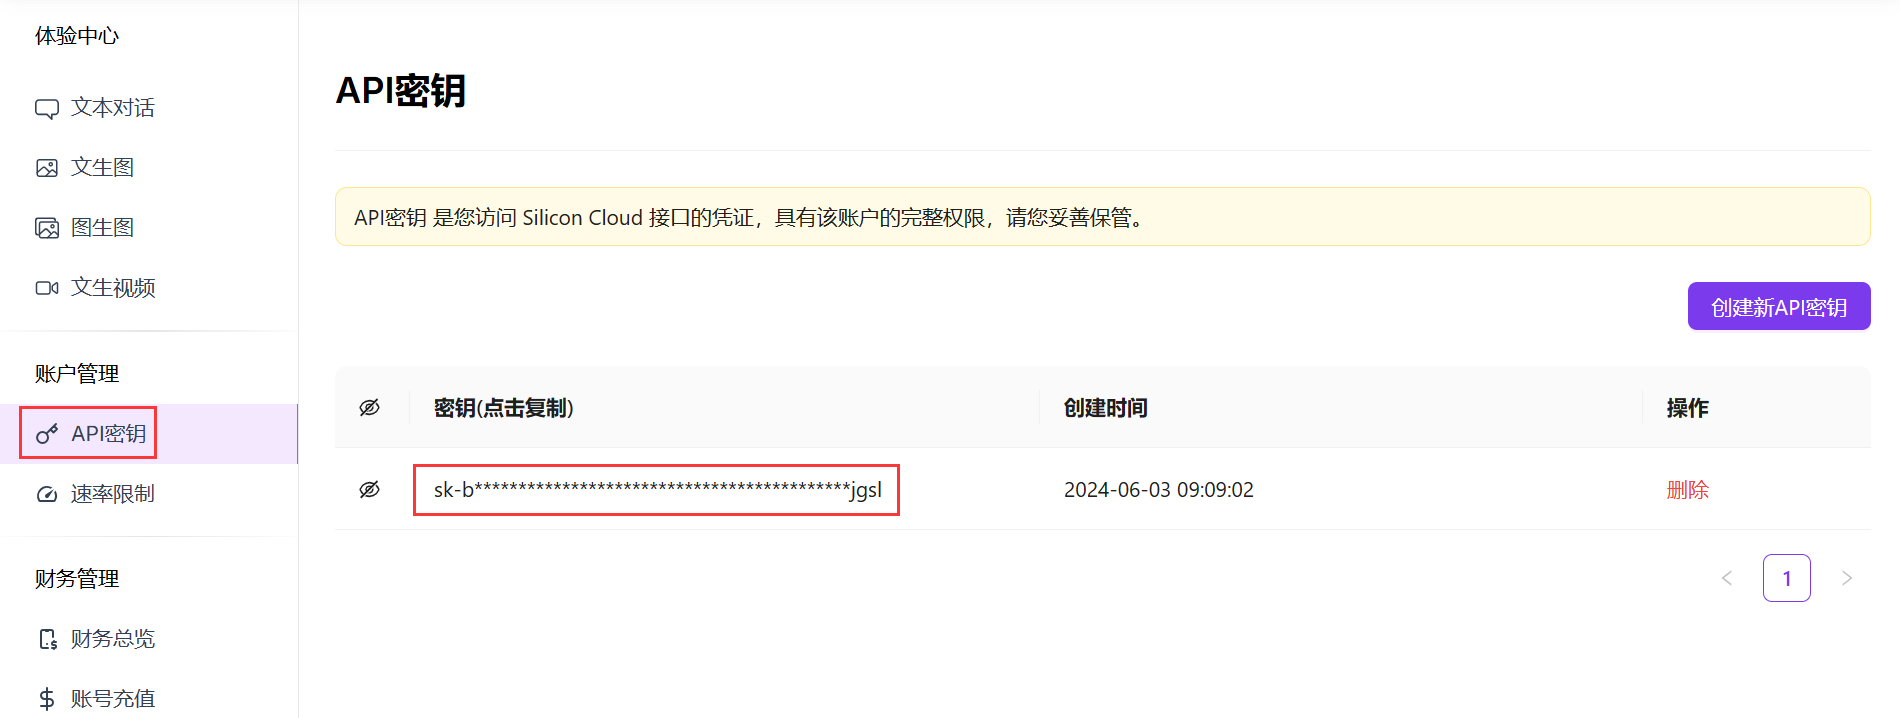
Open the appsettings.json file, if using SiliconCloud, you only need to fill in the API Key:
Now that the configuration is complete, you can use it by clicking the exe file:
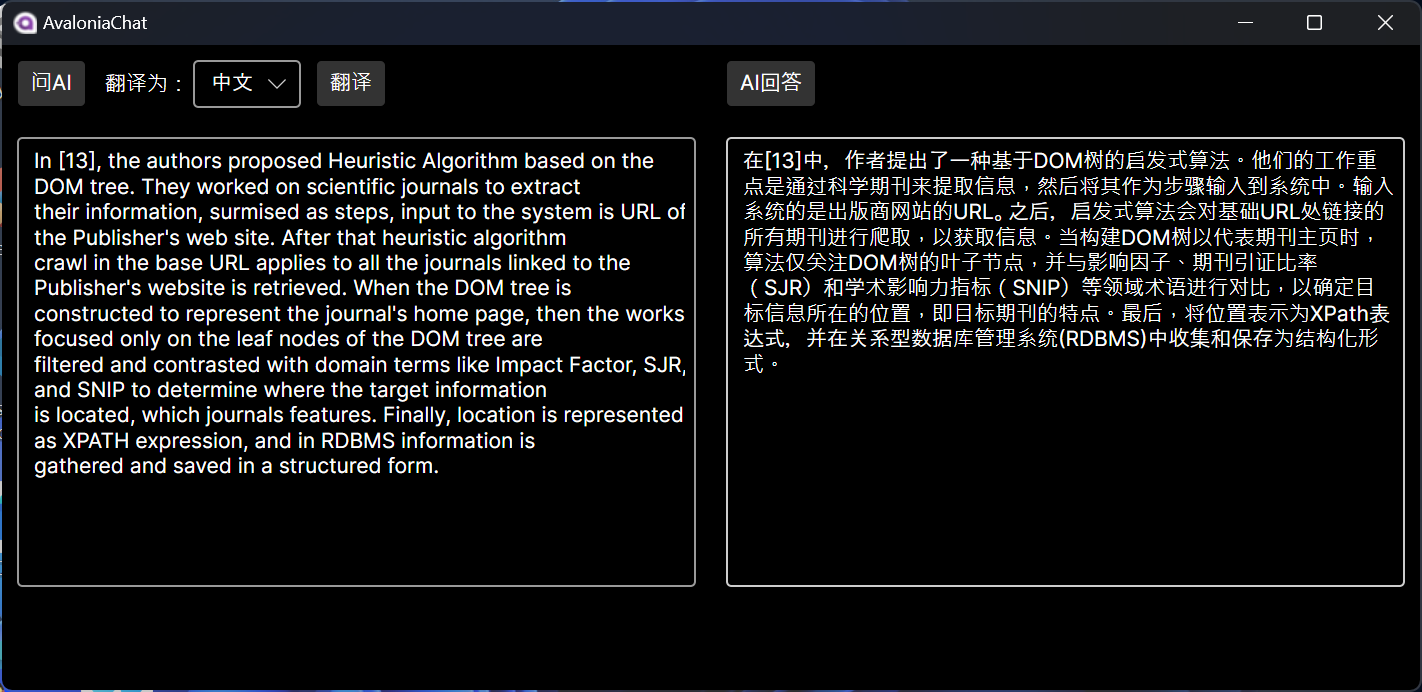
Question for AI:
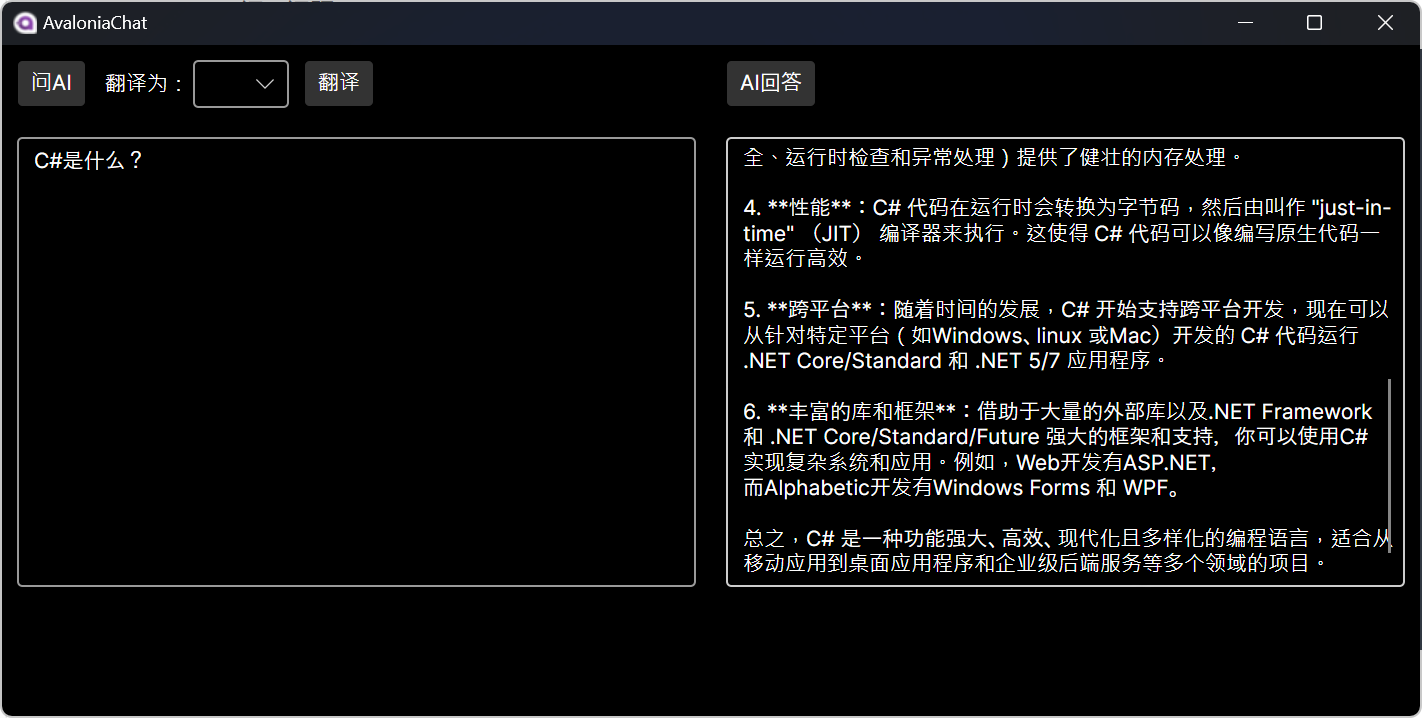
Translation from English to Chinese:
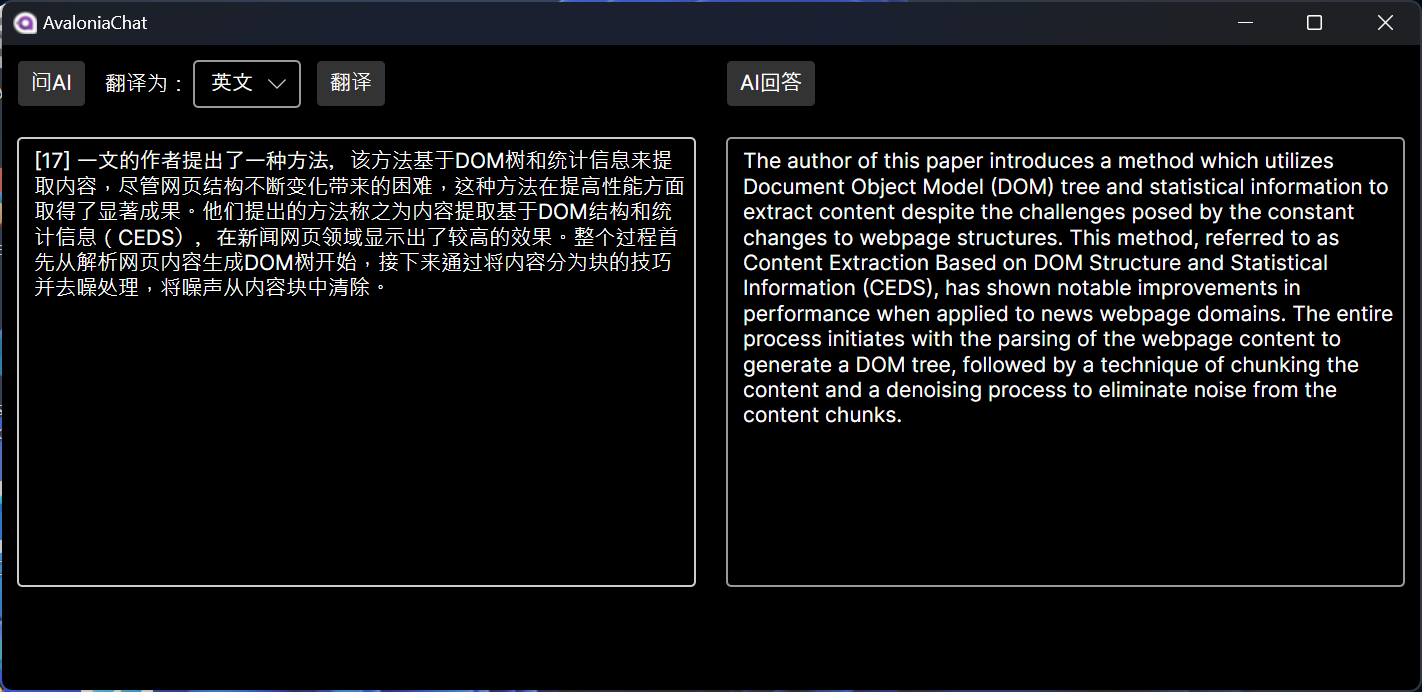
Translation from Chinese to English:

Look here:Building from Source Code Guide
Xunfei Spark
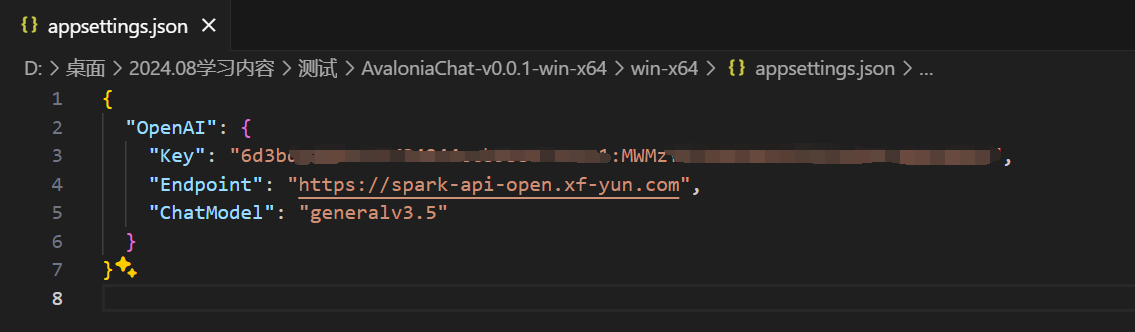
Using Spark Max as an example,configure the appsettings.json file like this:
{
  "OpenAI": {
    "Key": "your key",
    "Endpoint": "https://spark-api-open.xf-yun.com",
    "ChatModel": "generalv3.5"
  }
}
View Xunfei Spark's API Key:
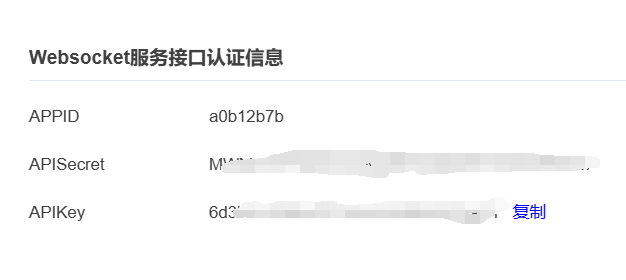
The key format is like this: APIKey:APISecret, which should be written in the form: 6d3...:M...:
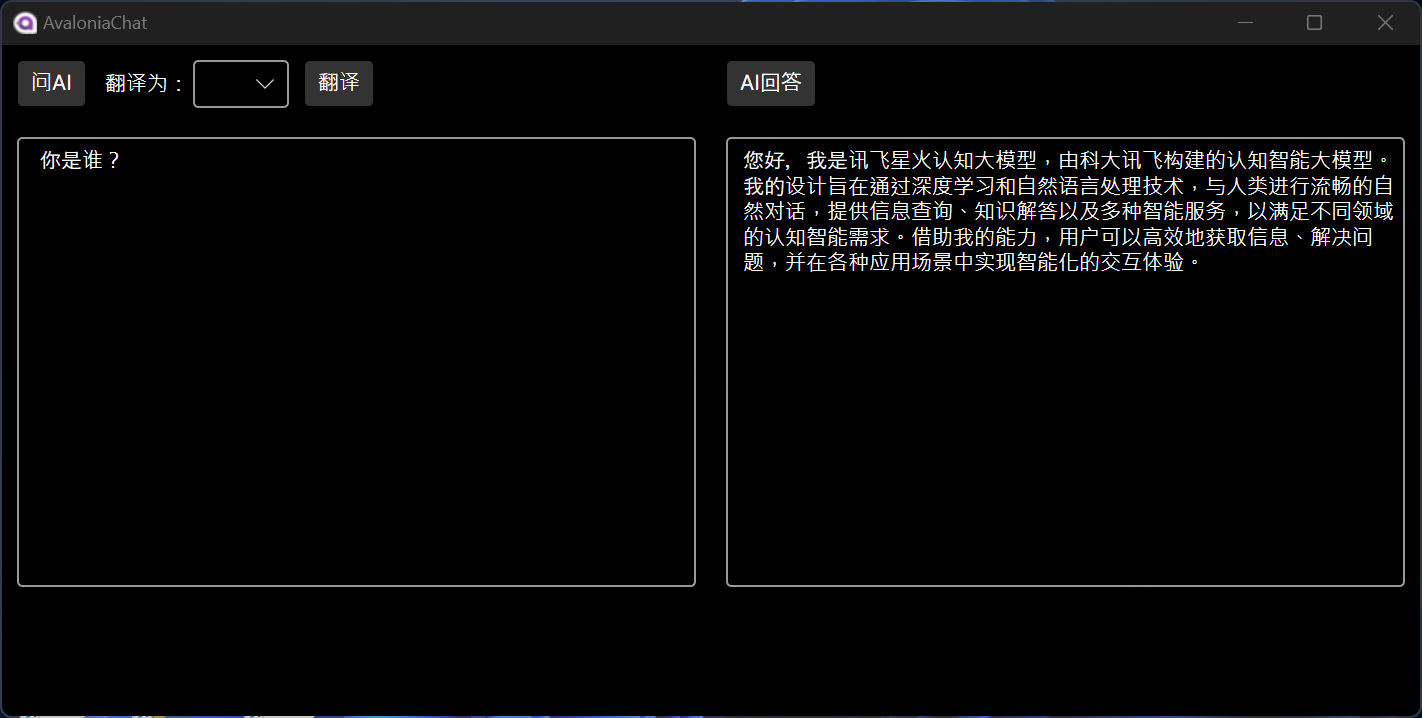
Validate if it is configured successfully:
LingYiWanWu
Take the example of yi-large:
{
"OpenAI": {
"Key": "your key",
"Endpoint": "https://api.lingyiwanwu.com",
"ChatModel": "yi-large"
}
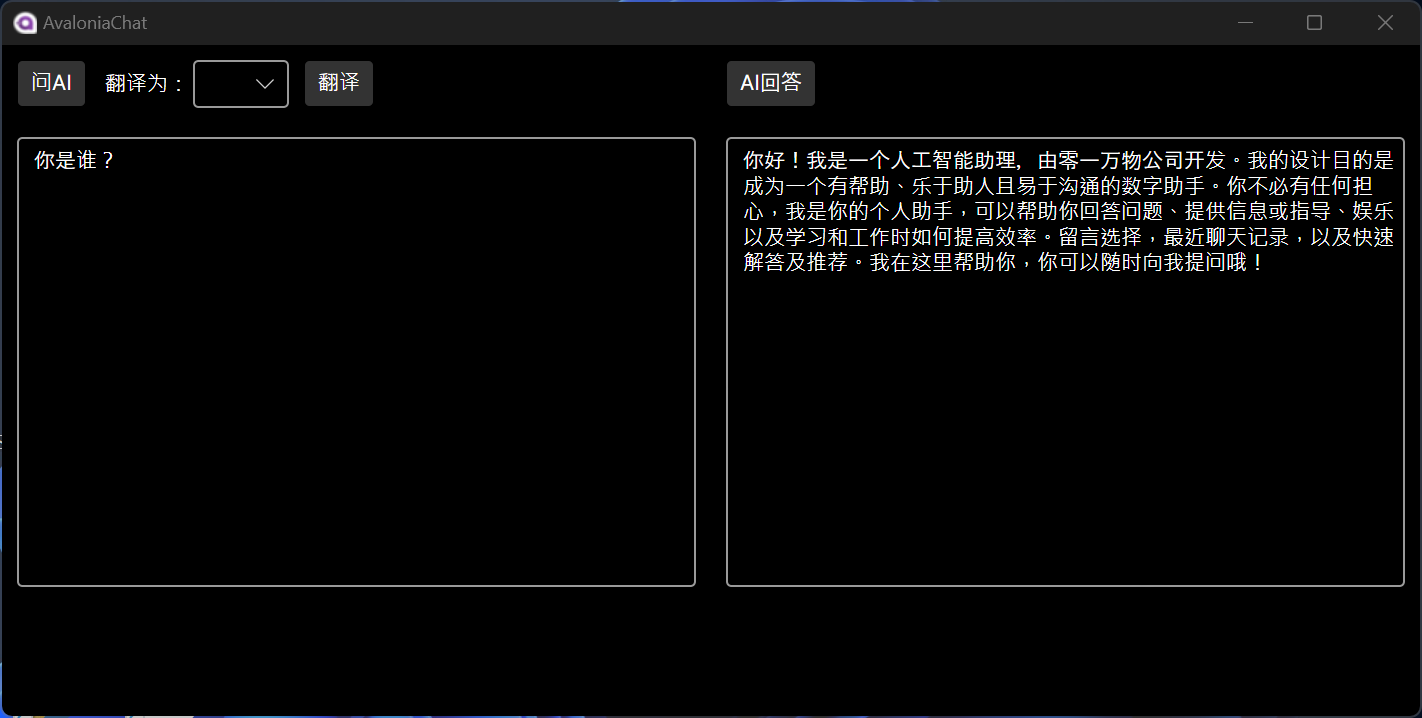
}Validate if it is configured successfully:
2024.8.20:Compatible With ZhiPuAI
If you found the information helpful, a star✨ would be the most significant support for me. 😊
If you've gone through the guide and are still facing issues, feel free to reach out to me via my WeChat Official Account: