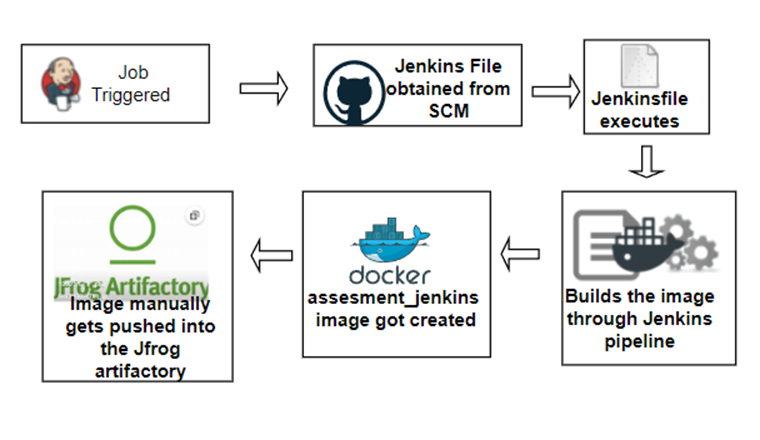
Tools involved:
- Github
- Jenkins
- docker
- JFrog
- ubuntu machine to host
- docker for windows To setup the infra I first installed Jenkins on ubuntu machine. Below is the link for reference:- https://www.digitalocean.com/community/tutorials/how-to-install-jenkins-on-ubuntu-20-04 Once the Jenkins was up, I installed all the relevant plugins , docker, artifactory, git etc Then I installed docker on ubuntu machine below is the link for reference https://docs.docker.com/engine/install/ubuntu/ Then created a free cloud account for JFrog artifactory.
Once the infrastructure was up and running, I followed the below steps to start with the assignment.
-
First, logged into GitHub from any web browser. Then forked the Spring PetClinic repository (the example application we’ll use).
-
Cloned the spring-petclinic repo on my local repo. for eg:- prakan2/JFrog-assesment (github.com) $ git clone https://github.com/shanemacbride/spring-petclinic.git $ cd spring-petclinic
- Provided maven and gradle read write permissions . sh "chmod 755 gradlew" sh "chmod 755 mvnw"
-
Executed the maven clean, maven install steps to build and test the application. sh "./mvnw clean" sh "./mvnw install”
-
Once the above steps gets executed successfully, we are good to package our application run
sh "./mvnw package -
The package generates a .jar file in the target folder as spring-petclinic-2.6.0-SNAPSHOT.jar
-
The jar file can be run manually on the local machine as java -jar target/*.jar
All the above steps are included in the Jenkinsfile and committed to the git repo . JFrog-assesment/Jenkinsfile at main · prakan2/JFrog-assesment (github.com)
Once the image gets built it creates an image with the help of Dockerfile which is part of the Jenkinsfile. JFrog-assesment/Dockerfile at main · prakan2/JFrog-assesment (github.com) And the dockerfile is also committed to the git repo.
Once the image assessment_jenkins is generated with the help of docker you can check for the image in two ways
-
docker ps

-
in the docker for windows
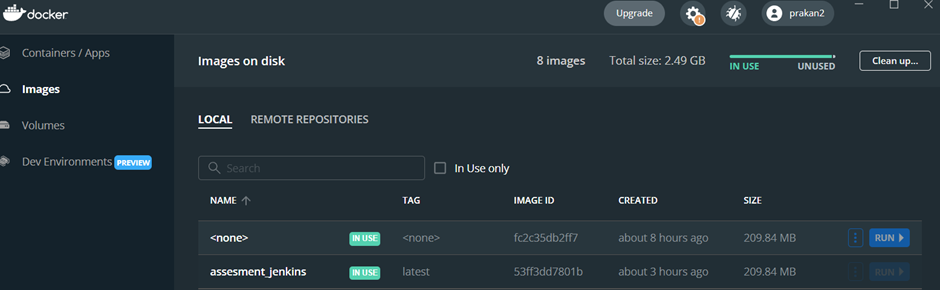
Once we have the image created we can upload the image into the JFrog artifactory with the following steps :-
-
Generate a token in the Jfrog instance and also create a private docker repo inside Jfrog. Here it is qwerty
-
docker login to the Jfrog instance

-
check for the available images via docker ps command

-
tag the available image if not already

-
push the image into the jfrog instance

-
once pushed we can check it on the Jfrog if the image is available
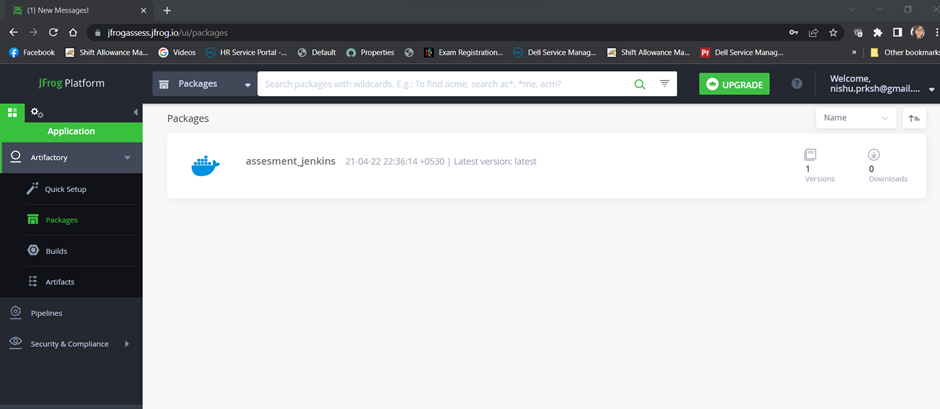
Finally the image build can be run in two ways :-
- docker run command docker run --name jekinsci_assessment -d -p 8080:8080 jenkinsci:latest
- via docker desktop .
check on the image -> click on run -> provide a container name along with the ports to expose -> click submit .
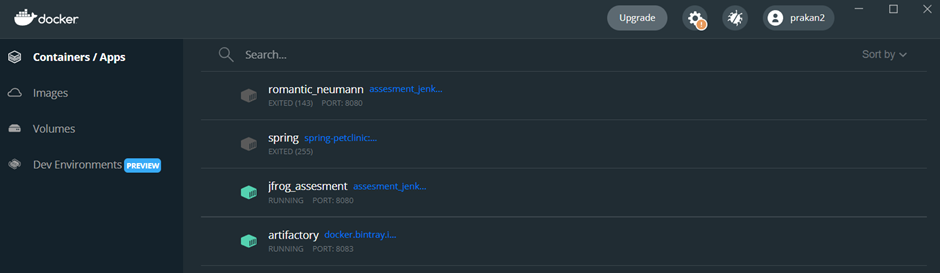
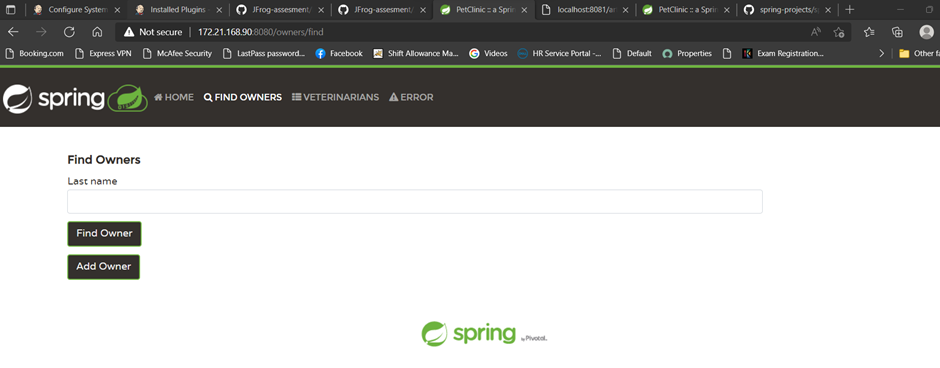
This will launch the spring-clinic web port on port 8080.
Jenkins Job for assessment with github webhook enabled

The source code is on the below repository :- https://github.com/prakan2/JenkinsCI.git