Model Card for Segment Anything Model (SAM) - ViT Huge (ViT-H) version
 Detailed architecture of Segment Anything Model (SAM).
Table of Contents
TL;DR
 |
 |
 |
|---|
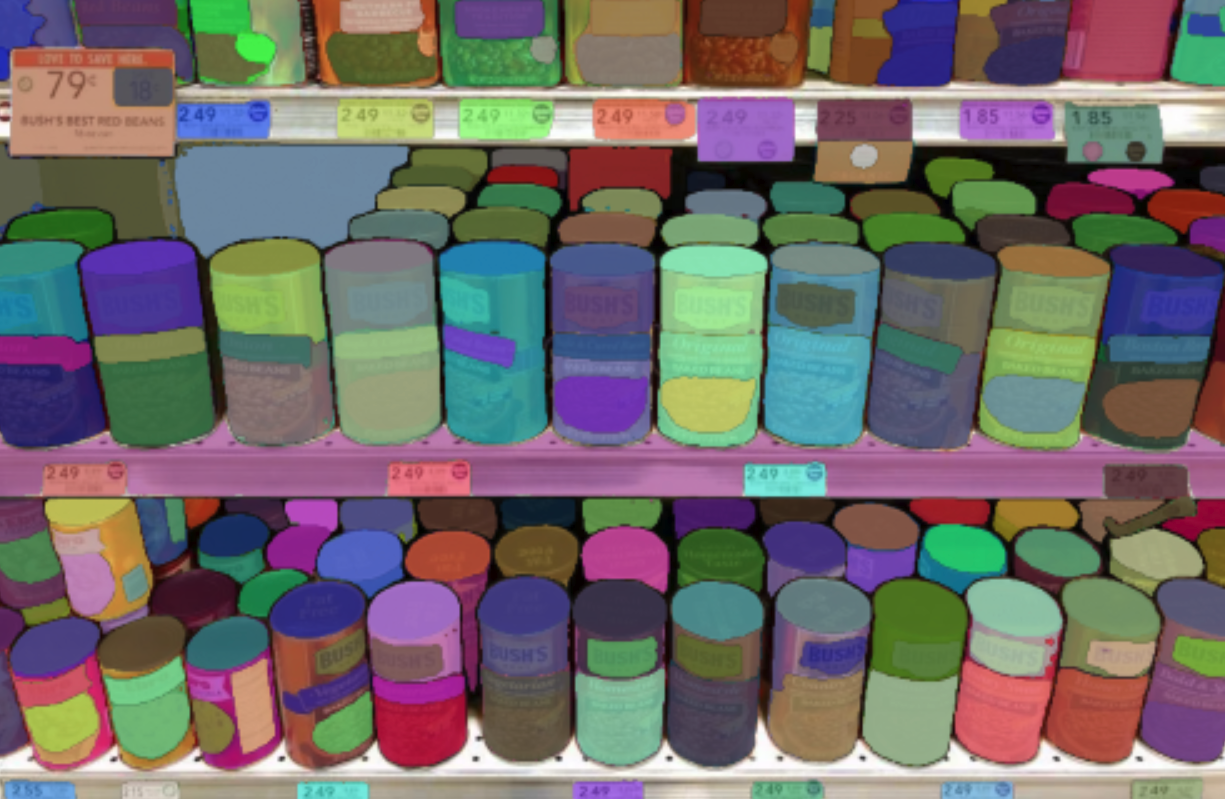
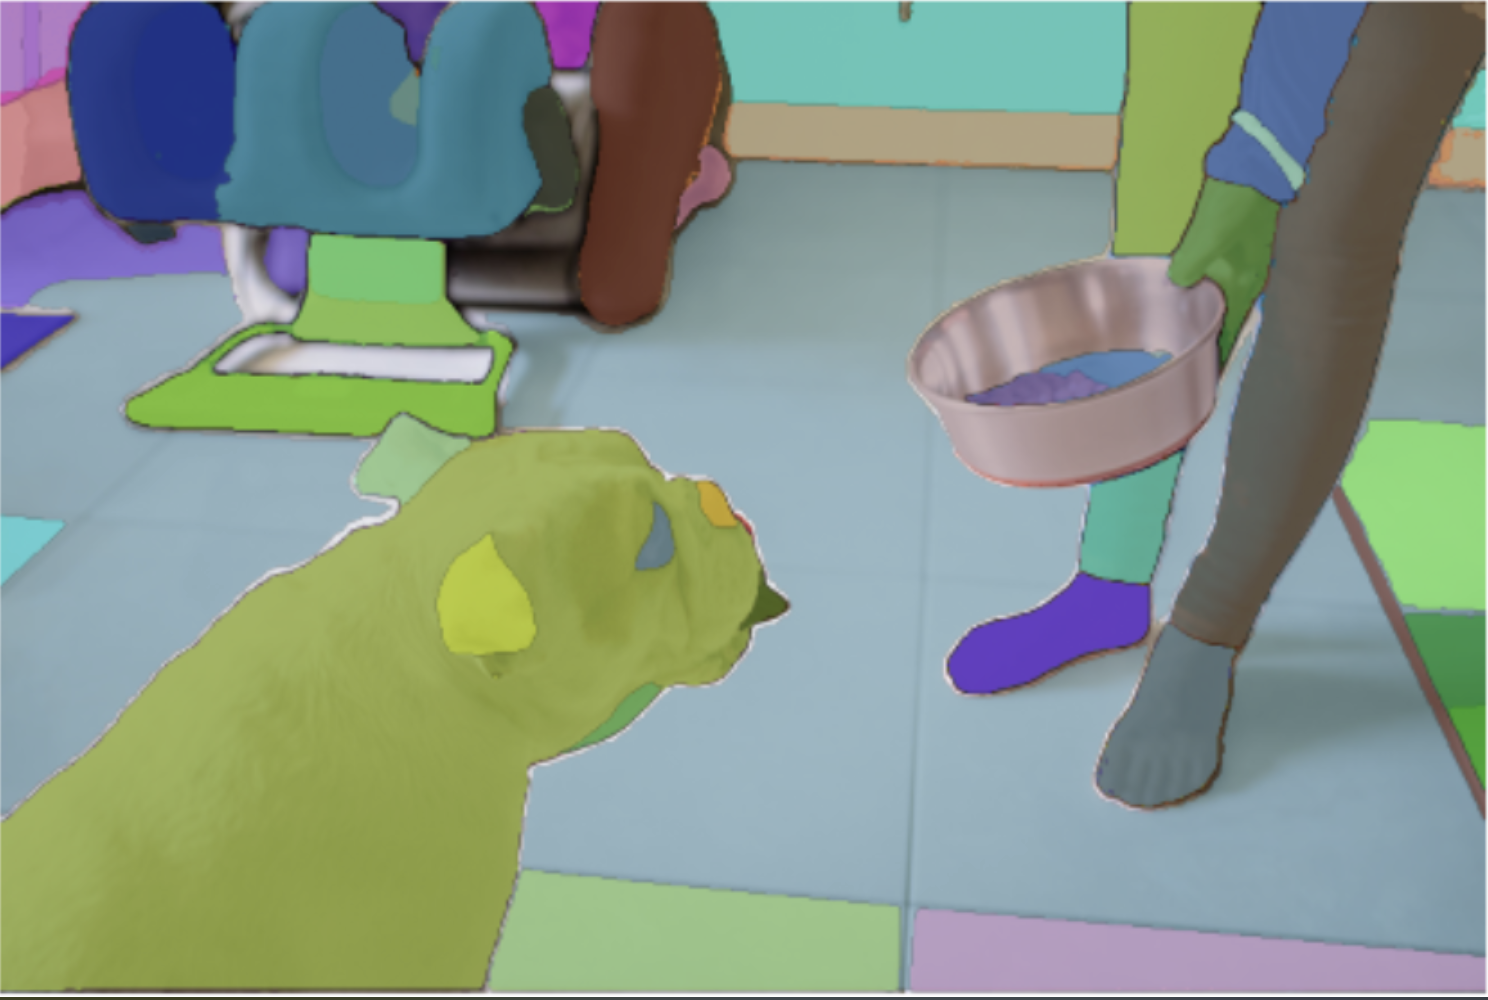
The Segment Anything Model (SAM) produces high quality object masks from input prompts such as points or boxes, and it can be used to generate masks for all objects in an image. It has been trained on a dataset of 11 million images and 1.1 billion masks, and has strong zero-shot performance on a variety of segmentation tasks. The abstract of the paper states:
We introduce the Segment Anything (SA) project: a new task, model, and dataset for image segmentation. Using our efficient model in a data collection loop, we built the largest segmentation dataset to date (by far), with over 1 billion masks on 11M licensed and privacy respecting images. The model is designed and trained to be promptable, so it can transfer zero-shot to new image distributions and tasks. We evaluate its capabilities on numerous tasks and find that its zero-shot performance is impressive -- often competitive with or even superior to prior fully supervised results. We are releasing the Segment Anything Model (SAM) and corresponding dataset (SA-1B) of 1B masks and 11M images at https://segment-anything.com to foster research into foundation models for computer vision.
Disclaimer: Content from this model card has been written by the Hugging Face team, and parts of it were copy pasted from the original SAM model card.
Model Details
The SAM model is made up of 3 modules:
- The
VisionEncoder: a VIT based image encoder. It computes the image embeddings using attention on patches of the image. Relative Positional Embedding is used. - The
PromptEncoder: generates embeddings for points and bounding boxes - The
MaskDecoder: a two-ways transformer which performs cross attention between the image embedding and the point embeddings (->) and between the point embeddings and the image embeddings. The outputs are fed - The
Neck: predicts the output masks based on the contextualized masks produced by theMaskDecoder.
Usage
Prompted-Mask-Generation
from PIL import Image
import requests
from transformers import SamModel, SamProcessor

model = SamModel.from_pretrained("facebook/sam-vit-huge")
processor = SamProcessor.from_pretrained("facebook/sam-vit-huge")

img_url = "https://huggingface.co/ybelkada/segment-anything/resolve/main/assets/car.png"
raw_image = Image.open(requests.get(img_url, stream=True).raw).convert("RGB")
input_points = [[[450, 600]]] # 2D localization of a window
inputs = processor(raw_image, input_points=input_points, return_tensors="pt").to("cuda")
outputs = model(**inputs)
masks = processor.image_processor.post_process_masks(outputs.pred_masks.cpu(), inputs["original_sizes"].cpu(), inputs["reshaped_input_sizes"].cpu())
scores = outputs.iou_scores
Among other arguments to generate masks, you can pass 2D locations on the approximate position of your object of interest, a bounding box wrapping the object of interest (the format should be x, y coordinate of the top right and bottom left point of the bounding box), a segmentation mask. At this time of writing, passing a text as input is not supported by the official model according to the official repository. For more details, refer to this notebook, which shows a walk throught of how to use the model, with a visual example!
Automatic-Mask-Generation
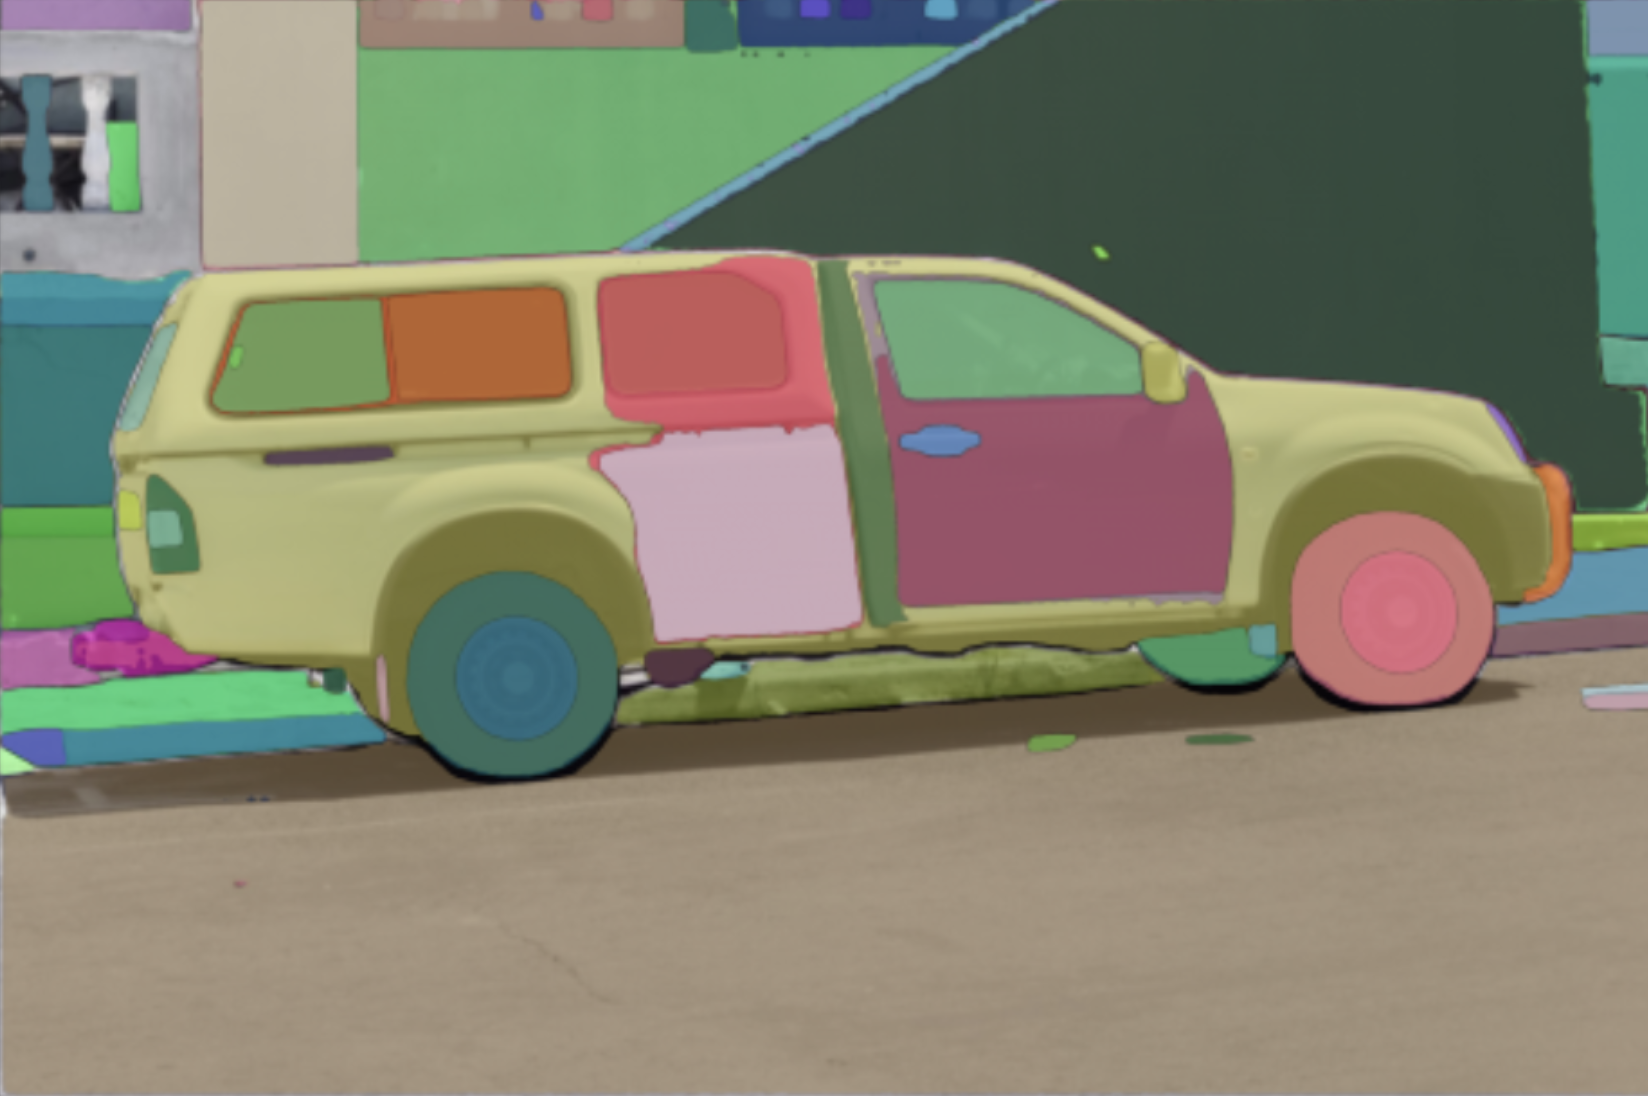
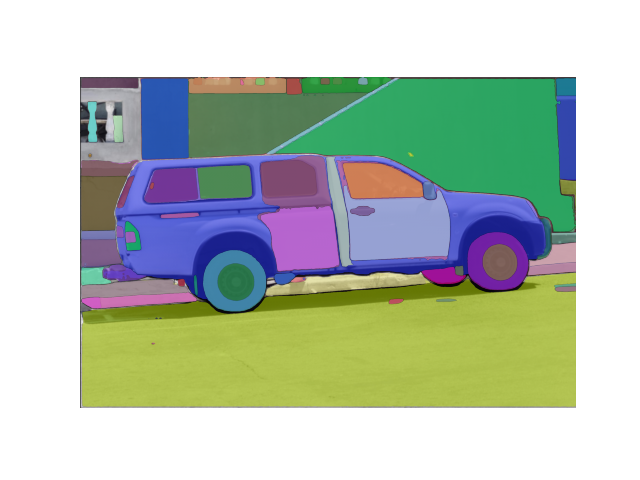
The model can be used for generating segmentation masks in a "zero-shot" fashion, given an input image. The model is automatically prompt with a grid of 1024 points
which are all fed to the model.
The pipeline is made for automatic mask generation. The following snippet demonstrates how easy you can run it (on any device! Simply feed the appropriate points_per_batch argument)
from transformers import pipeline
generator =  pipeline("mask-generation", device = 0, points_per_batch = 256)
image_url = "https://huggingface.co/ybelkada/segment-anything/resolve/main/assets/car.png"
outputs = generator(image_url, points_per_batch = 256)
Now to display the image:
import matplotlib.pyplot as plt
from PIL import Image
import numpy as np

def show_mask(mask, ax, random_color=False):
    if random_color:
        color = np.concatenate([np.random.random(3), np.array([0.6])], axis=0)
    else:
        color = np.array([30 / 255, 144 / 255, 255 / 255, 0.6])
    h, w = mask.shape[-2:]
    mask_image = mask.reshape(h, w, 1) * color.reshape(1, 1, -1)
    ax.imshow(mask_image)


plt.imshow(np.array(raw_image))
ax = plt.gca()
for mask in outputs["masks"]:
    show_mask(mask, ax=ax, random_color=True)
plt.axis("off")
plt.show()
This should give you the following 
Citation
If you use this model, please use the following BibTeX entry.
@article{kirillov2023segany,
  title={Segment Anything},
  author={Kirillov, Alexander and Mintun, Eric and Ravi, Nikhila and Mao, Hanzi and Rolland, Chloe and Gustafson, Laura and Xiao, Tete and Whitehead, Spencer and Berg, Alexander C. and Lo, Wan-Yen and Doll{\'a}r, Piotr and Girshick, Ross},
  journal={arXiv:2304.02643},
  year={2023}
}
- Downloads last month
- 125,023