If you find Signet useful and want to support its development, you can buy me a coffee! It's a small gesture that is greatly appreciated.
Signet is a free, open-source, and self-hostable digital signage management system. Built entirely on the Firebase platform, it provides a powerful admin dashboard to manage content across multiple screens from anywhere.
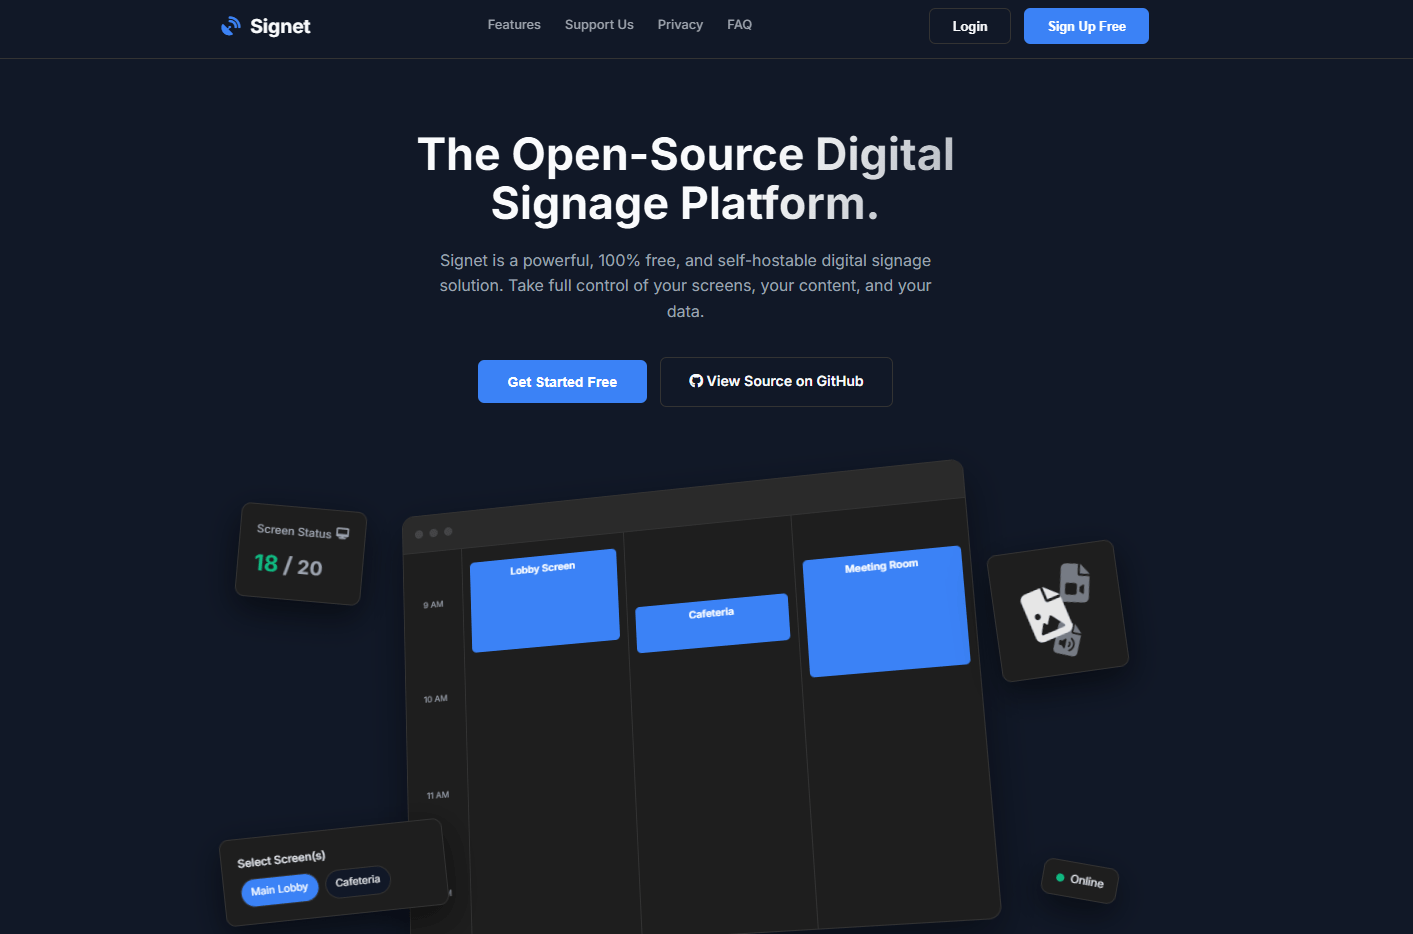
- Live Dashboard: Get a real-time, bird's-eye view of your entire screen network. Instantly see connection status and what's currently playing.
- Dynamic Playlists: Group images into reusable playlists. Set custom durations for each slide and reorder with a simple drag-and-drop.
- Intuitive Scheduler: A visual, timeline-based scheduler to queue content for specific screens at specific times, with support for multi-day events.
- Secure Screen Pairing: A simple and secure PIN-based system to pair physical screens to your account without exposing credentials.
- Default & Fallback Content: Set default content on a per-screen basis or a global fallback for when nothing is scheduled.
- Unified Media Library: Upload, rename, and manage all your image assets (PNG, JPG, GIF, SVG) in one central place.
- 100% Open Source & Self-Hostable: Take full control. Host it on your own Firebase project for free and own your data completely. No hidden telemetry.
- Modern UI: A clean, responsive interface that works on desktop and mobile, with both light and dark themes.
- Frontend: Vanilla JavaScript (ES6 Modules), HTML5, CSS3
- Backend & Database: Google Firebase
- Authentication: For secure user logins via Google.
- Firestore: For storing all app data (screens, media metadata, playlists, schedules).
- Storage: For hosting uploaded image files.
- Realtime Database: For tracking screen presence and live online/offline status.
- Cloud Functions: For handling secure server-side logic like screen pairing.
- Hosting: For deploying the entire web application.
Follow these instructions to get a copy of the project up and running on your own Firebase account.
- A Google Firebase account (the free "Spark" plan is sufficient to start).
- Node.js (v20 or higher) and npm installed on your local machine.
-
Clone the repository:
git clone https://github.com/yf19770/sign-net.git cd sign-net -
Create a Firebase Project:
- Go to the Firebase Console and create a new project.
- In your new project, you must enable the following services:
- Authentication: Go to the "Authentication" section, click "Get started," and enable Google as a Sign-in provider.
- Firestore Database: Create a new Firestore database. Start in production mode.
- Storage: Enable Cloud Storage.
- Realtime Database: Create a Realtime Database. Start in locked mode.
- Functions: If this is your first time using functions, you may need to upgrade your project to the "Blaze (Pay-as-you-go)" plan. However, the free tier for Cloud Functions is very generous and is unlikely to incur any costs for this project's usage.
-
Get your Firebase Configuration:
- In your Firebase project console, go to Project Settings (click the gear icon ⚙️).
- In the "General" tab, scroll down to "Your apps."
- Click the web icon (
</>) to create a new Web App. - Give it a nickname (e.g., "Signet App") and register the app. Do not check the box for Firebase Hosting at this stage.
- Firebase will provide you with a
firebaseConfigobject. Copy this entire object.
-
Configure the Project (
firebase-config.js):- In the cloned project, open the file
public/firebase-config.js. - Replace the entire placeholder
firebaseConfigobject with the one you just copied from your Firebase console.
- In the cloned project, open the file
-
Configure App Check (Security):
- Enable App Check: In the Firebase Console, go to App Check in the left-hand menu (under the "Build" category). Click "Get Started."
- Select your web app under the "Apps" tab and click on reCAPTCHA v3 as the provider.
- You will be given a Site Key. Copy this key.
- Update the code: Open the file
public/js/main.js. Find theinitializeAppCheckblock and replace the placeholder key with your new Site Key.// In public/js/main.js initializeAppCheck(adminApp, { provider: new ReCaptchaV3Provider('PASTE_YOUR_RECAPTCHA_V3_SITE_KEY_HERE'), isTokenAutoRefreshEnabled: true });
- Finally, back in the Firebase Console (App Check section), click "Enforce" for Cloud Functions to protect them.
-
Install Firebase CLI & Link Project:
- Install the Firebase command-line tools globally:
npm install -g firebase-tools
- Log in to your Google account:
firebase login
- Link your local directory to your Firebase project. Replace
YOUR_PROJECT_IDwith the ID of the project you created.firebase use --add YOUR_PROJECT_ID
- Install the Firebase command-line tools globally:
-
Install Function Dependencies:
- Cloud Functions have their own dependencies. You need to install them.
cd functions
npm install
cd ..
By default, your databases and storage are locked down. You must apply these security rules to allow the app to function correctly.
Click to expand Firestore Security Rules
Go to your Firebase Console -> Firestore Database -> Rules tab and paste the following, then click Publish:
rules_version = '2';
service cloud.firestore {
  match /databases/{database}/documents {

    // Helper function to check if the requester is the owner of a document.
    function isOwner(resource) {
      return request.auth.uid == resource.data.adminUid;
    }

    // --- User Data ---
    match /users/{userId}/{document=**} {
      allow read, write: if request.auth.uid == userId;
    }

    // --- Screens Collection ---
    match /screens/{screenId} {
      allow create, update: if request.auth.uid == request.resource.data.adminUid;
      allow delete: if request.auth.uid == get(/databases/$(database)/documents/screens/$(screenId)).data.adminUid;
      allow list: if request.auth.uid == resource.data.adminUid;
      allow get: if (request.auth.uid == resource.data.adminUid) || (request.auth.uid == screenId);
    }

    // --- Media Collection ---
    match /media/{mediaId} {
      allow create, update: if request.auth.uid == request.resource.data.adminUid;
      allow delete: if request.auth.uid == get(/databases/$(database)/documents/media/$(mediaId)).data.adminUid;
      allow read: if request.auth.uid == resource.data.adminUid;
    }

    // --- Playlists Collection (THIS IS THE FIX) ---
    match /playlists/{playlistId} {
      allow create, update: if request.auth.uid == request.resource.data.adminUid;
      allow delete: if request.auth.uid == get(/databases/$(database)/documents/playlists/$(playlistId)).data.adminUid;

      // An Admin can read their own playlists.
      // A Screen can read a playlist IF that playlist belongs to the screen's owner.
      allow read: if request.auth.uid == resource.data.adminUid ||
                   (exists(/databases/$(database)/documents/screens/$(request.auth.uid)) &&
                    get(/databases/$(database)/documents/screens/$(request.auth.uid)).data.adminUid == resource.data.adminUid);
    }

    // --- Schedules Collection ---
    match /schedules/{scheduleId} {
      allow create, update: if request.auth.uid == request.resource.data.adminUid;
      allow delete: if request.auth.uid == get(/databases/$(database)/documents/schedules/$(scheduleId)).data.adminUid;
      allow read: if (request.auth.uid == resource.data.adminUid) || (request.auth.uid in resource.data.screenIds);
    }

    // --- Special Rule for a Screen to read its owner's settings ---
    match /users/{userId}/settings/main {
      allow get: if exists(/databases/$(database)/documents/screens/$(request.auth.uid)) &&
                    get(/databases/$(database)/documents/screens/$(request.auth.uid)).data.adminUid == userId;
    }

    // --- Pairing Requests ---
    match /pairingRequests/{pairingId} {
       allow read, create: if true;
       allow update: if request.auth.token.firebase.sign_in_provider != 'custom';
    }
  }
}
Click to expand Storage Security Rules
Go to your Firebase Console -> Storage -> Rules tab and paste the following, then click Publish:
rules_version = '2';
service firebase.storage {
  match /b/{bucket}/o {

    match /media/{userId}/{allPaths=**} {
      // Allow authenticated owners to read their own files.
      allow read: if request.auth != null && request.auth.uid == userId;

      // Allow write if the user is the owner AND one of the following is true:
      // 1. It's a delete operation.
      // 2. It's an image upload under 5MB.
      // 3. It's a video upload under 15MB.
      allow write: if request.auth != null && request.auth.uid == userId && (

        // Condition 1: Allow DELETES
        request.resource == null ||

        // Condition 2: Allow IMAGE uploads under 5MB
        (request.resource.contentType.matches('image/.*') &&
         request.resource.size < 5 * 1024 * 1024) ||

        // Condition 3: Allow VIDEO uploads under 15MB
        (request.resource.contentType.matches('video/.*') &&
         request.resource.size < 15 * 1024 * 1024)
      );
    }

    // Explicitly deny access to all other paths for security.
    match /{allPaths=**} {
      allow read, write: if false;
    }
  }
}
Click to expand Realtime Database Security Rules
Go to your Firebase Console -> Realtime Database -> Rules tab and paste the following, then click Publish:
{
  "rules": {
    "connections": {
      "$uid": {
        // Only the owner of the data can read or write their screen connections
        ".read": "auth != null && auth.uid === $uid",
        ".write": "auth != null && auth.uid === $uid"
      }
    }
  }
}
Deployment is a two-step process: first the backend functions, then the frontend hosting.
-
Deploy Cloud Functions:
firebase deploy --only functions
-
Deploy Hosting:
firebase deploy --only hosting
Firebase will give you a URL where your application is live (e.g., your-project-id.web.app).