Adding a CDN to CloudFront
Amazon Cloudfront allows developers to speed up distribution of their static and dynamic web content, such as .html, .css, .js and image files to their visitors. CloudFront delivers content through a worldwide network of data centers called edge locations. When a visitor requests web content served via CloudFront the visitor is routed to the edge location that provides the lowest time delay to deliver content with the best possible performance. To provide a faster digital experience for their customers, developers can route a majority of website traffic through a CDN that provides a cached version of the website. This tutorial shows developers how to create a Cloudfront distribution in AWS, vHost alias, and automatically invalidate caches when pages or files are published.
Before starting this tutorial, developers should:
- Secure a hosted domain name.
- Create a hosted zone for the domain name
- Request a certificate for the domain name.
- Create a record set (origin.domainname.(org/com/net/edu) in the hosted zone of the domain name.
- Create a record set for the url of the front end of the site in the hosted zone of the domain name.
Note: In the record set the value for the origin.domainname.(org/com/net/edu) points to the IP/CNAME of the solodev instance, while the value for url of the front end of the site points to the CloudFront distribution.
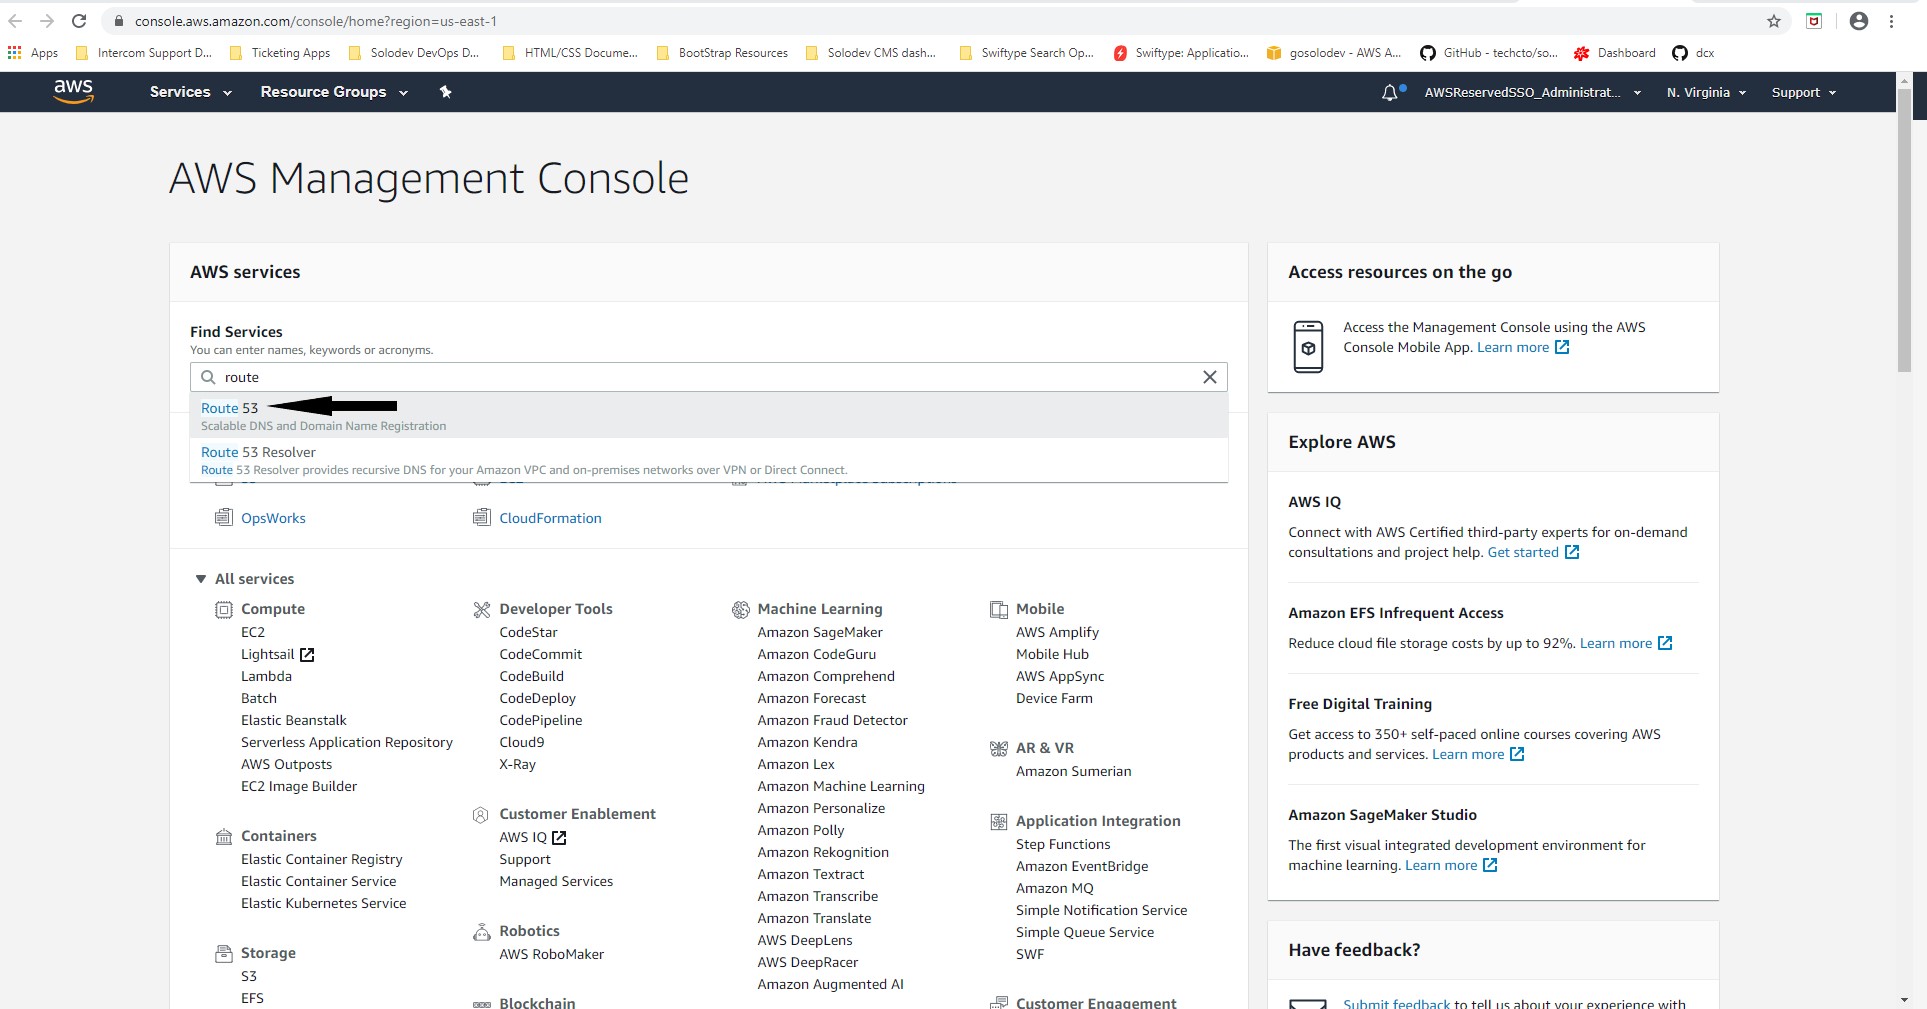
- Login to AWS.
- Open CloudFront.
- Click Create Distribution.
- On the Select a delivery method for your content page, click Get Started in the Web section
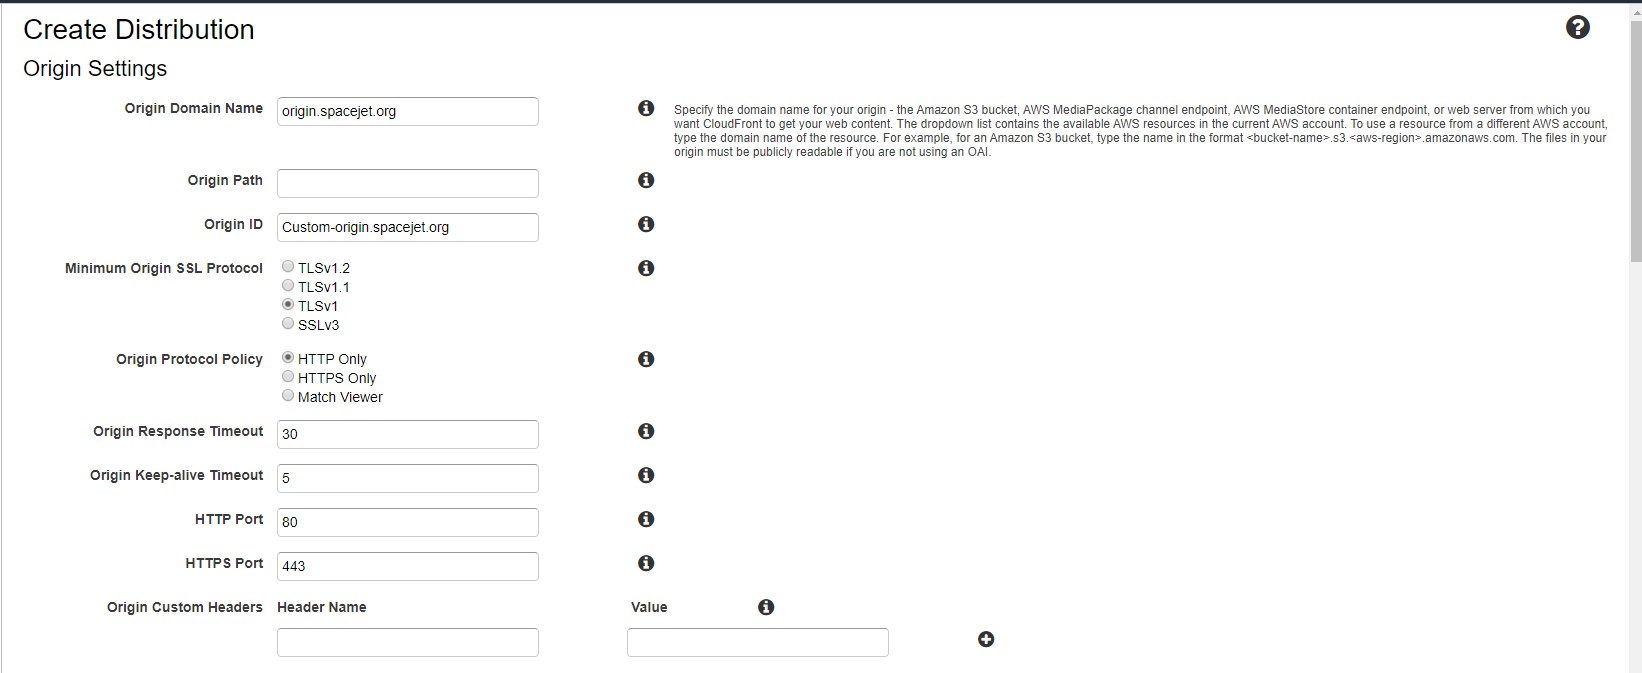
- Enter the origin domain name (origin.domainname.(org/com/net/edu).
- Leave the origin path blank.
- Accept the default value populated in the Origin ID.
- Accept the default selection for the Minimum Origin SSL Protocol.
- Accept the default selection for the Origin Protocol Policy.
- Accept the defaults for the Origin Response Timeout, the Origin Keep-alive Timeout, HTTP Port and HTTPS Port.
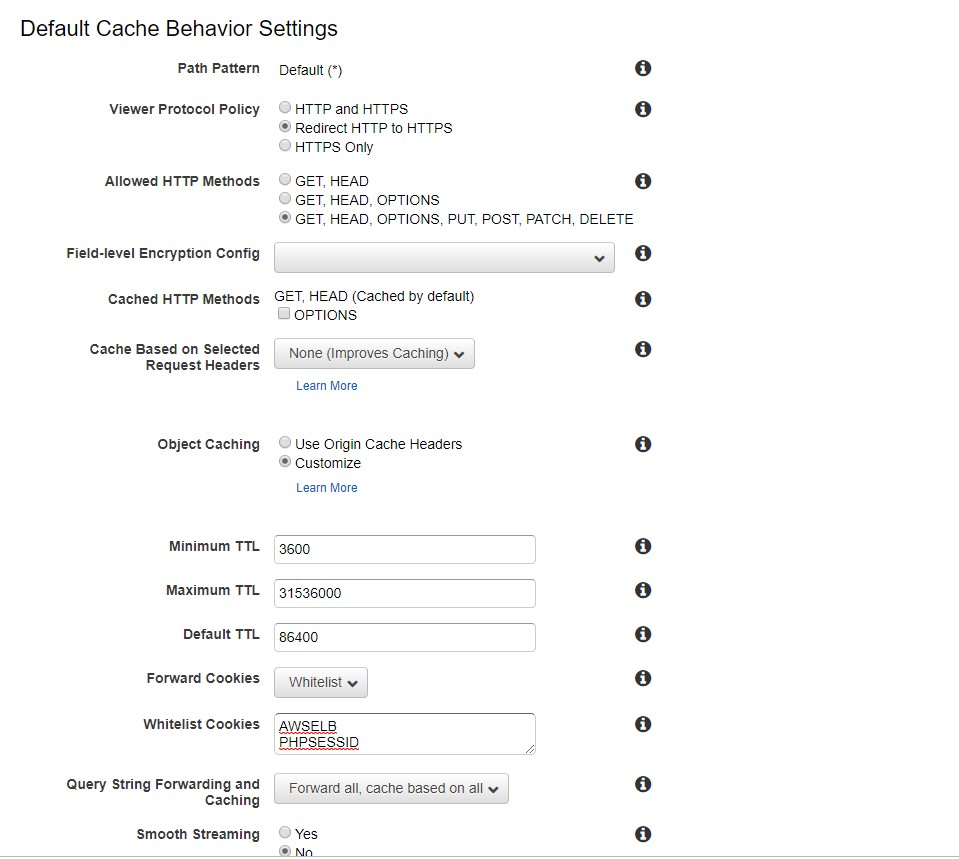
- In the Default Cache Behavior Settings section of the form, select Redirect HTTP to HTTPS for the Viewer Protocol Policy.
- Select the GET, HEAD, OPTIONS, PUT, POST, PATCH, DELETE option for Allowed HTTP Methods.
- Accept the defaults for Field-level Encryption Config, Cached HTTP Methods, Cache Based on Selected Request Headers.
- Select customize for Object Caching.
- Populate the Minimum TTL textbox with a value of 3600.
- Accept the defaults for Maximum TTL and Default TTL.
- In the Forward Cookies Select Box, choose Whitelist.
- Enter AWSELB and PHPSESSID for whitelist cookies.
- In the Query String Forwarding and Caching checkbox choose Forward all, cache based on all.
- Accept the Default radio values for Smooth Streaming and Restrict Viewer Access.
- Select the Yes radio button to Compress Objects Automatically.
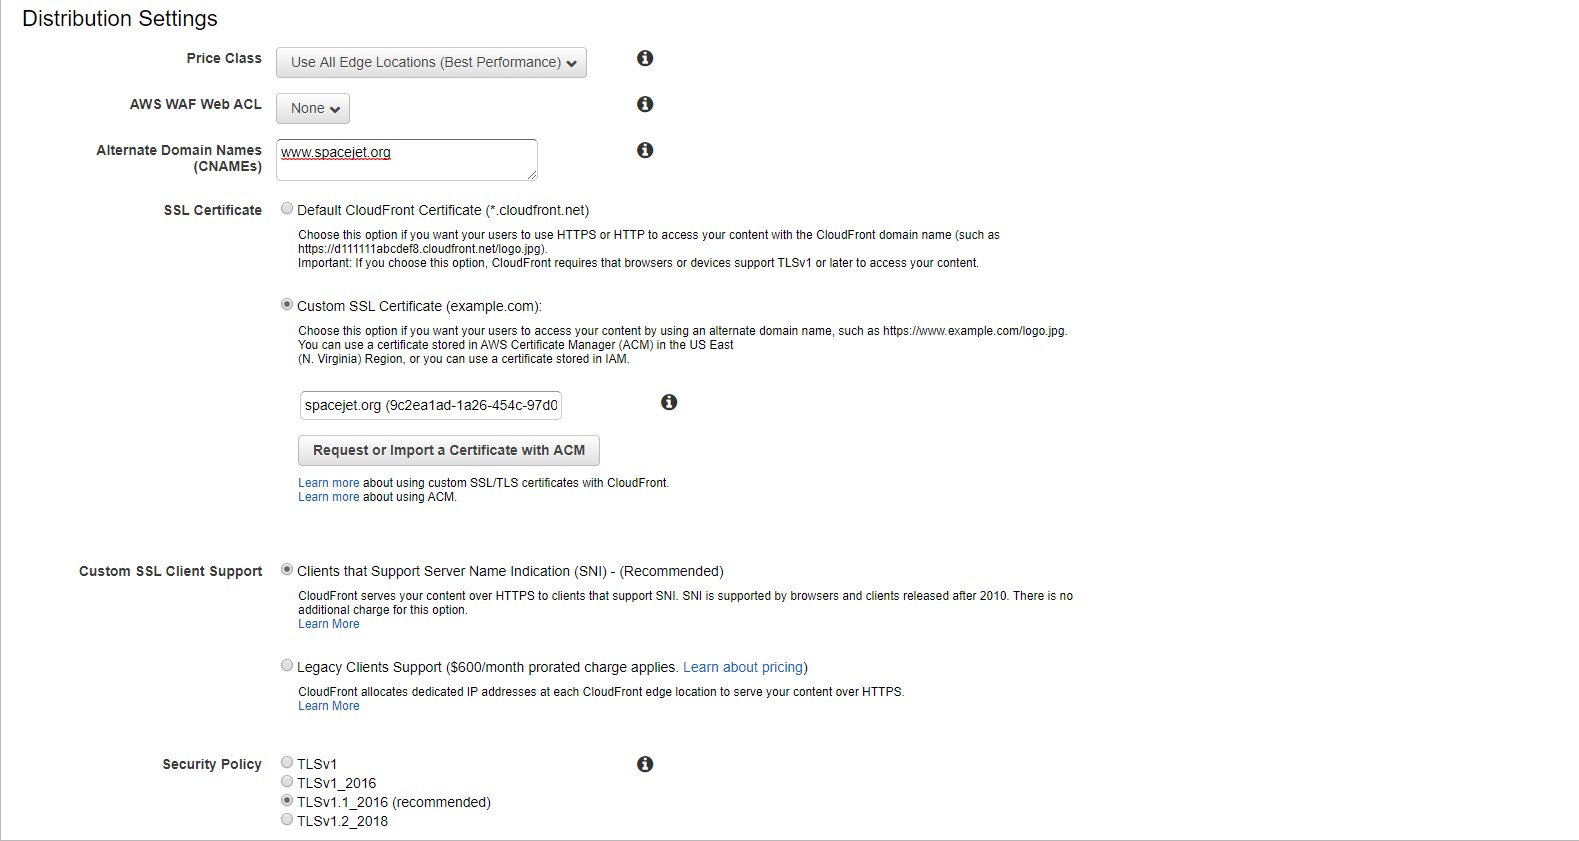
- In Distribution settings, select a price class that best suites your needs.
- Accept the defaults for AWS WAF Web ACL.
- Enter the www domainname for the alternate domain names (www.domainname.(com/org/edut/net/etc).
- Select the Custom SSL Certificate radio button and choose the hosted zone created for your domain name for the SSL Certificate.
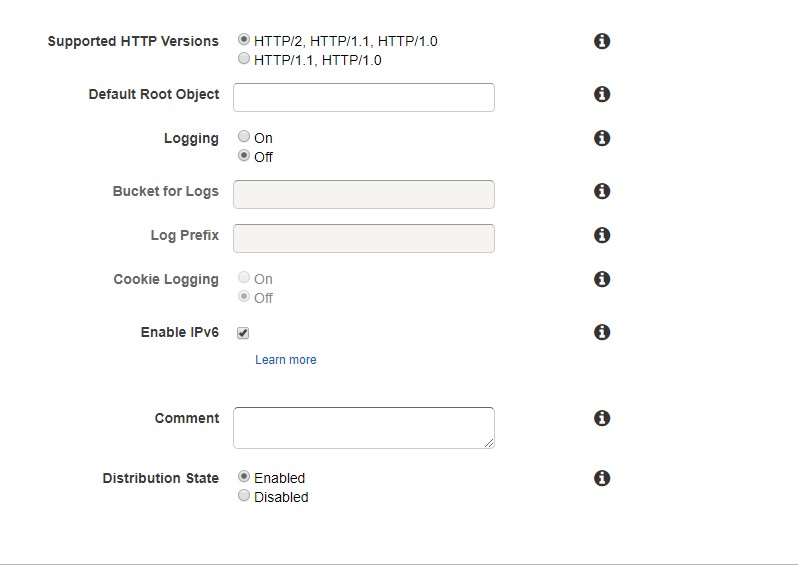
- Select the defaults for the Custom SSL Client Support, Security Policy, Supported HTTP versions, Default Root Object, Logging, Bucket for Logs, Log Prefix, Cookie Logging, Enable IPv6, Comment, and Distribution State.
- Click Create Distribution.

- Login to the Solodev CMS system.
- Click Websites.
- Select the desired website.
- Select Settings.
- Expand the CDN Information accordion.
- Enter the origin domain name in the CDN website address textbox.
- Select AWS as the CDN Provider.
- Enter the CloudFront Distribution ID for the AWS CDN.
- Click Submit.
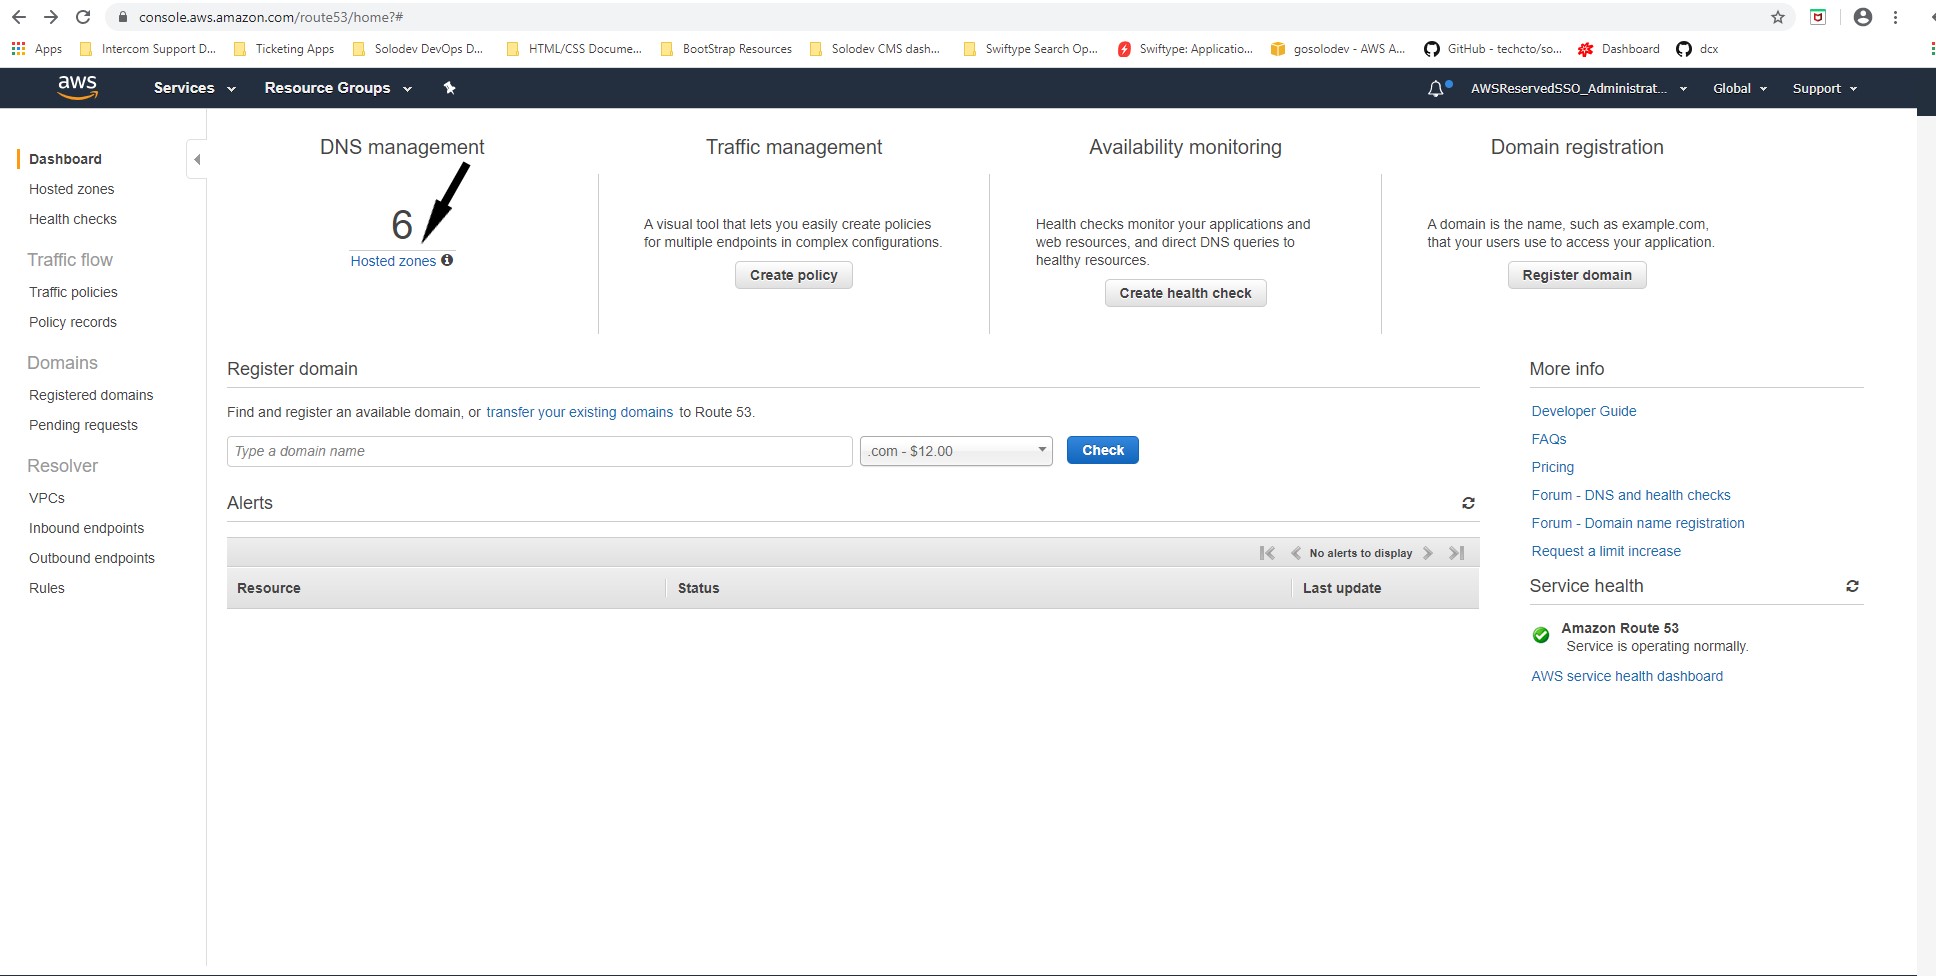
- Open Route 53.
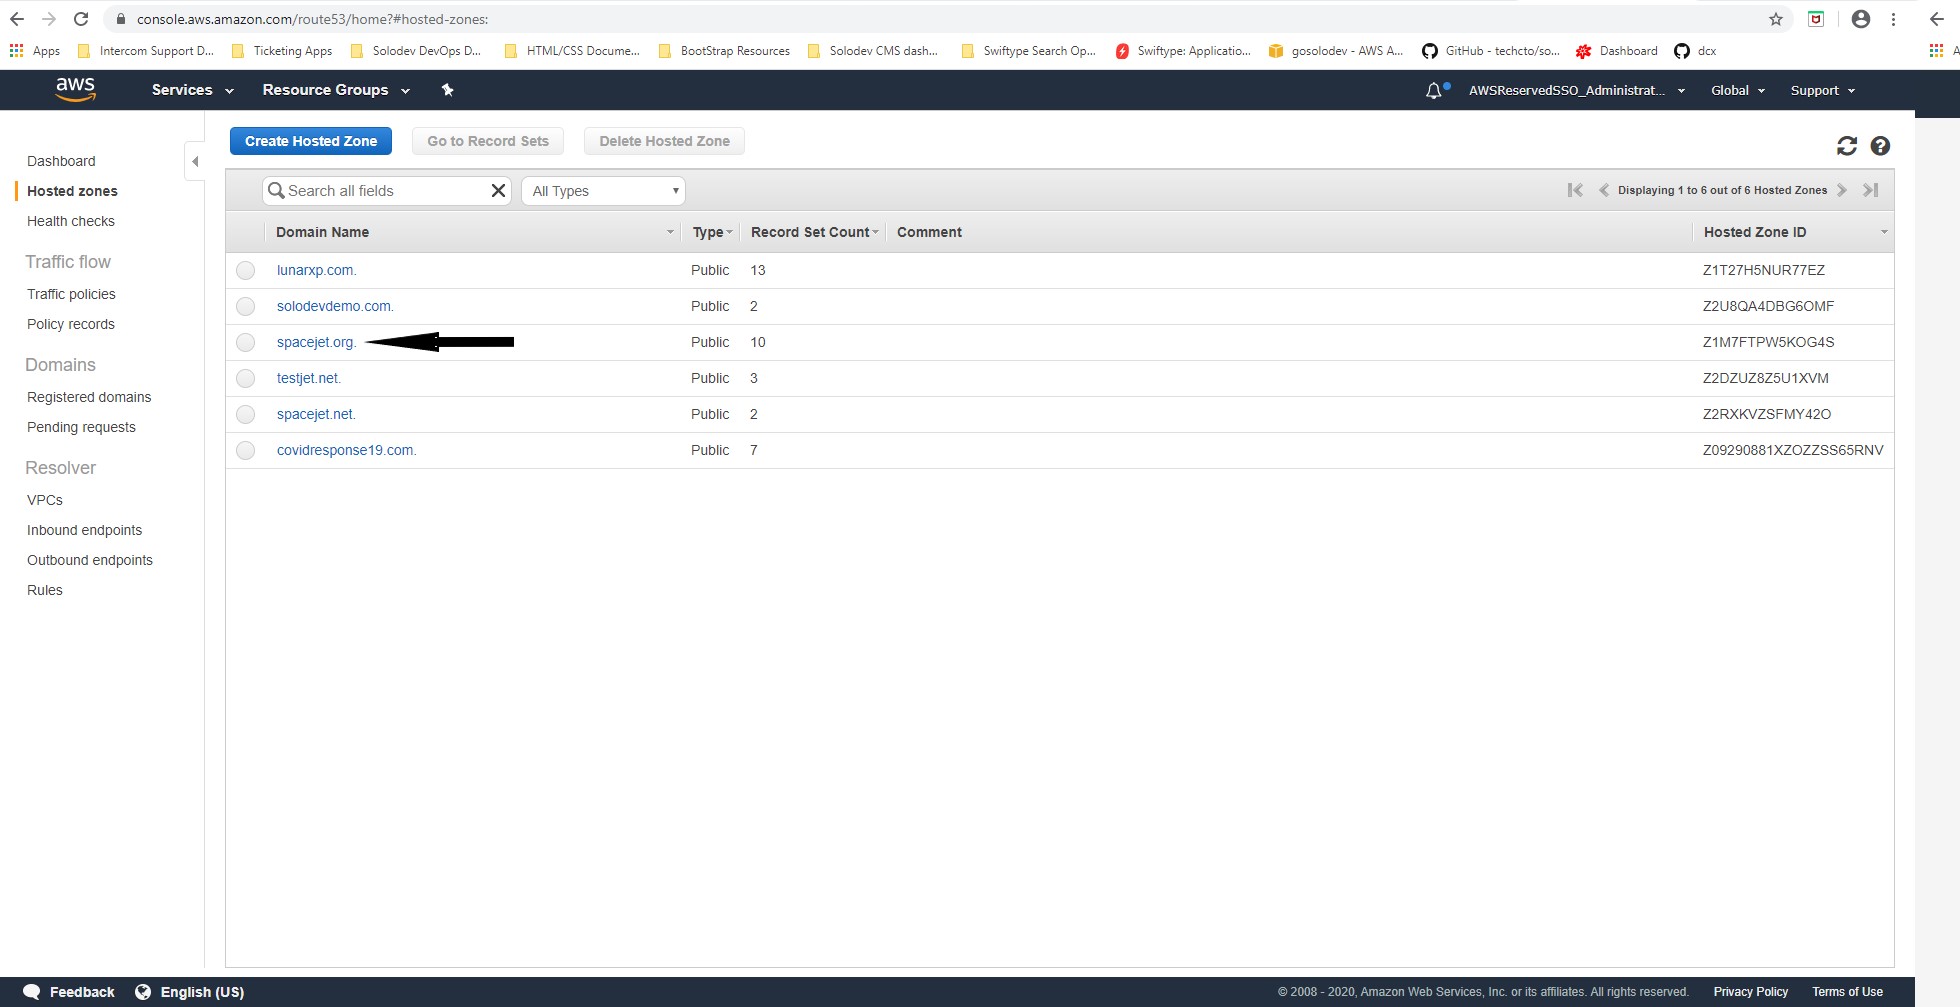
- Select Hosted zones under DNS management.
- Select the domain name.
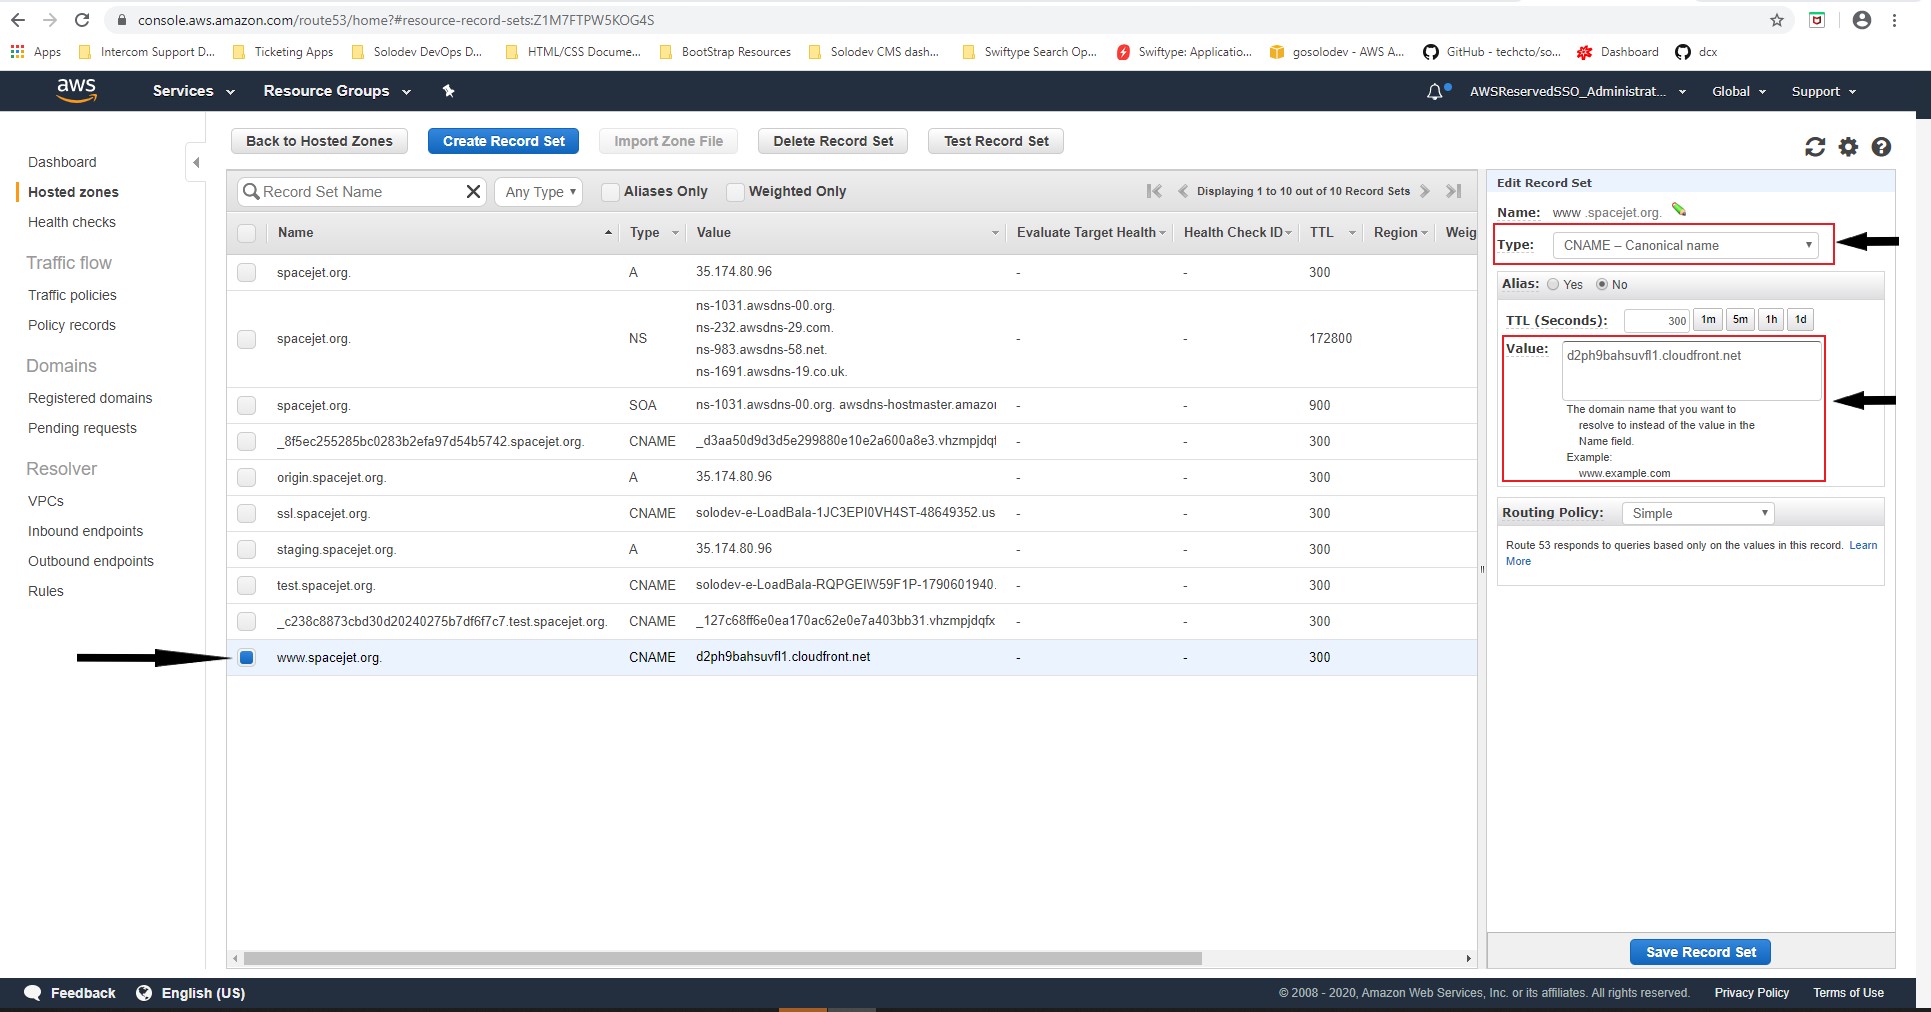
- In the www DNS record set (usually the home page www.domainname.(com/org/edu/net/etc), enter CloudFront domain name for the Value and select CNAME for the type.
- Click Save Record Set.

Developers and administrators can configure IAM credentials with access to CloudFront so that the CMS automatically invalidates caches when pages or files are published. The steps are provided below:
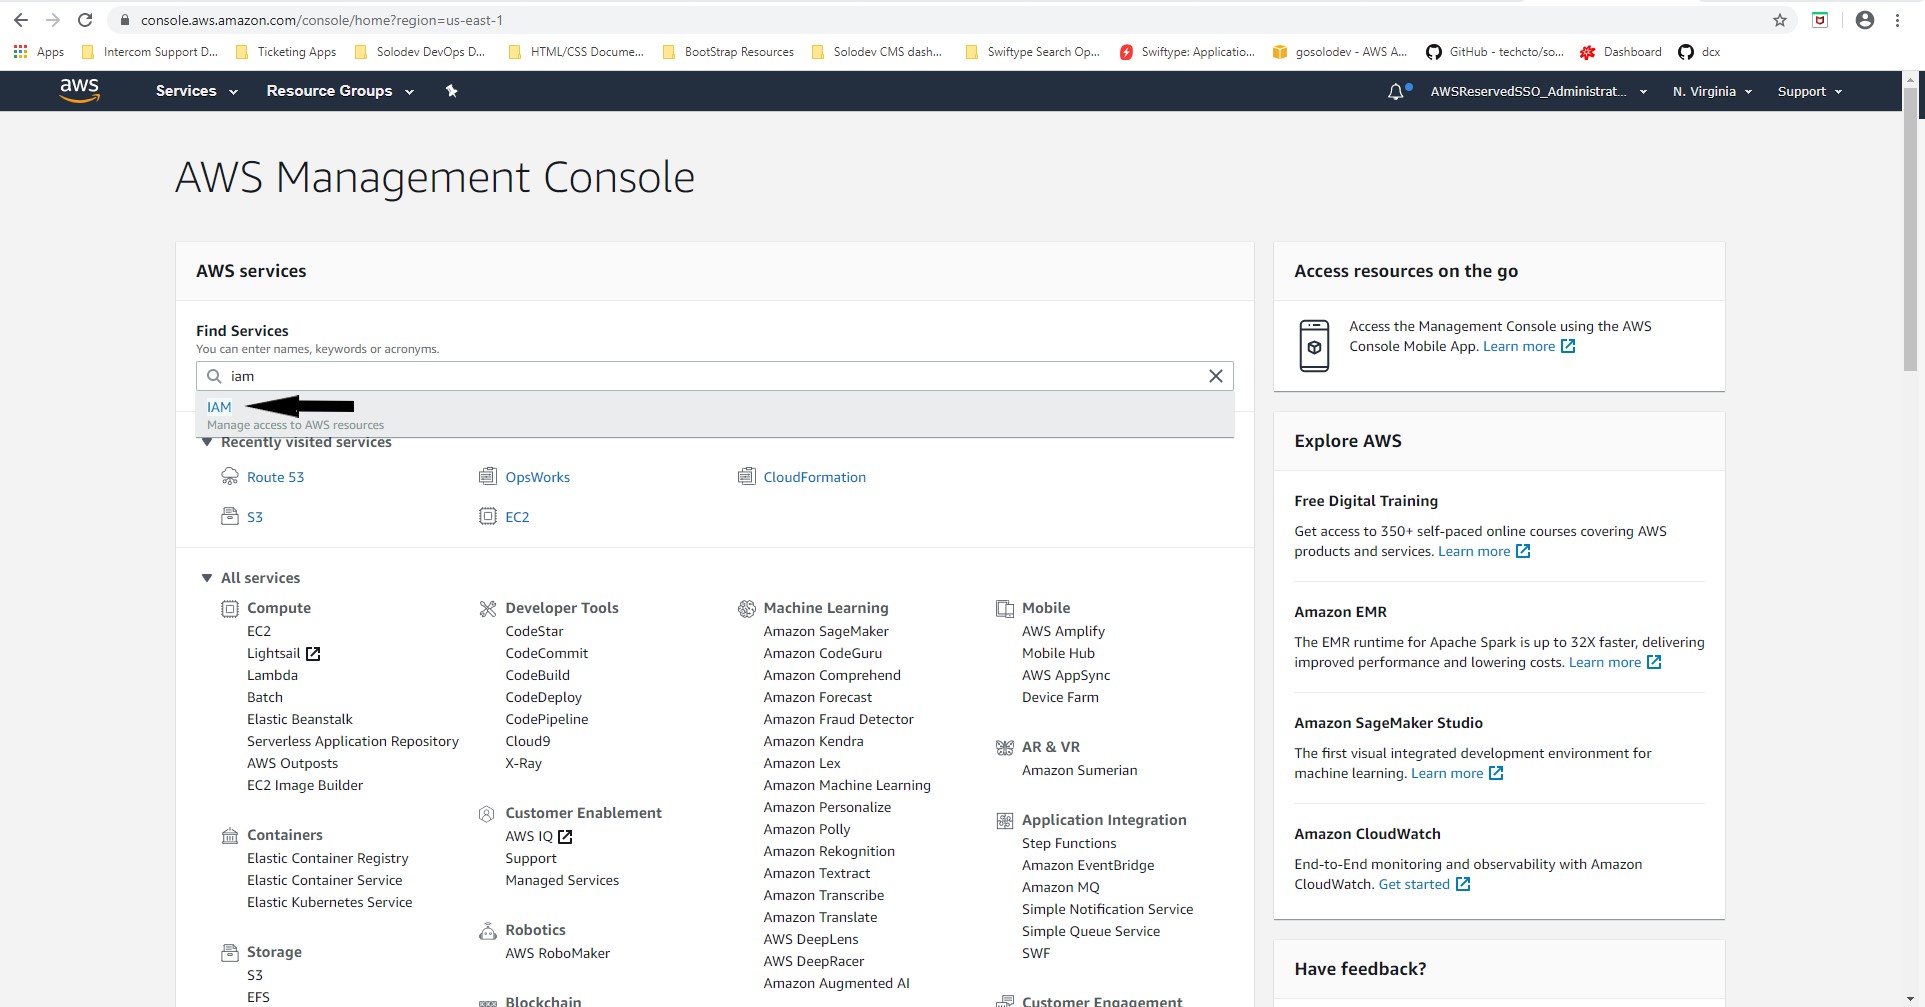
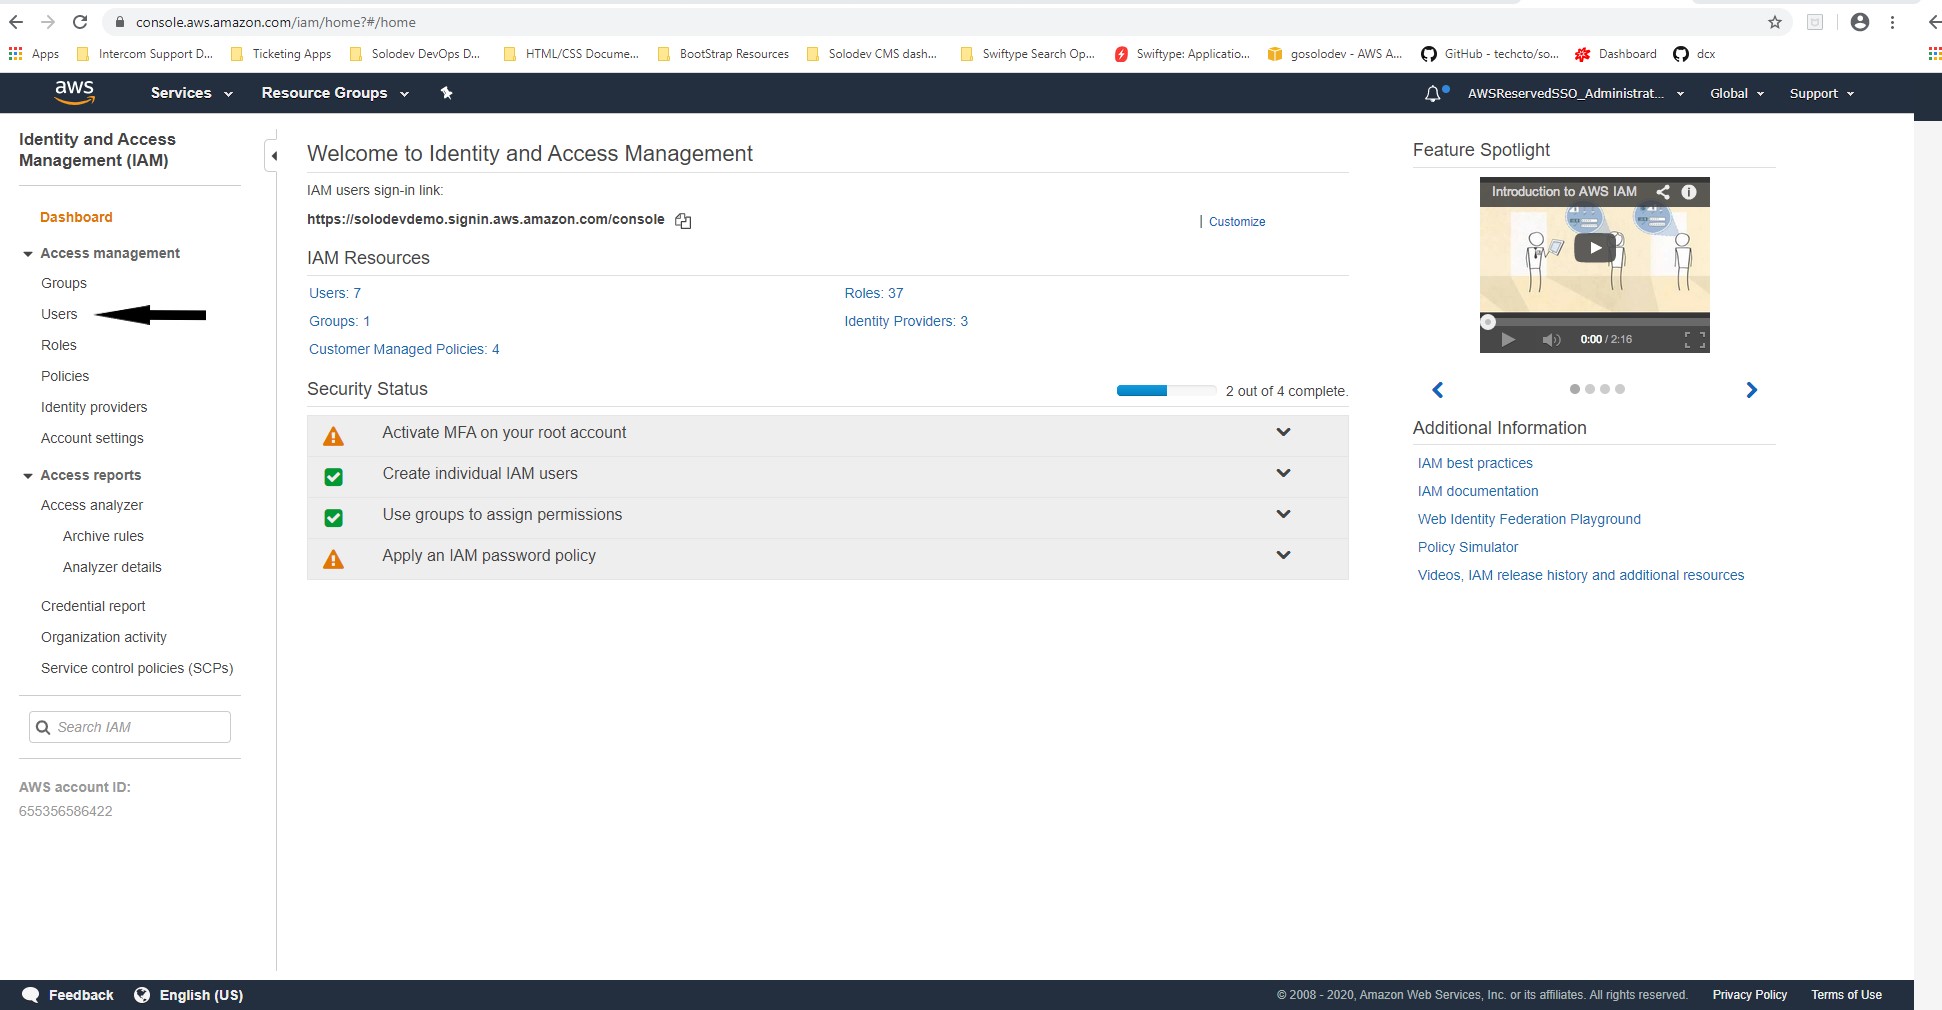
- Open Identity and Access Management.
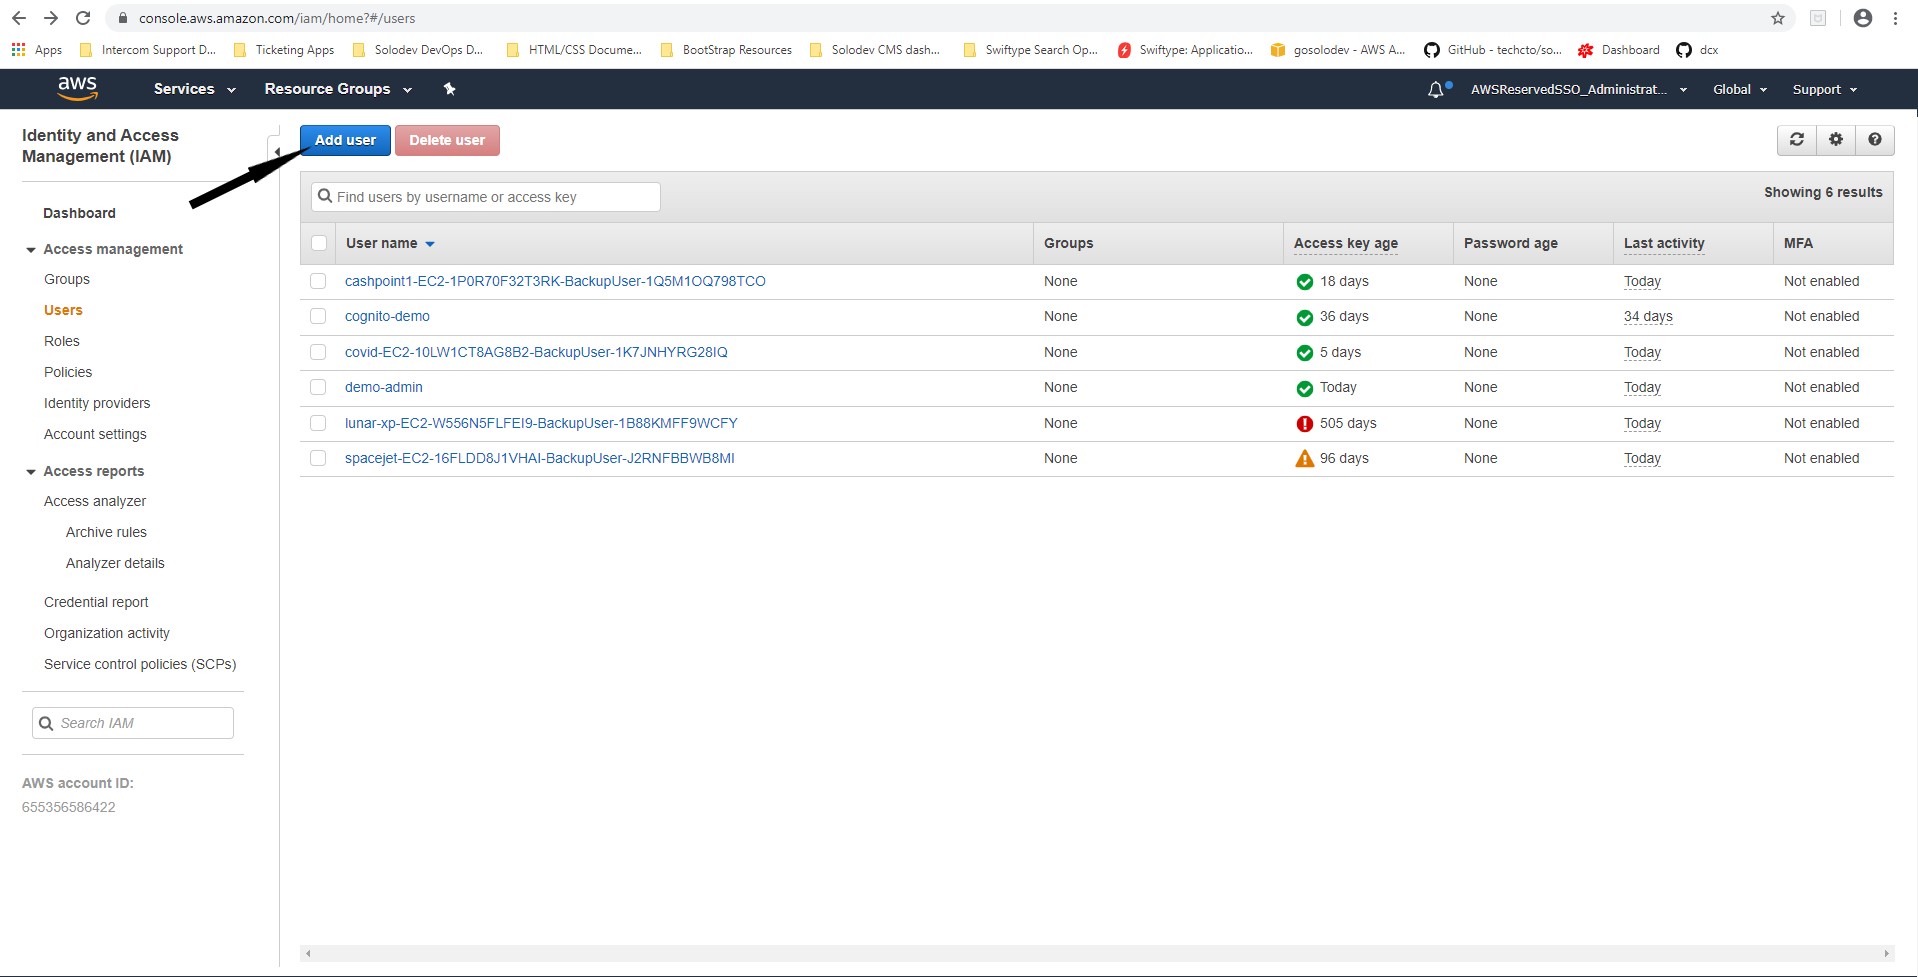
- Click Users.
- Click Add User.
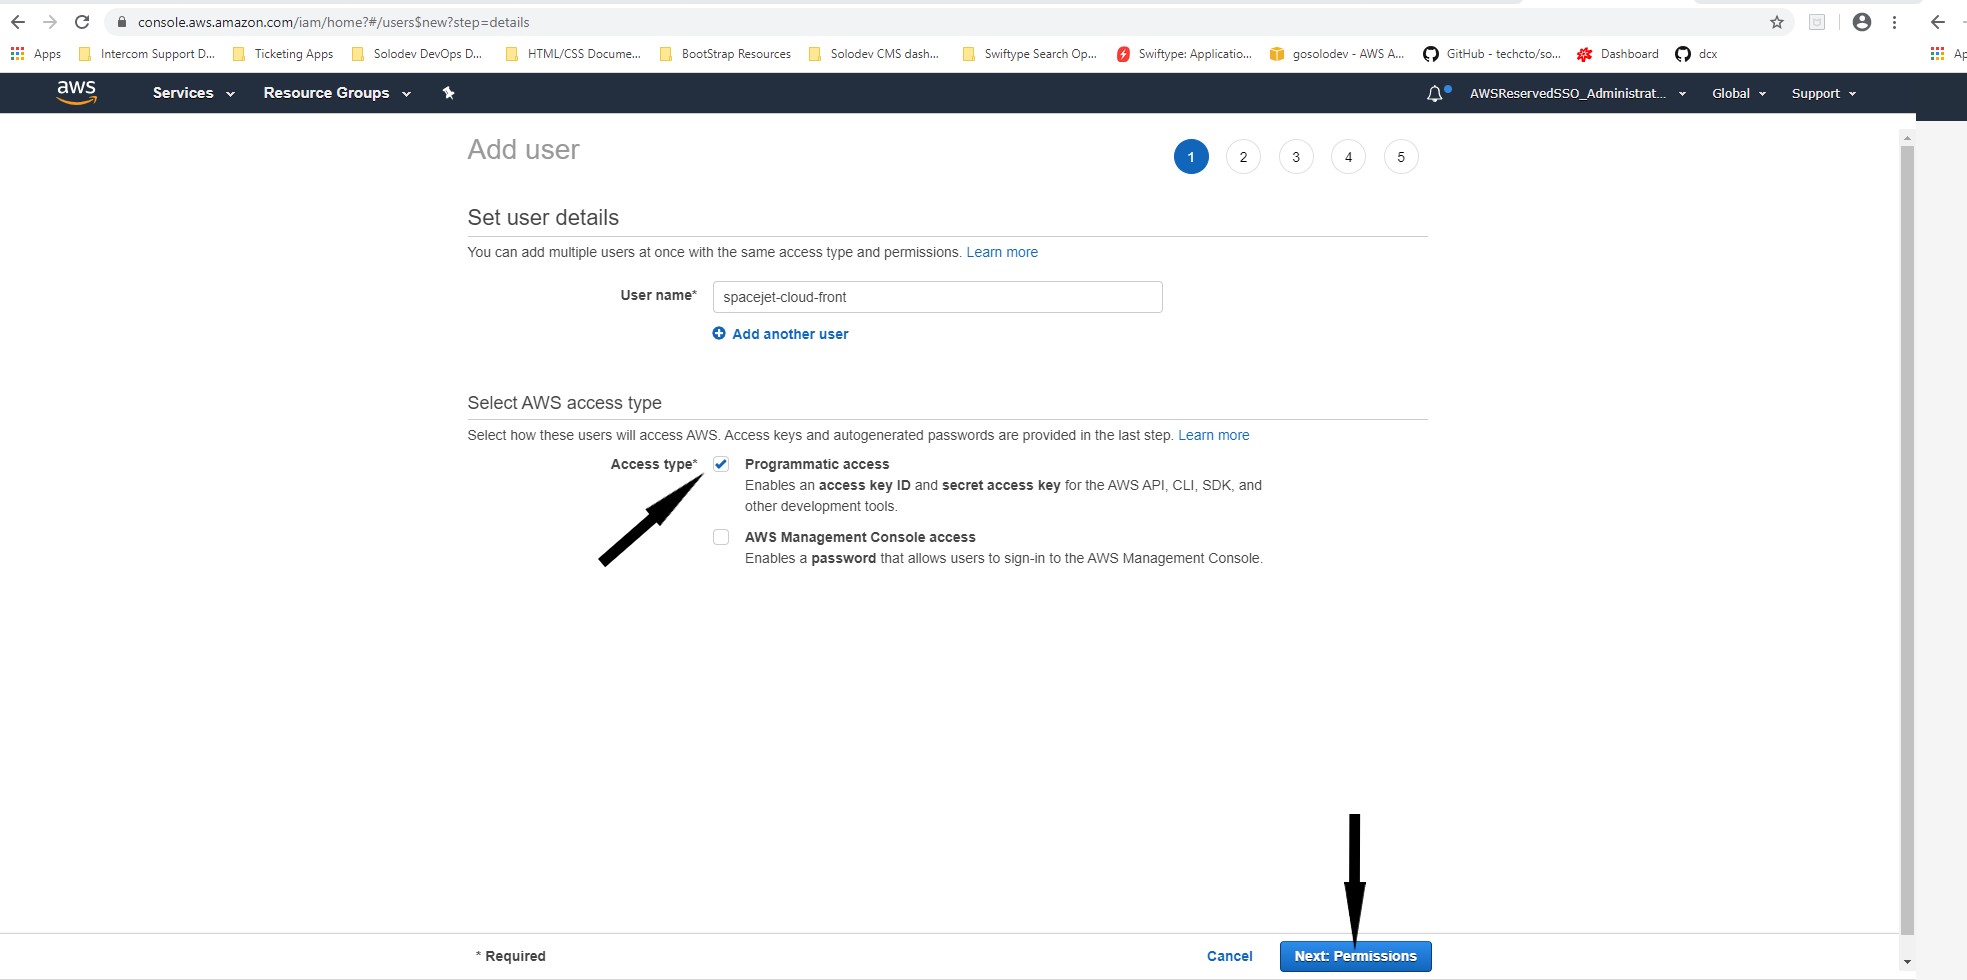
- Enter a username in the User name* text box.
- Select Programmatic Access for the Access type*
- Click Next: Permissions.
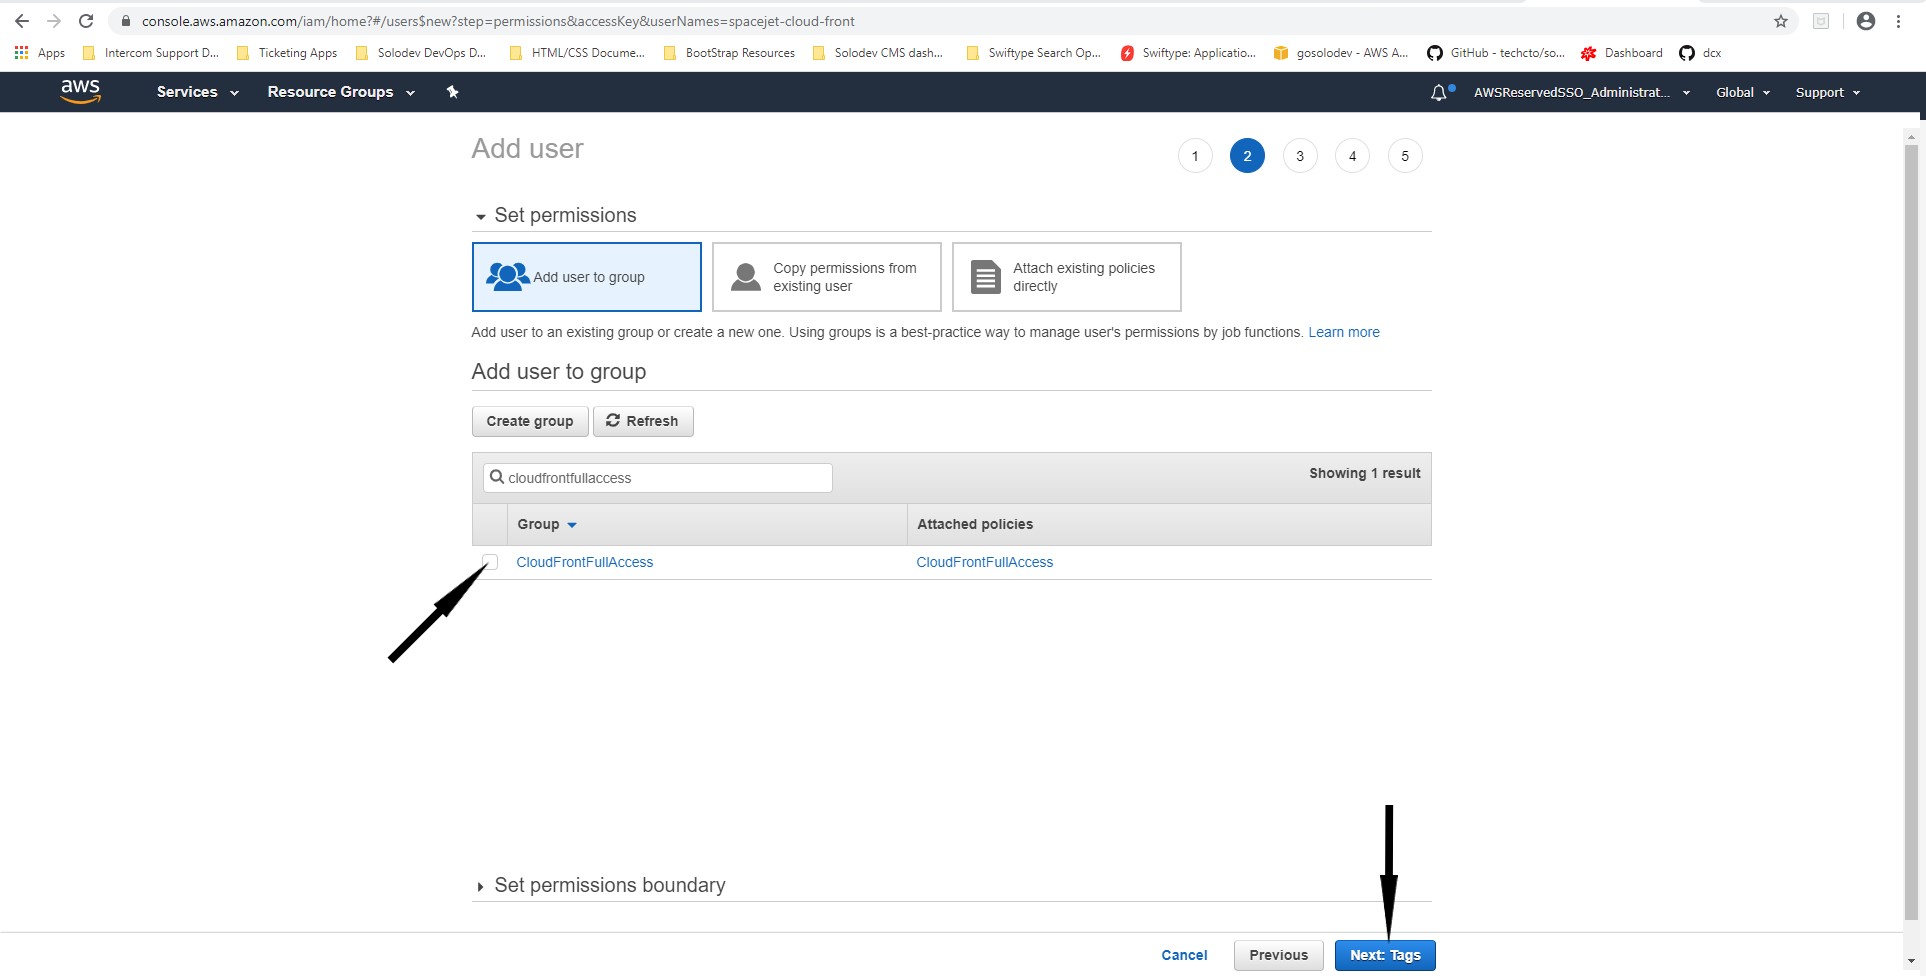
- Under Set Permissions, click Attach existing policies directly.
- In the Search box below, type CloudFront.
- Select CloudFrontFullAccess from the list of policies.
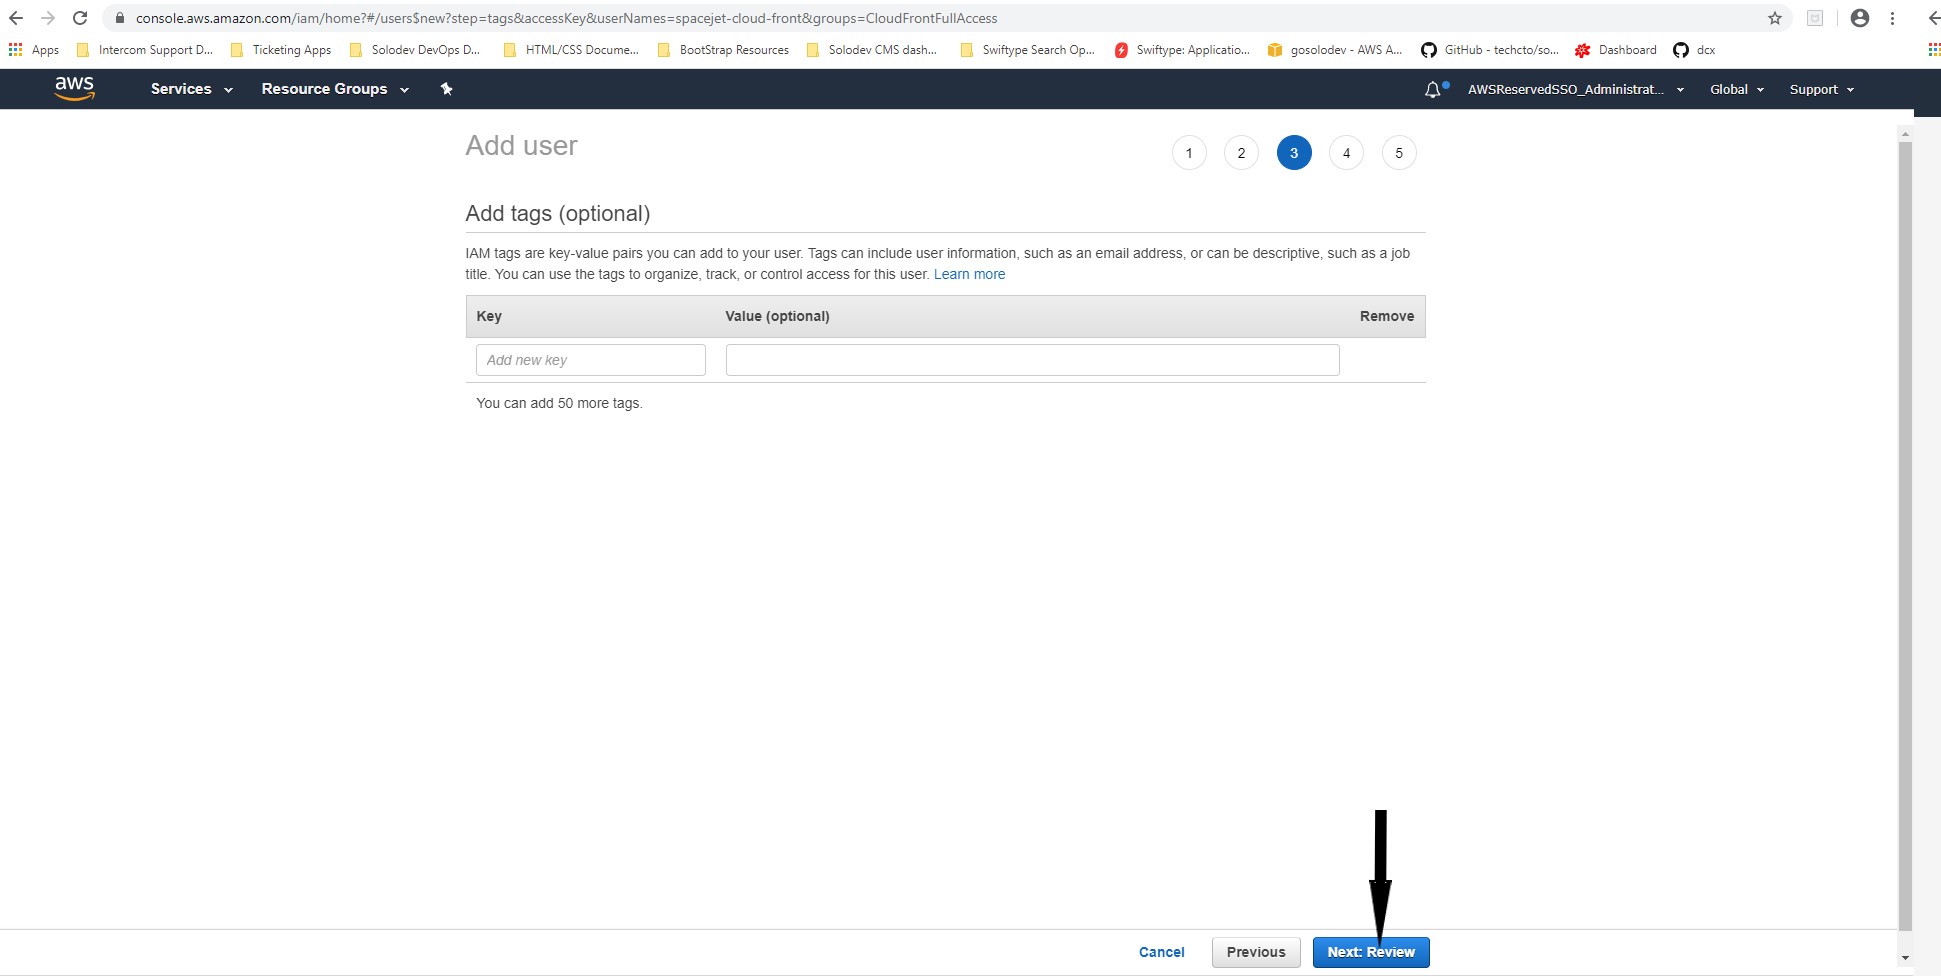
- Click Next:Tags.
- Accept the defaults for the key value pair.
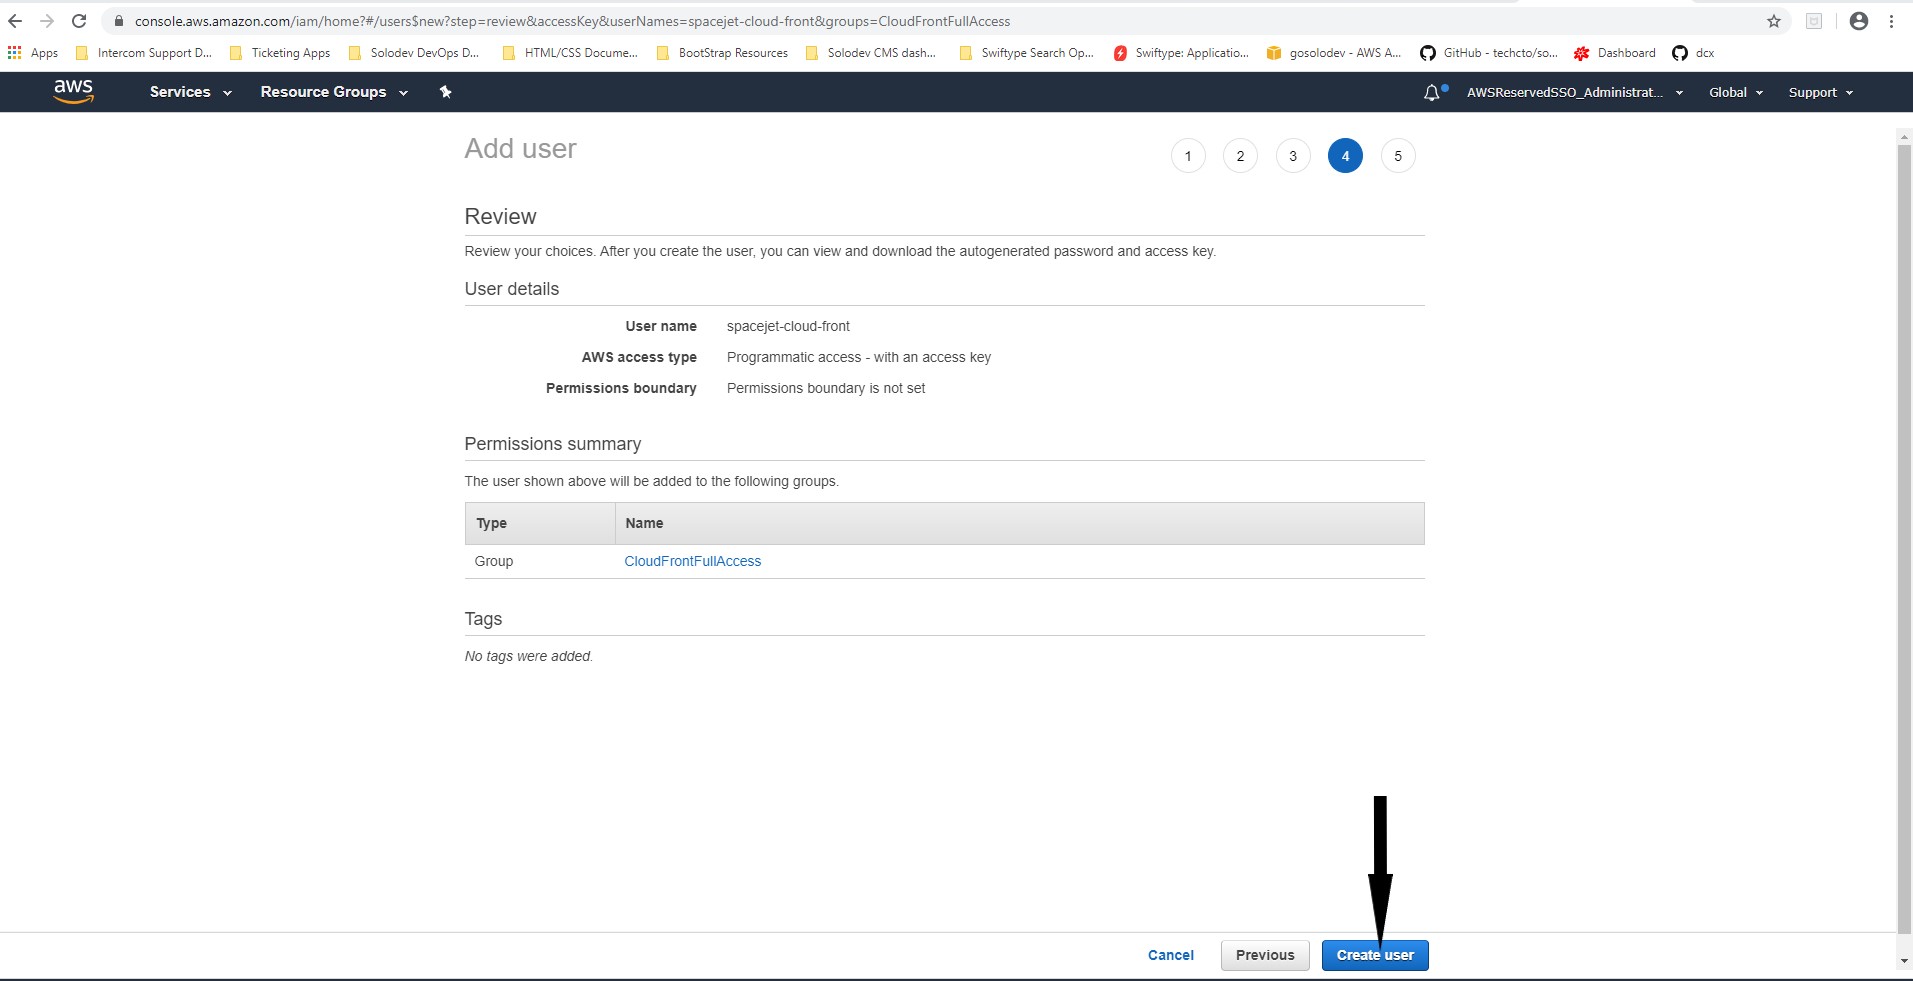
- Click Next: Review.
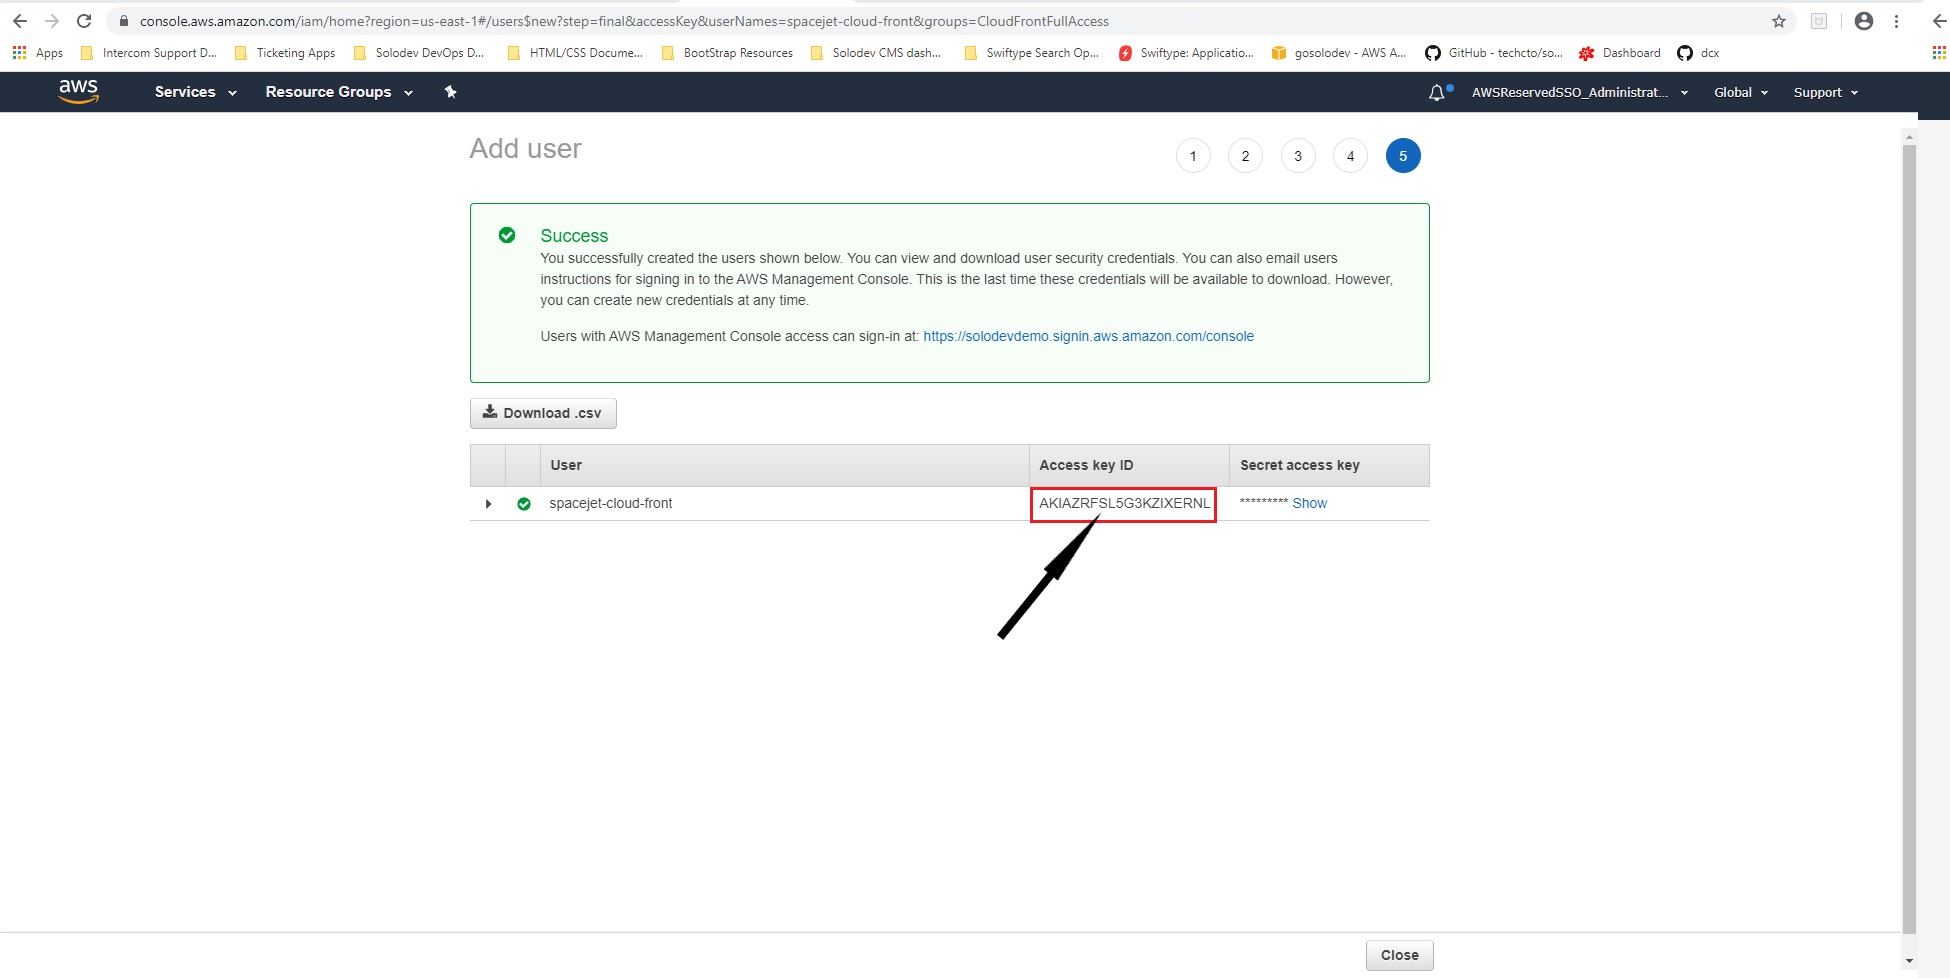
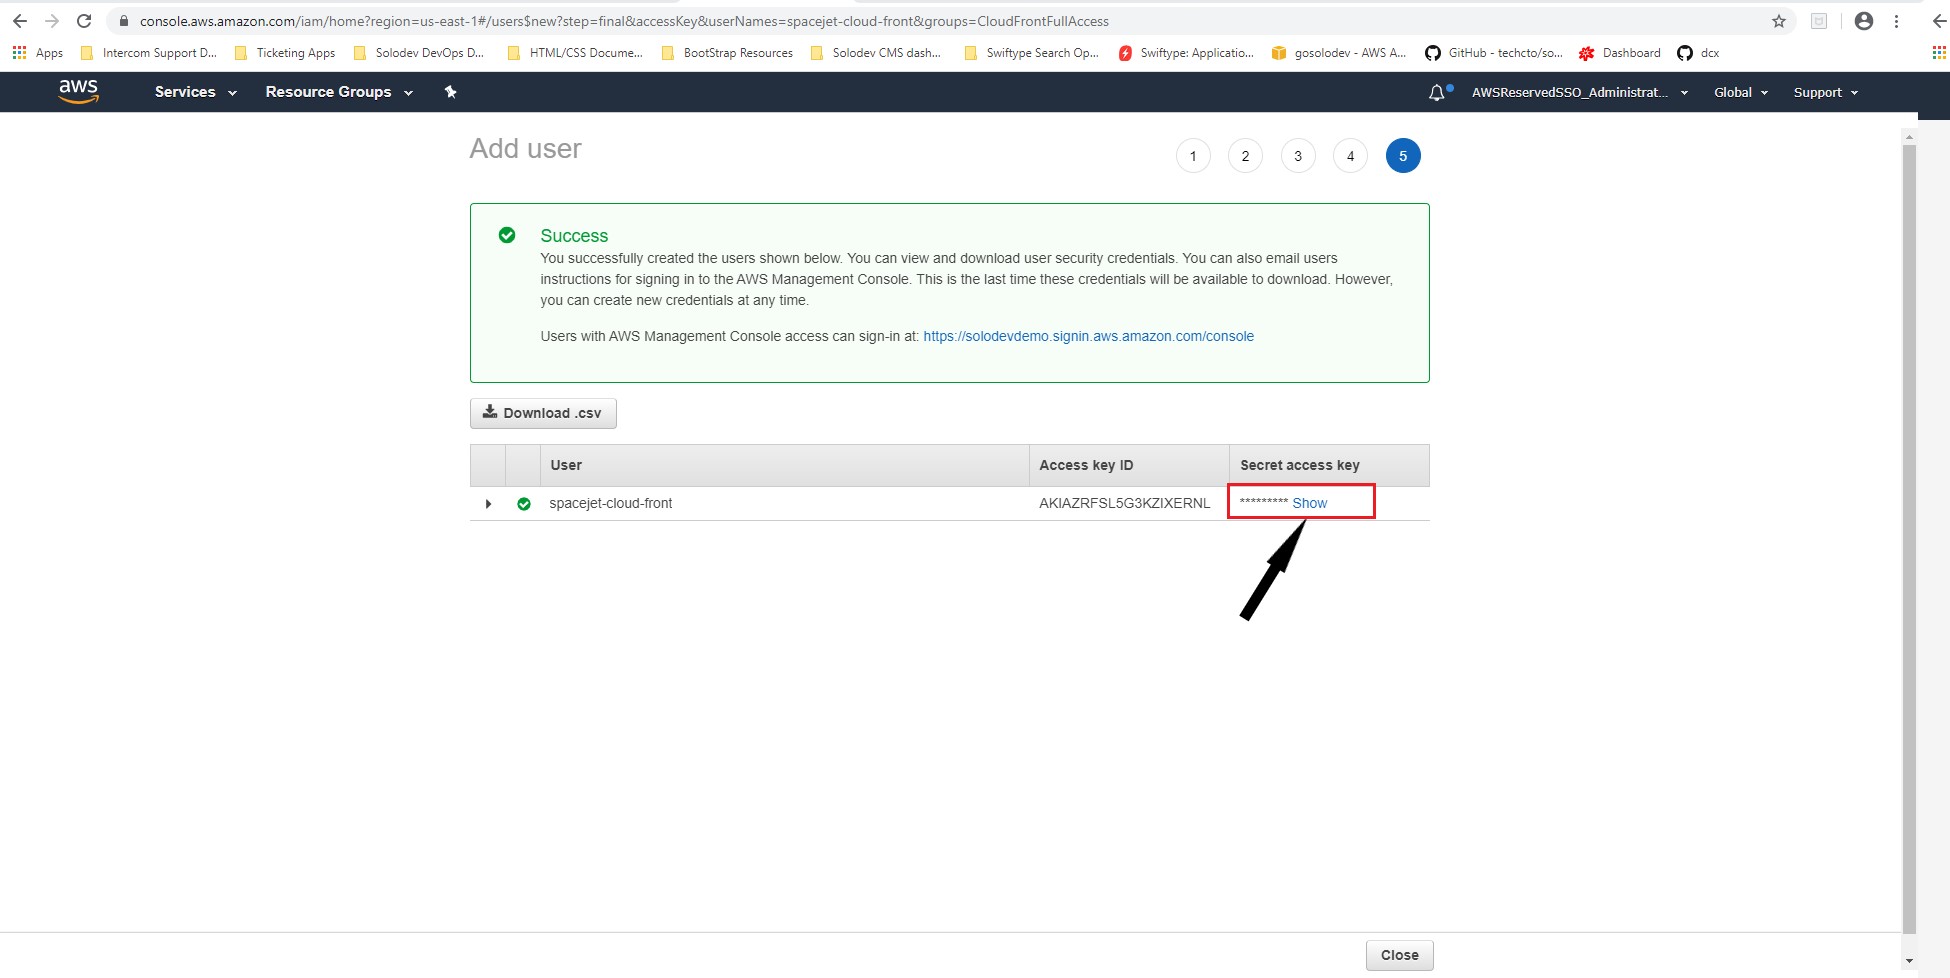
- Click Create user.
- Copy the Access key ID value into a text-editor.
- Under the Secret access key column, click Show.
- Copy the Secret access key value into a text-editor.
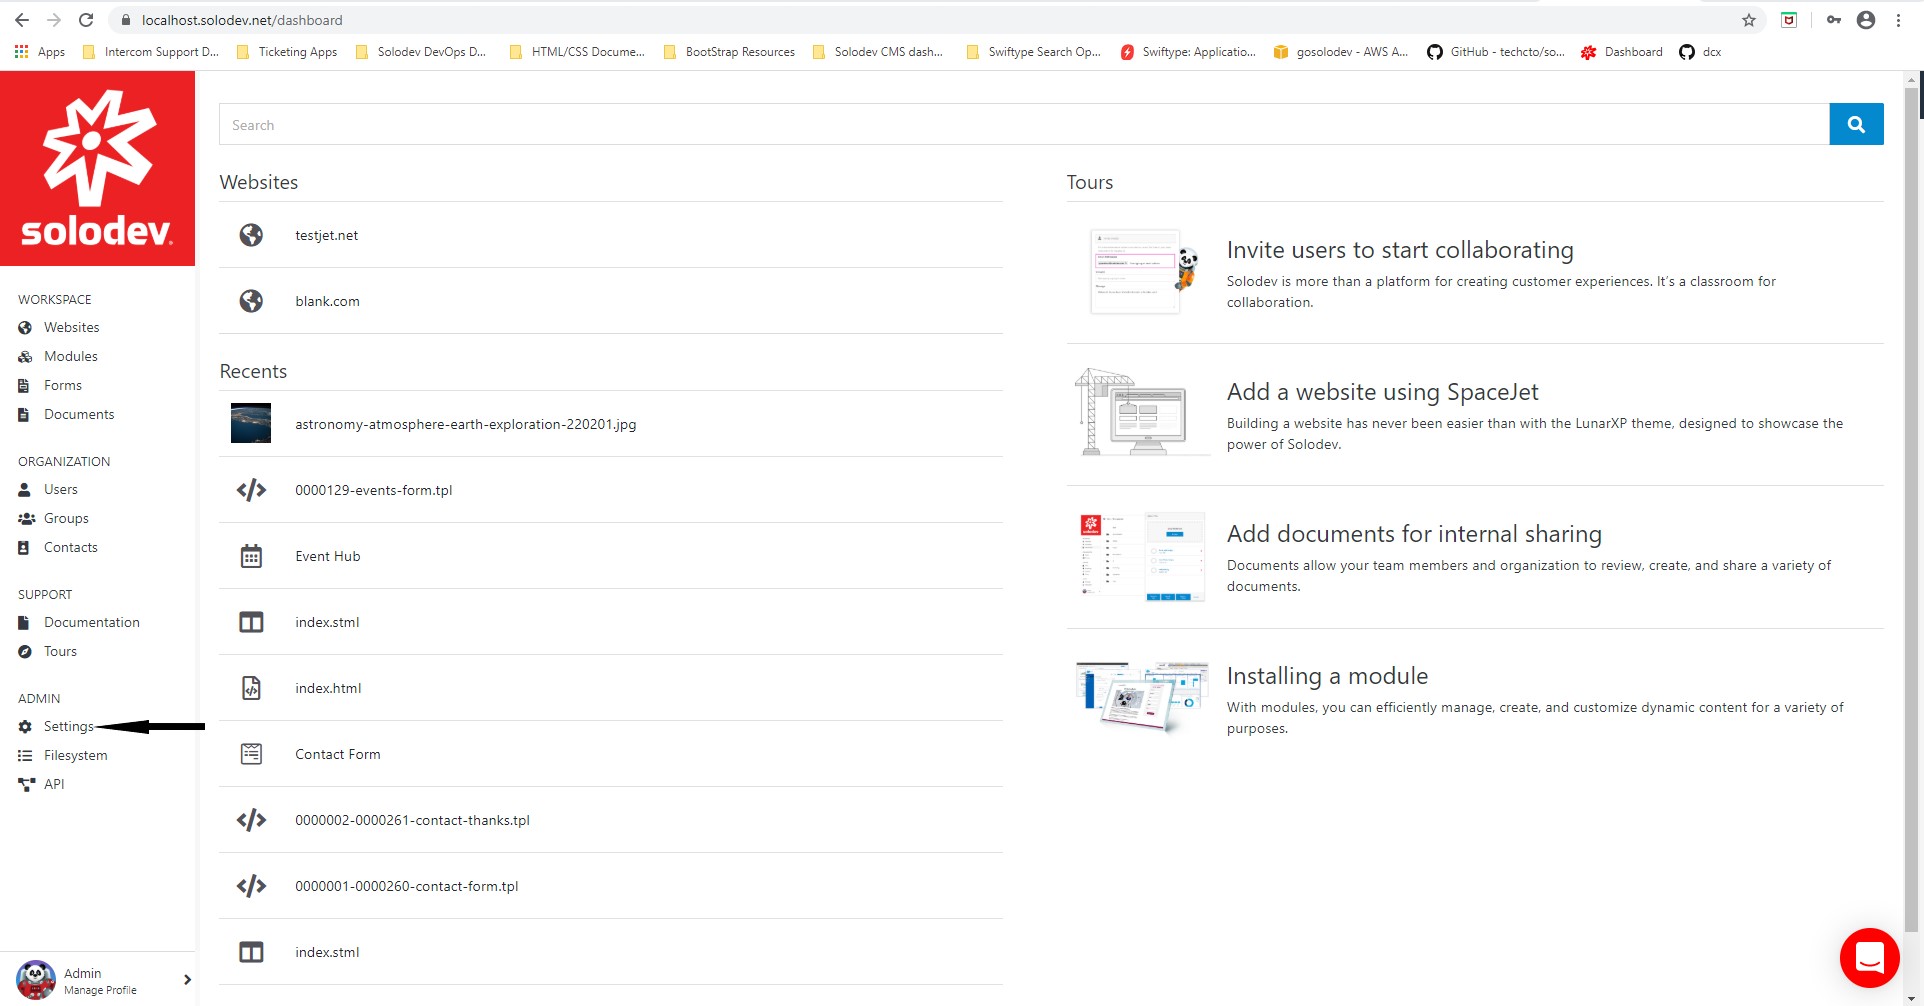
- Login to Solodev CMS.
- In the Dashboard, click Settings.
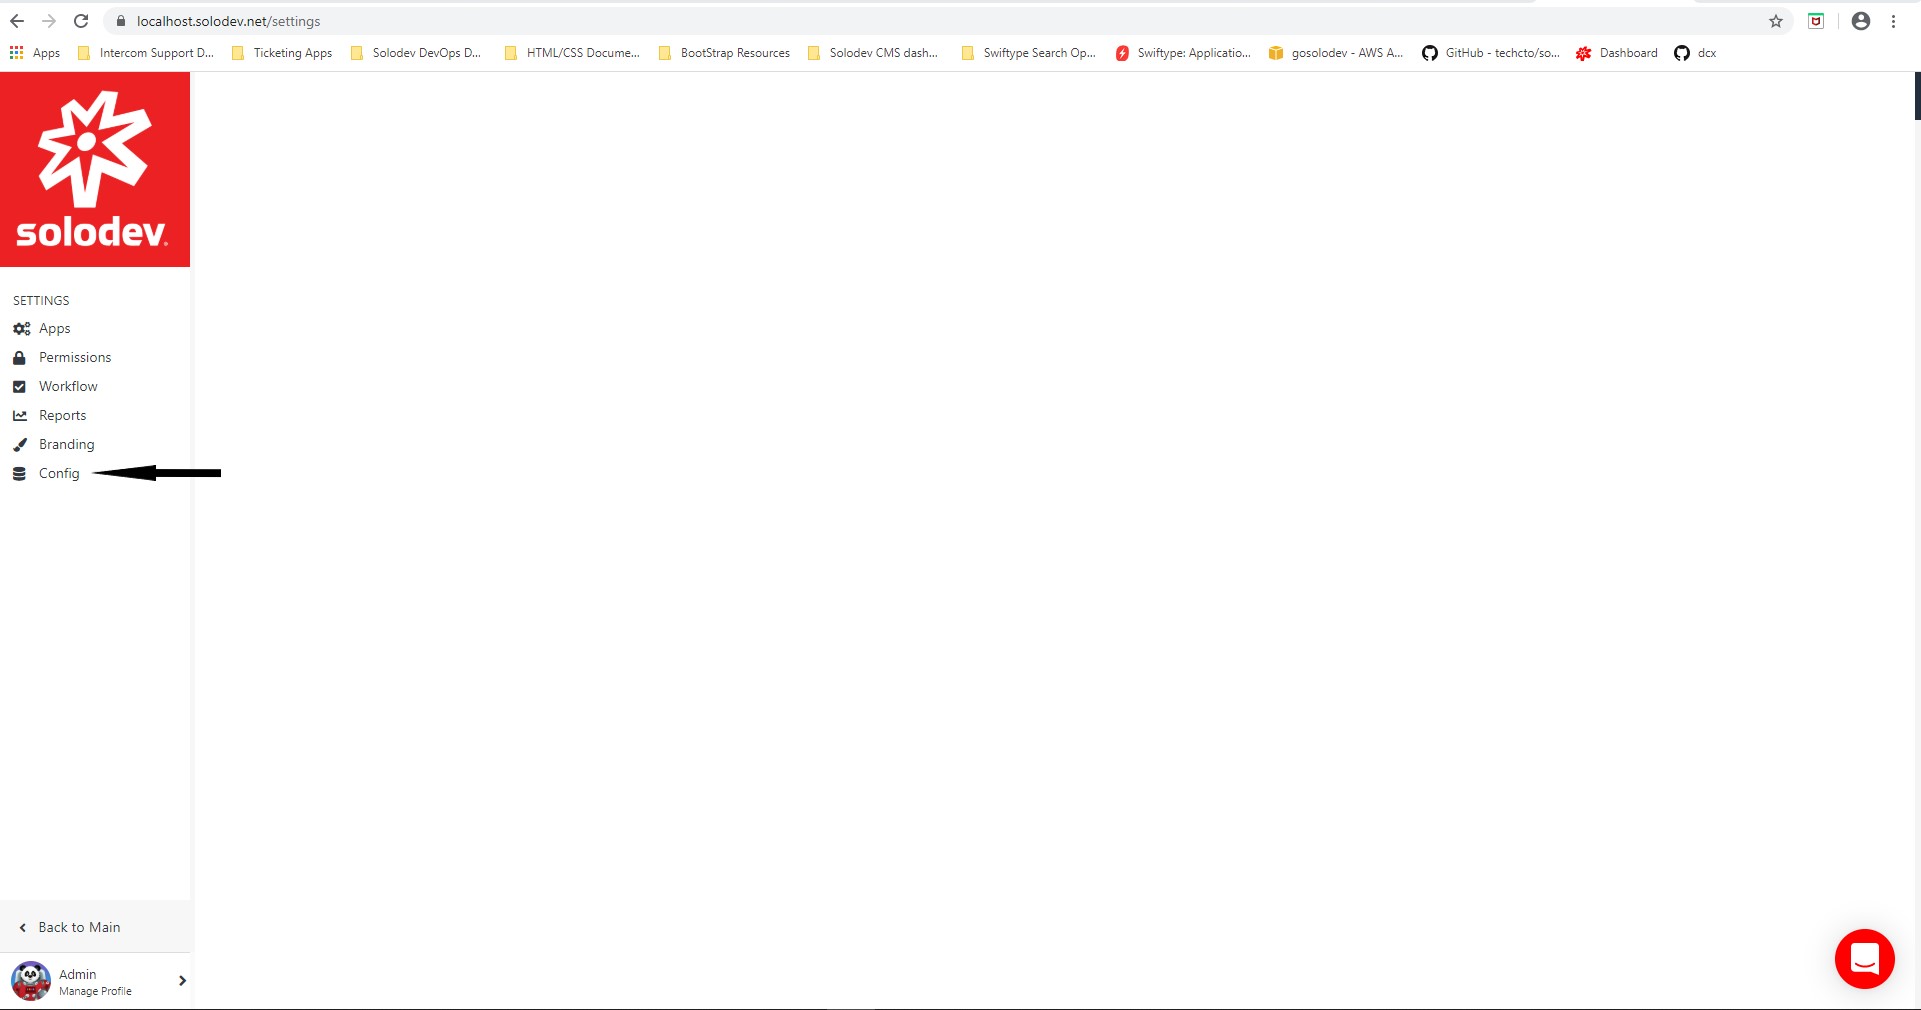
- In the Settings Dashboard, click Config.
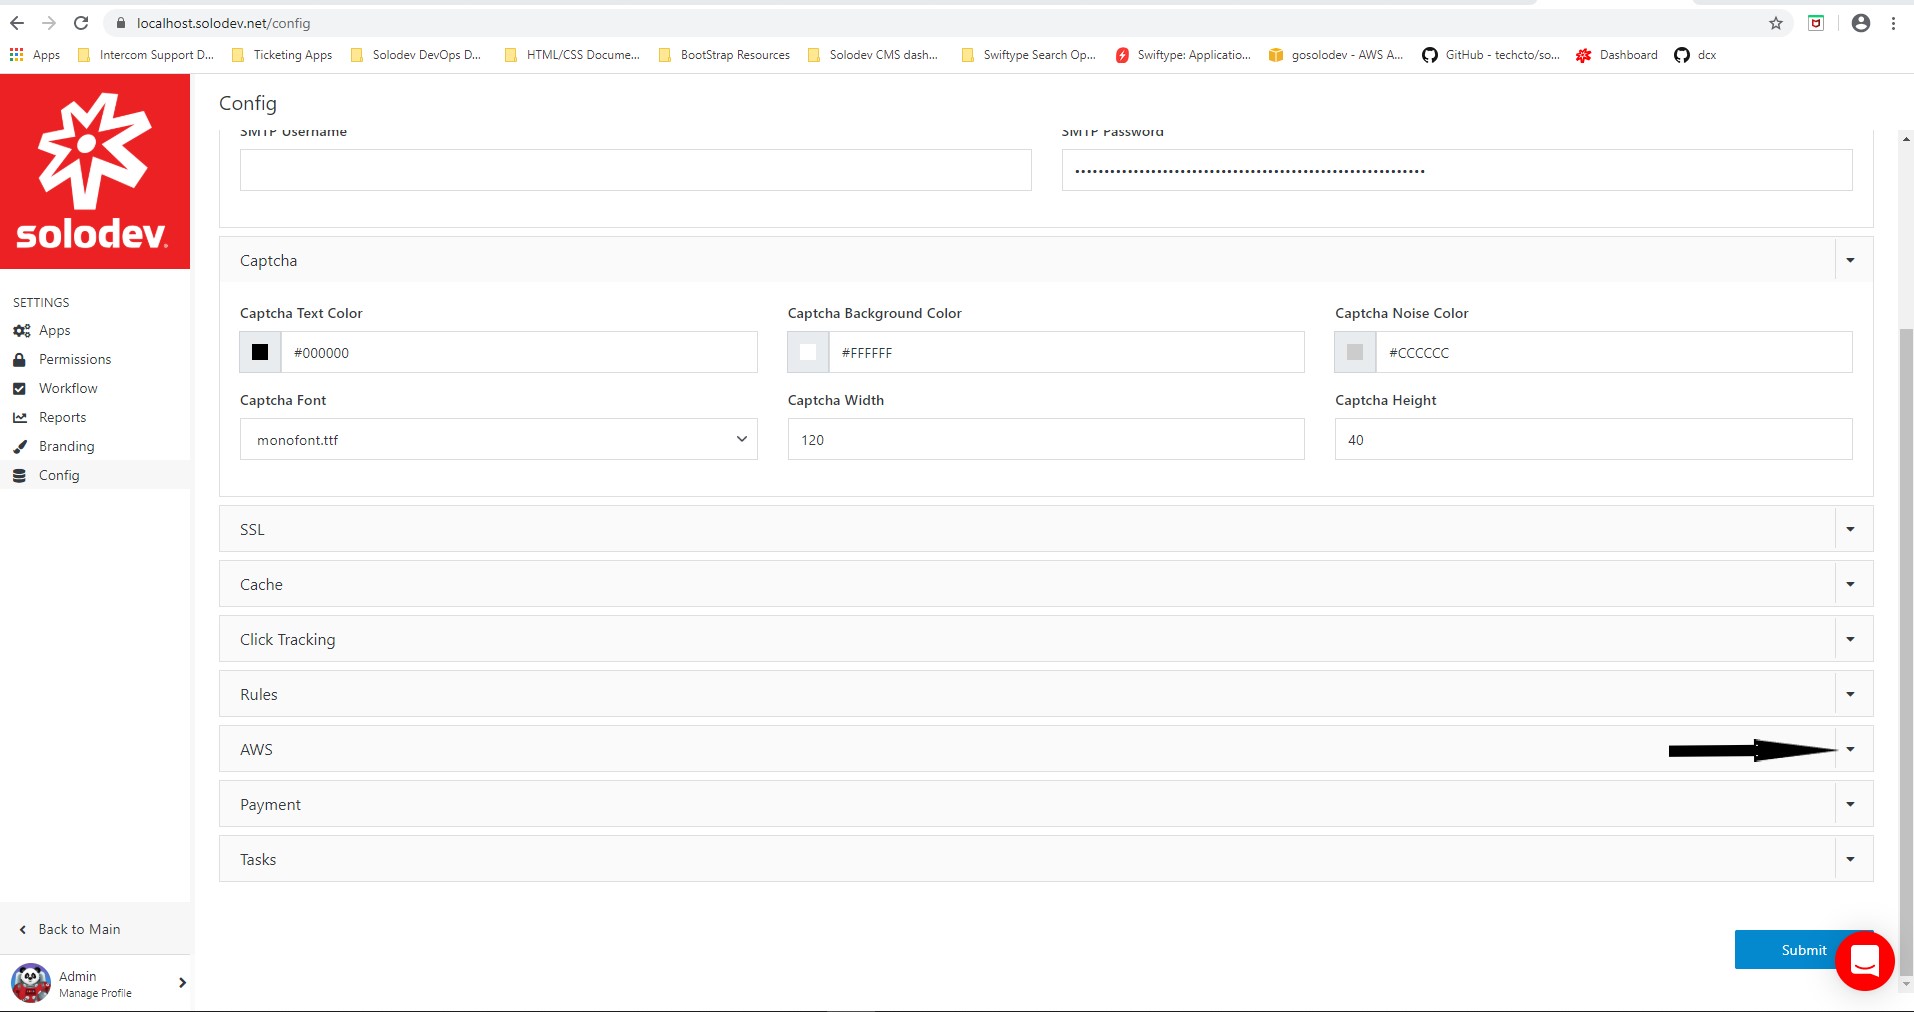
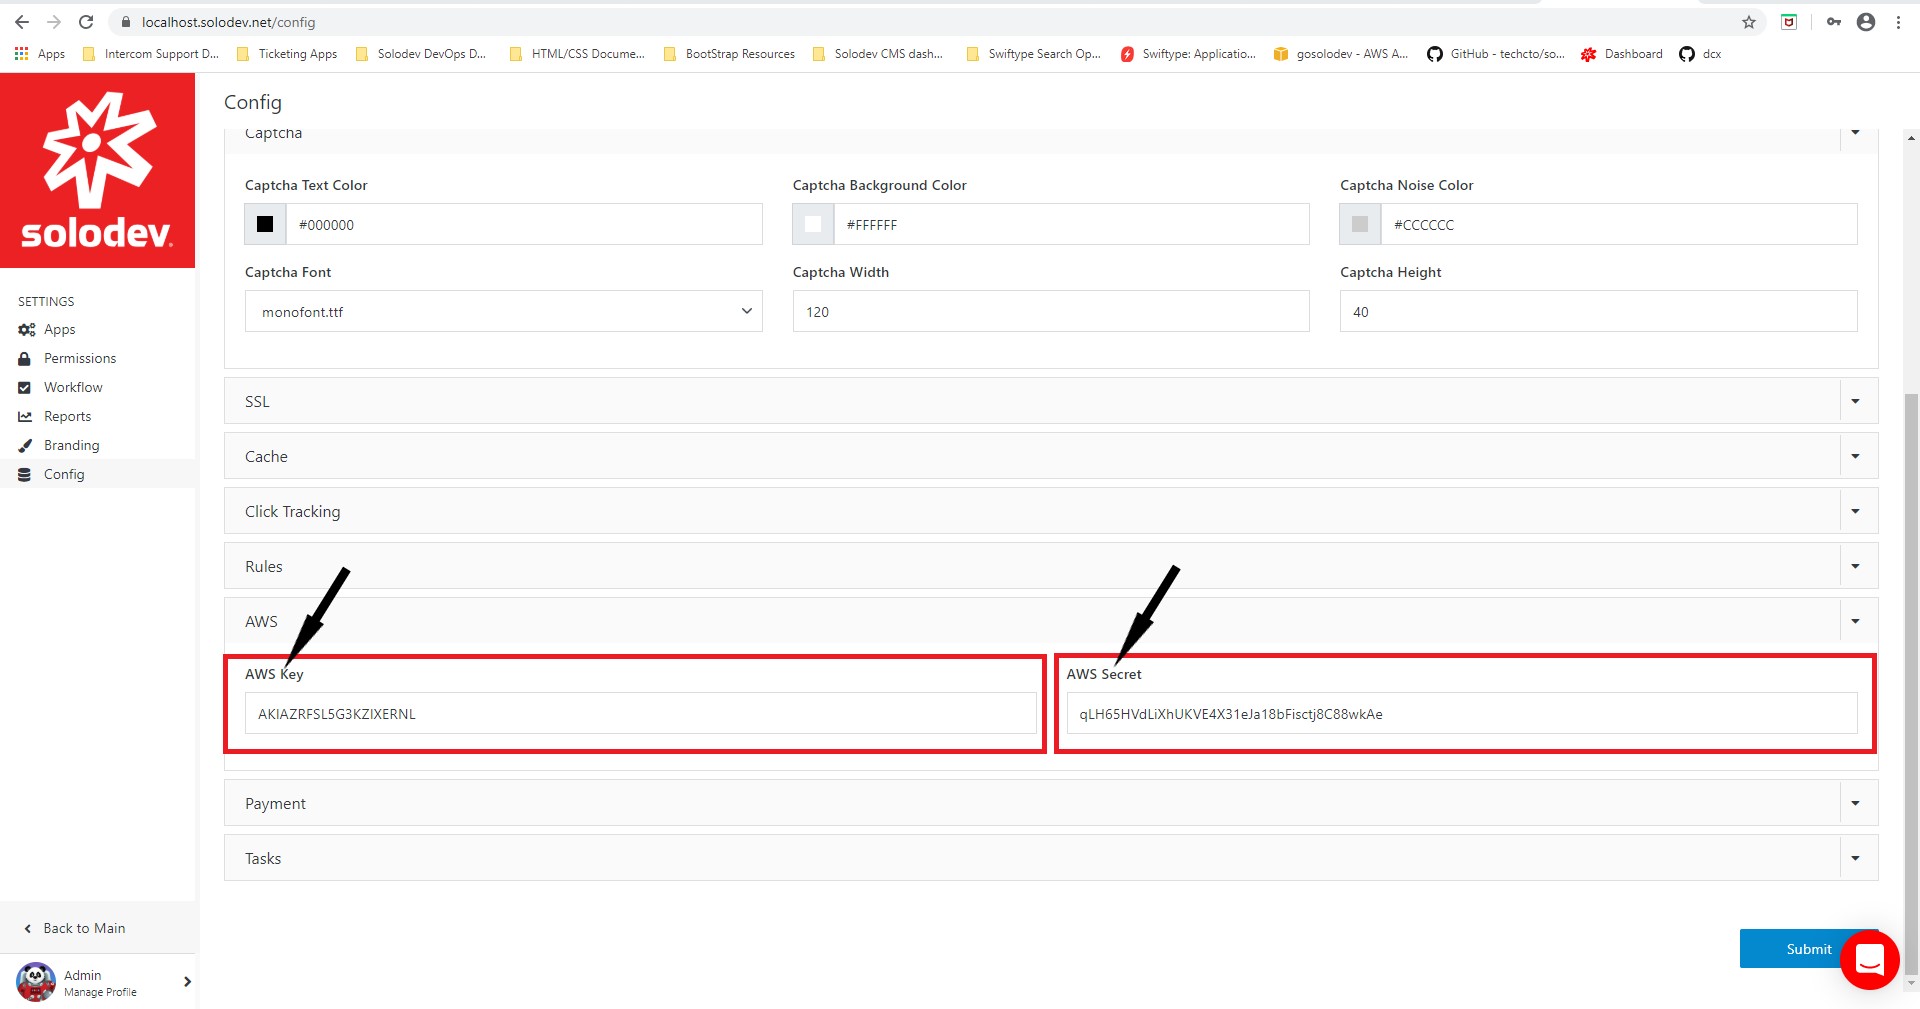
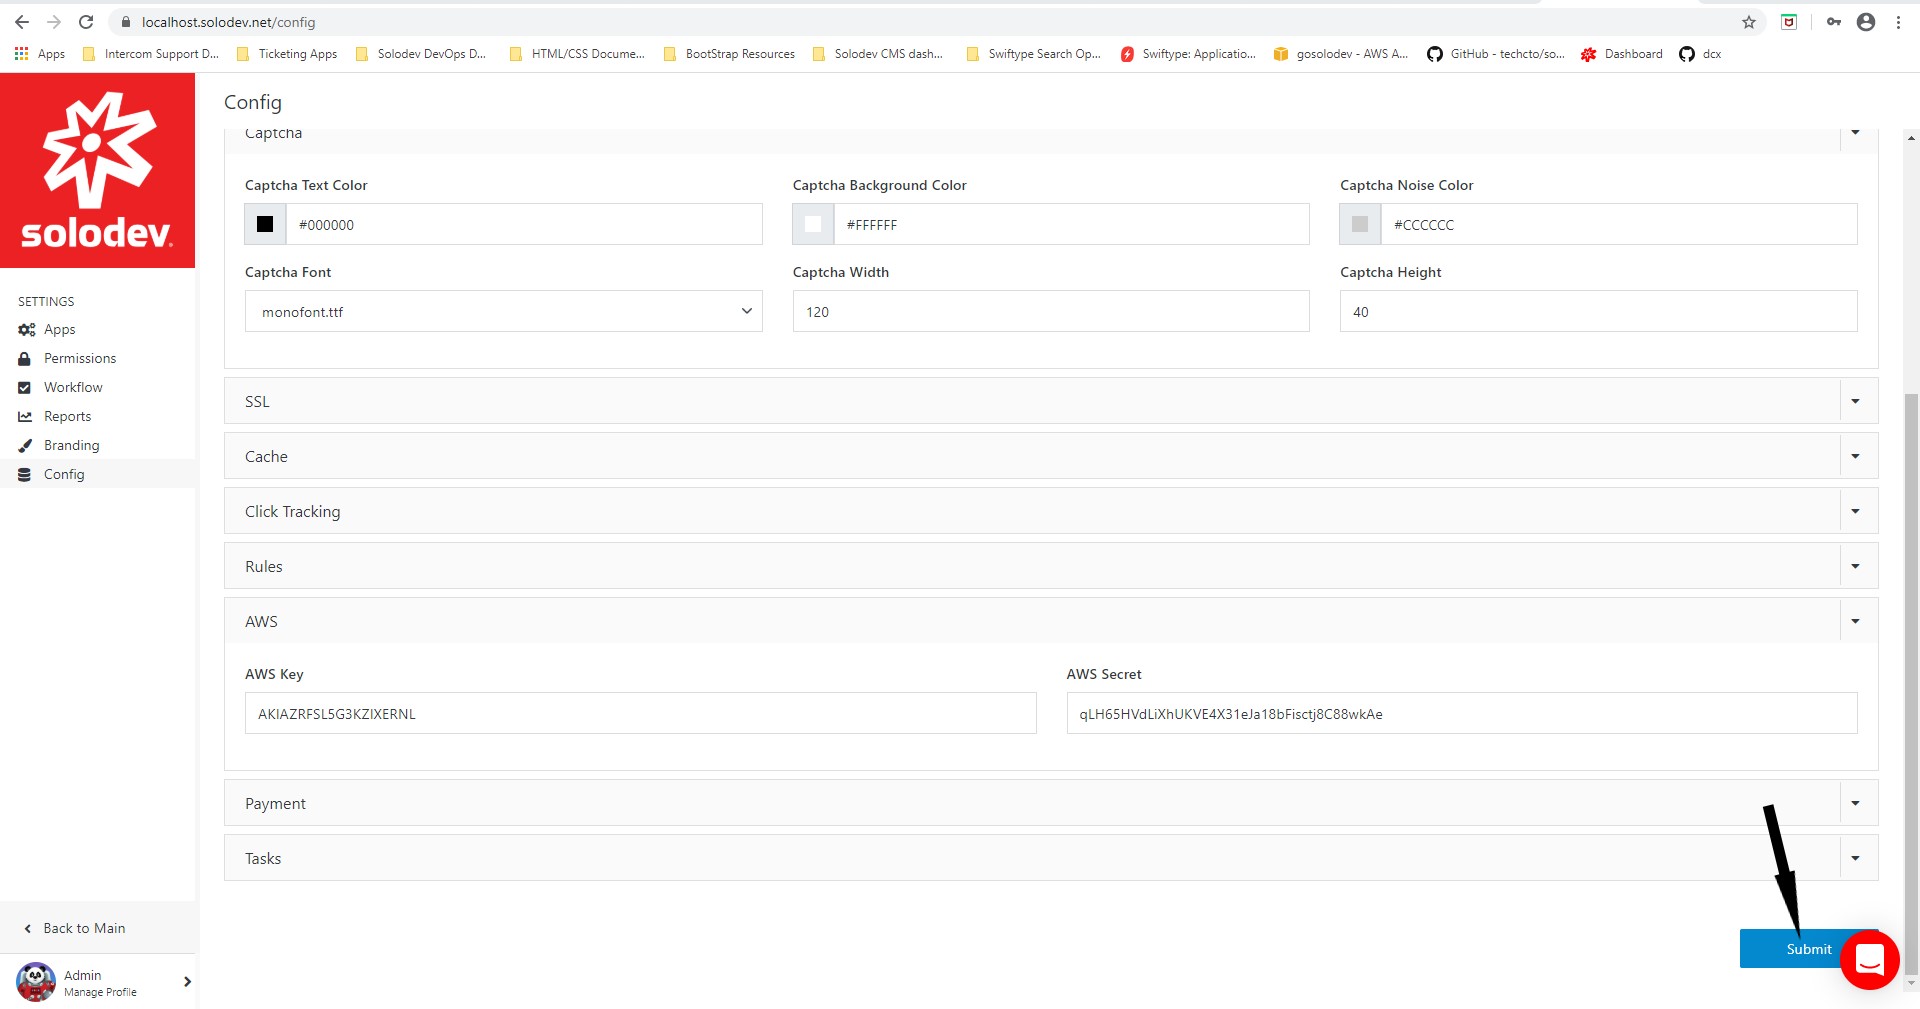
- Expand the AWS accordion.
- Enter the value for the Access key ID into the AWS Key text box.
- Enter the value for the AWS secret access key into the AWS Secret text-box.
- Click Submit.
© 2019 Solodev. All rights reserved worldwide. And off planet. Visit solodev.com to learn more.