Configuring SSL for Solodev Enterprise
Users of Solodev’s AWS stacks can assign a hostname to their particular Solodev stack. Because the IP addresses and CNames of Solodev stacks vary, Solodev recommends using DNS to translate hostnames into the IP addresses or CNames on the backend. This article shows users how to configure SSL and assign a domain name to Solodev stacks with a load balancer.
Users should request a certificate for their domain name in AWS’ certificate manager. Learn more about requesting a public certificate.
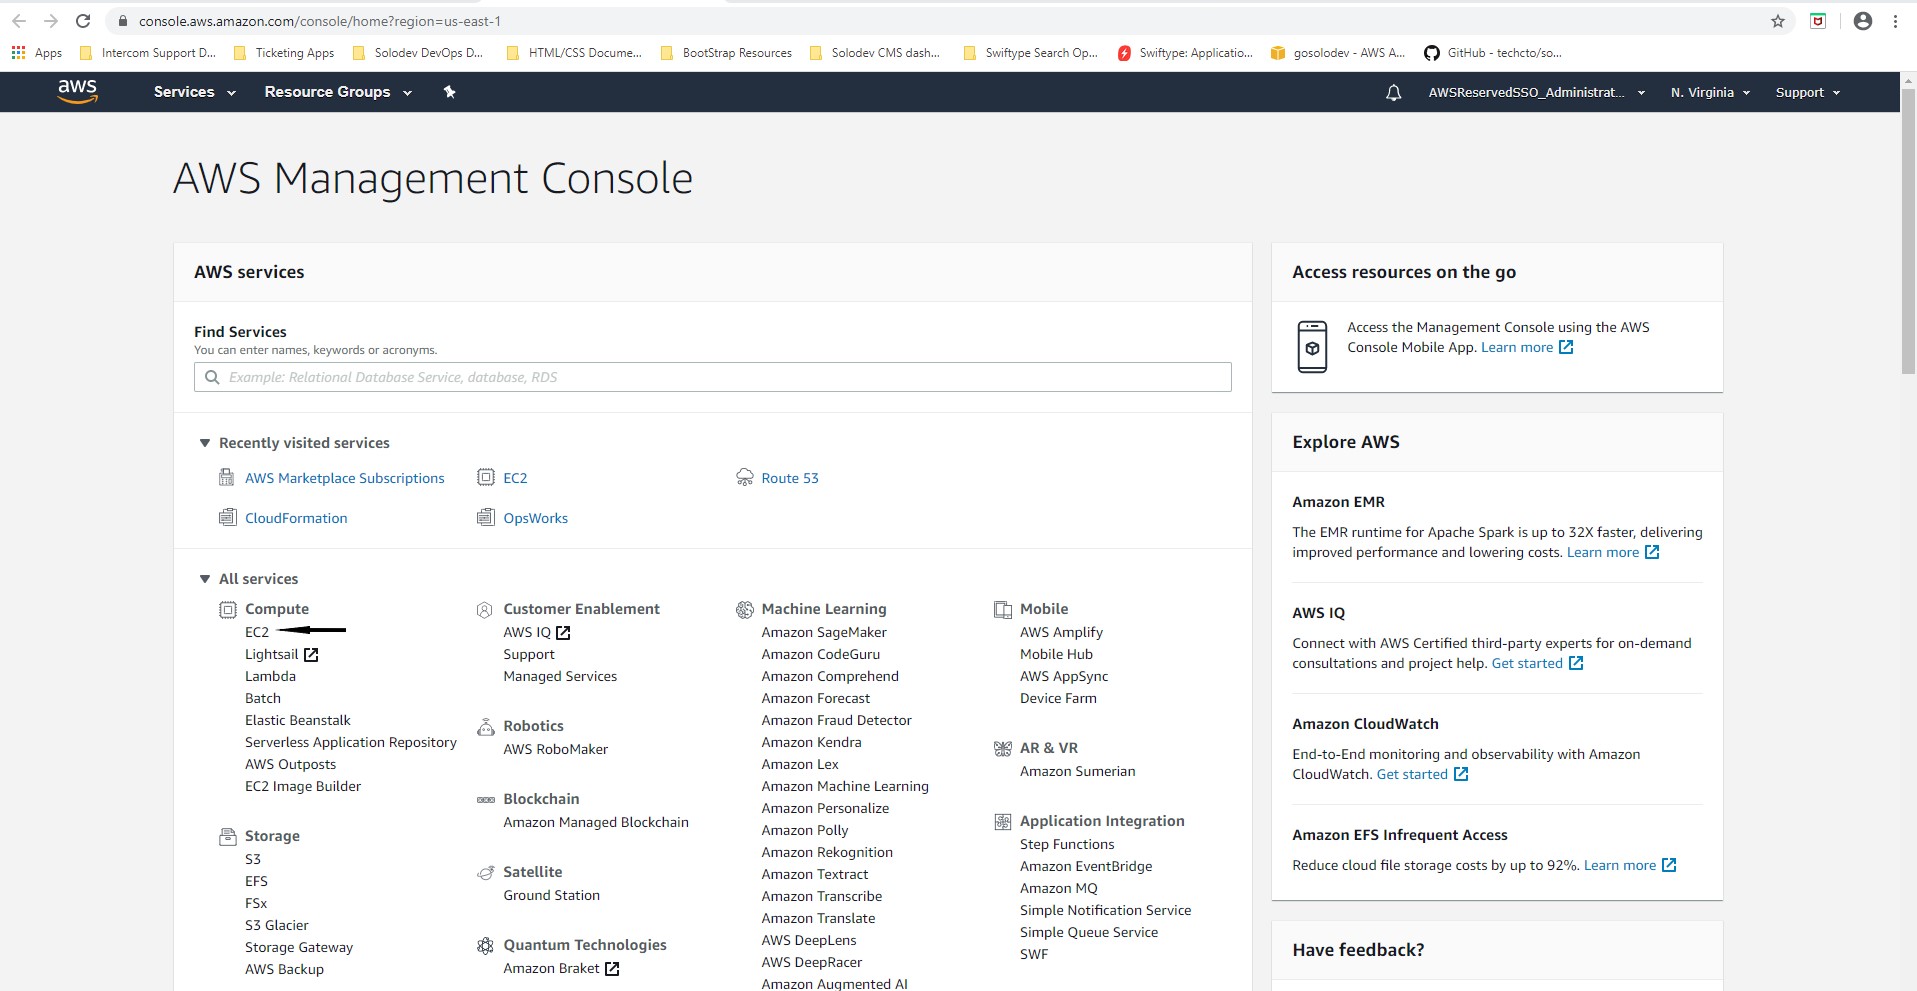
- Sign-in to AWS account and navigate to the EC2 dashboard.
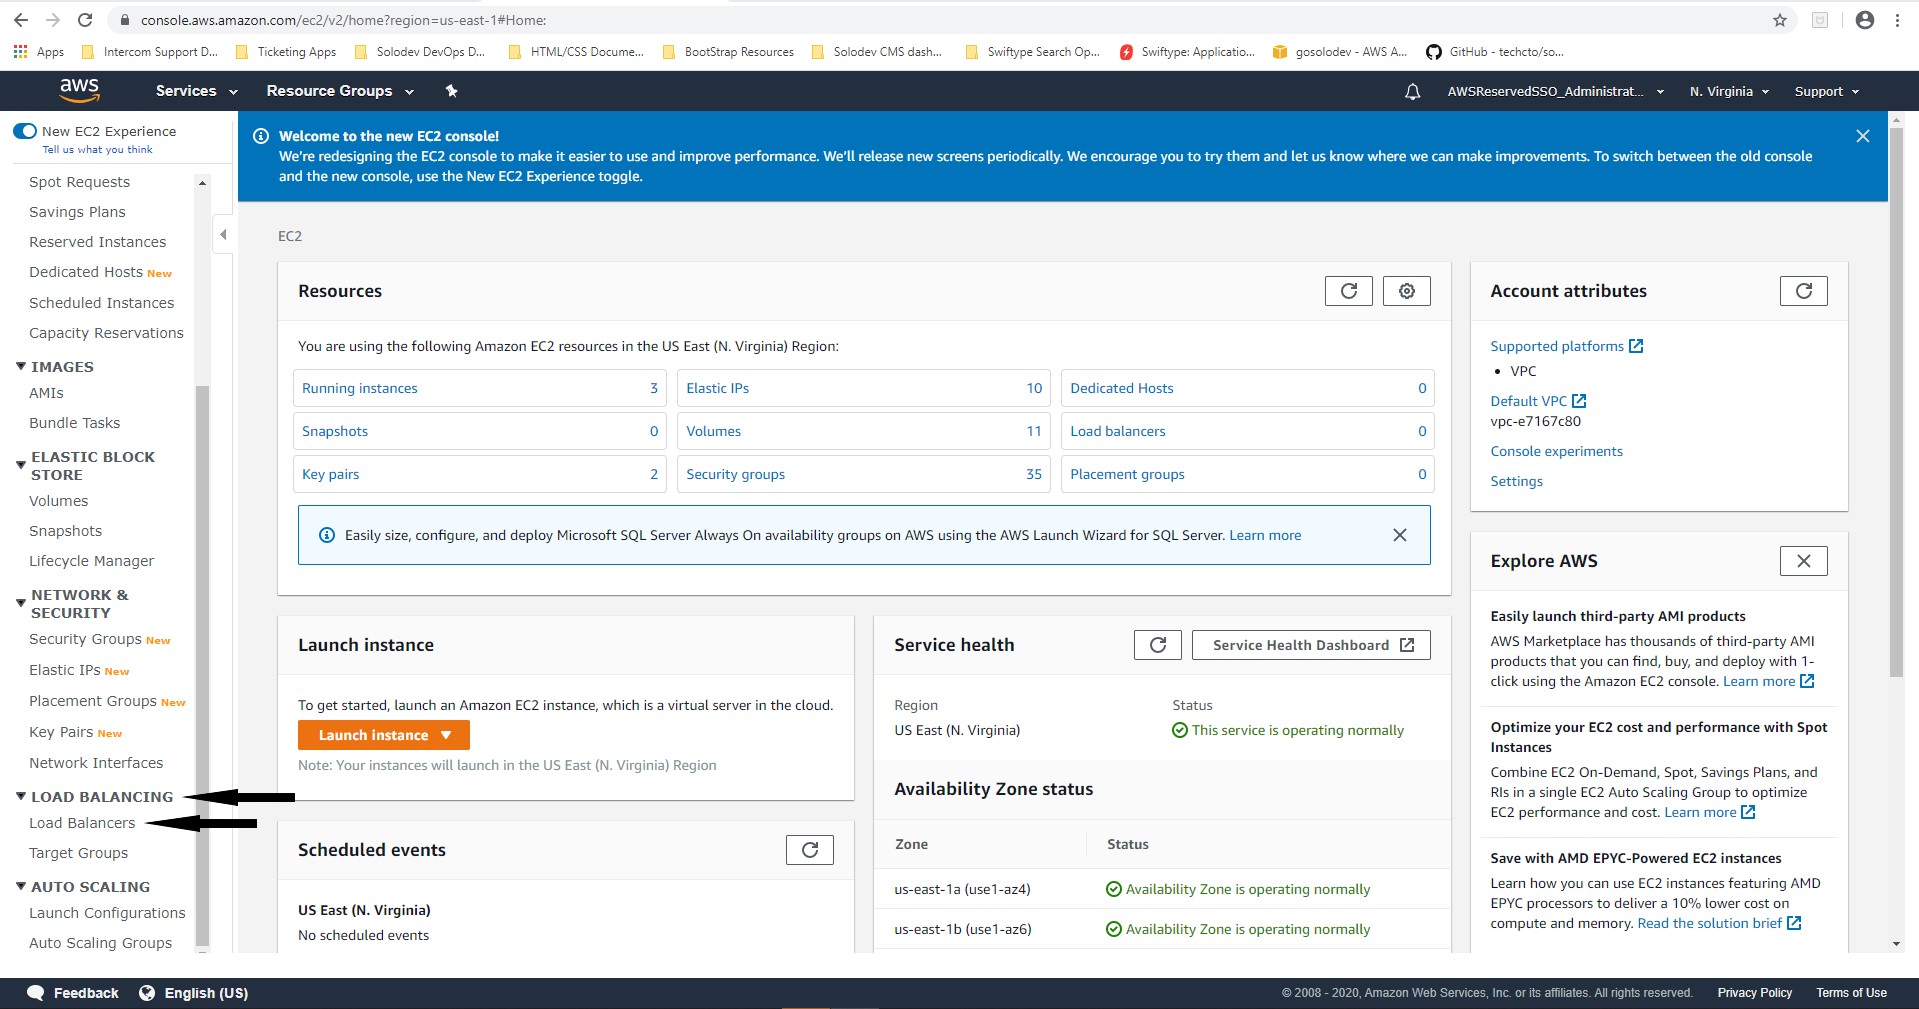
- In the left navigation under the “Load Balancing” section, click on Load Balancers.
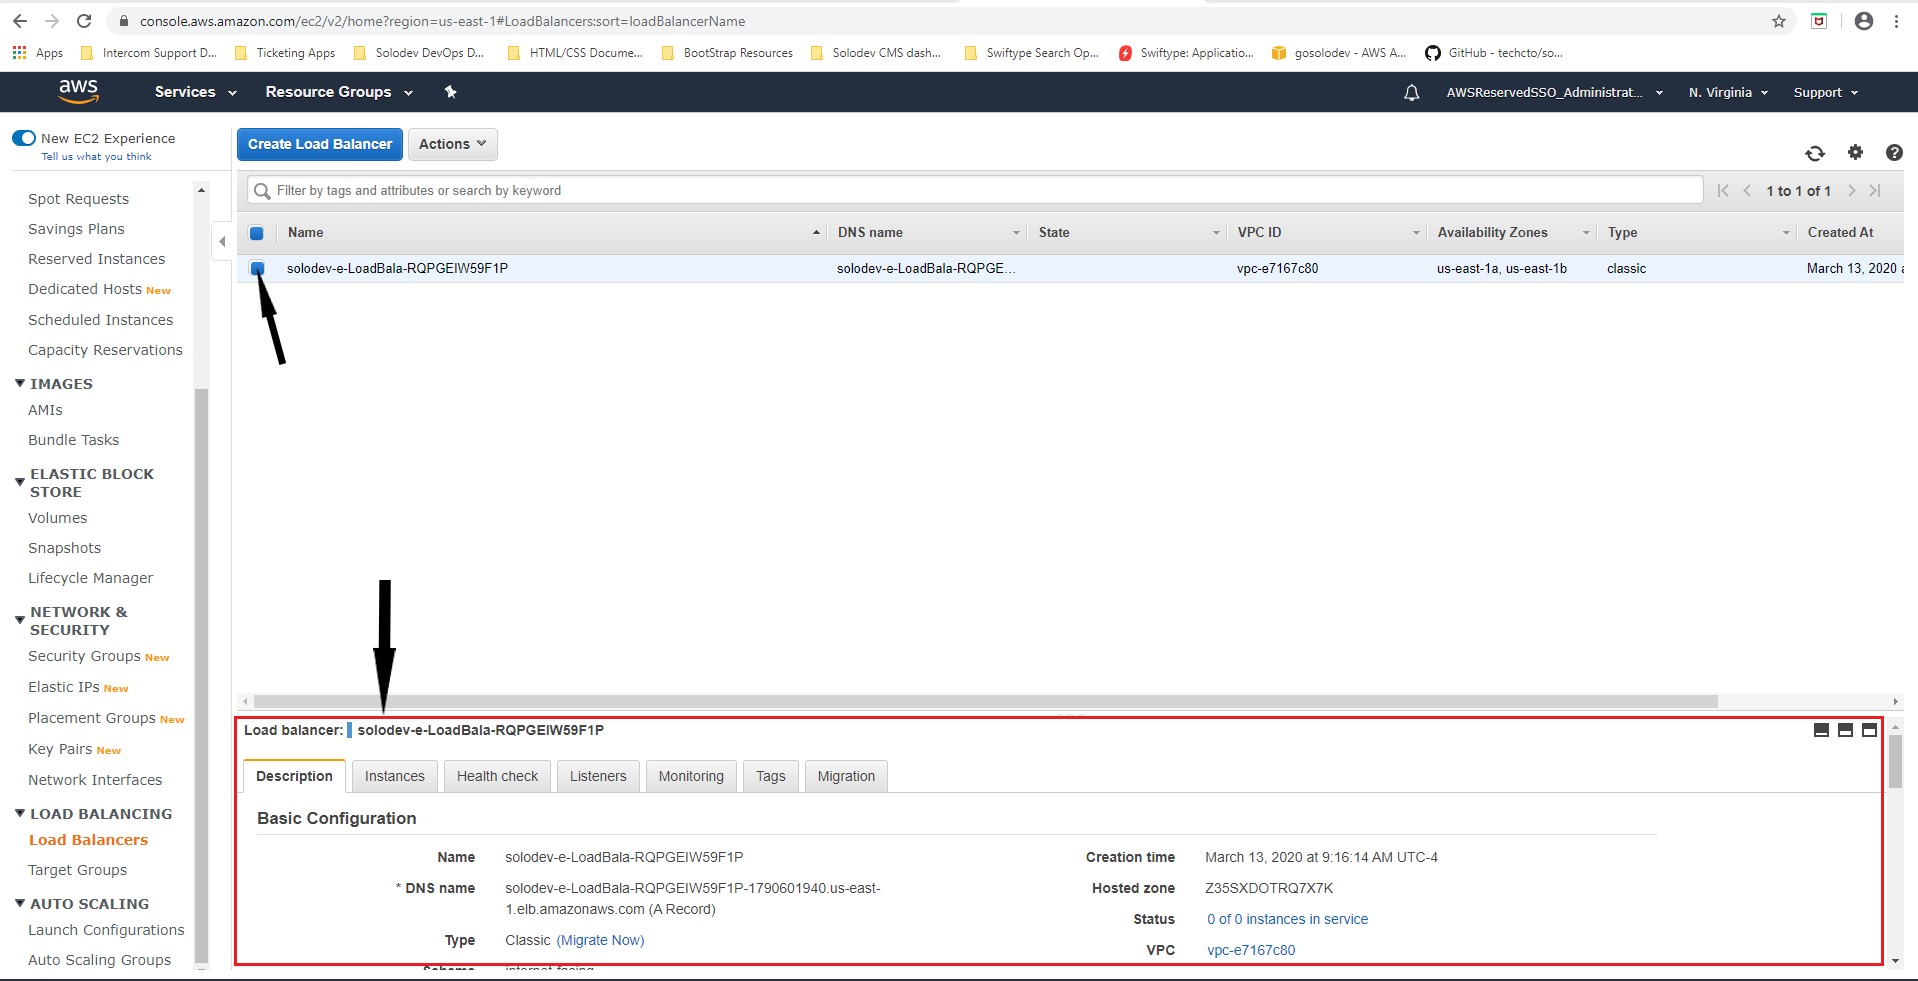
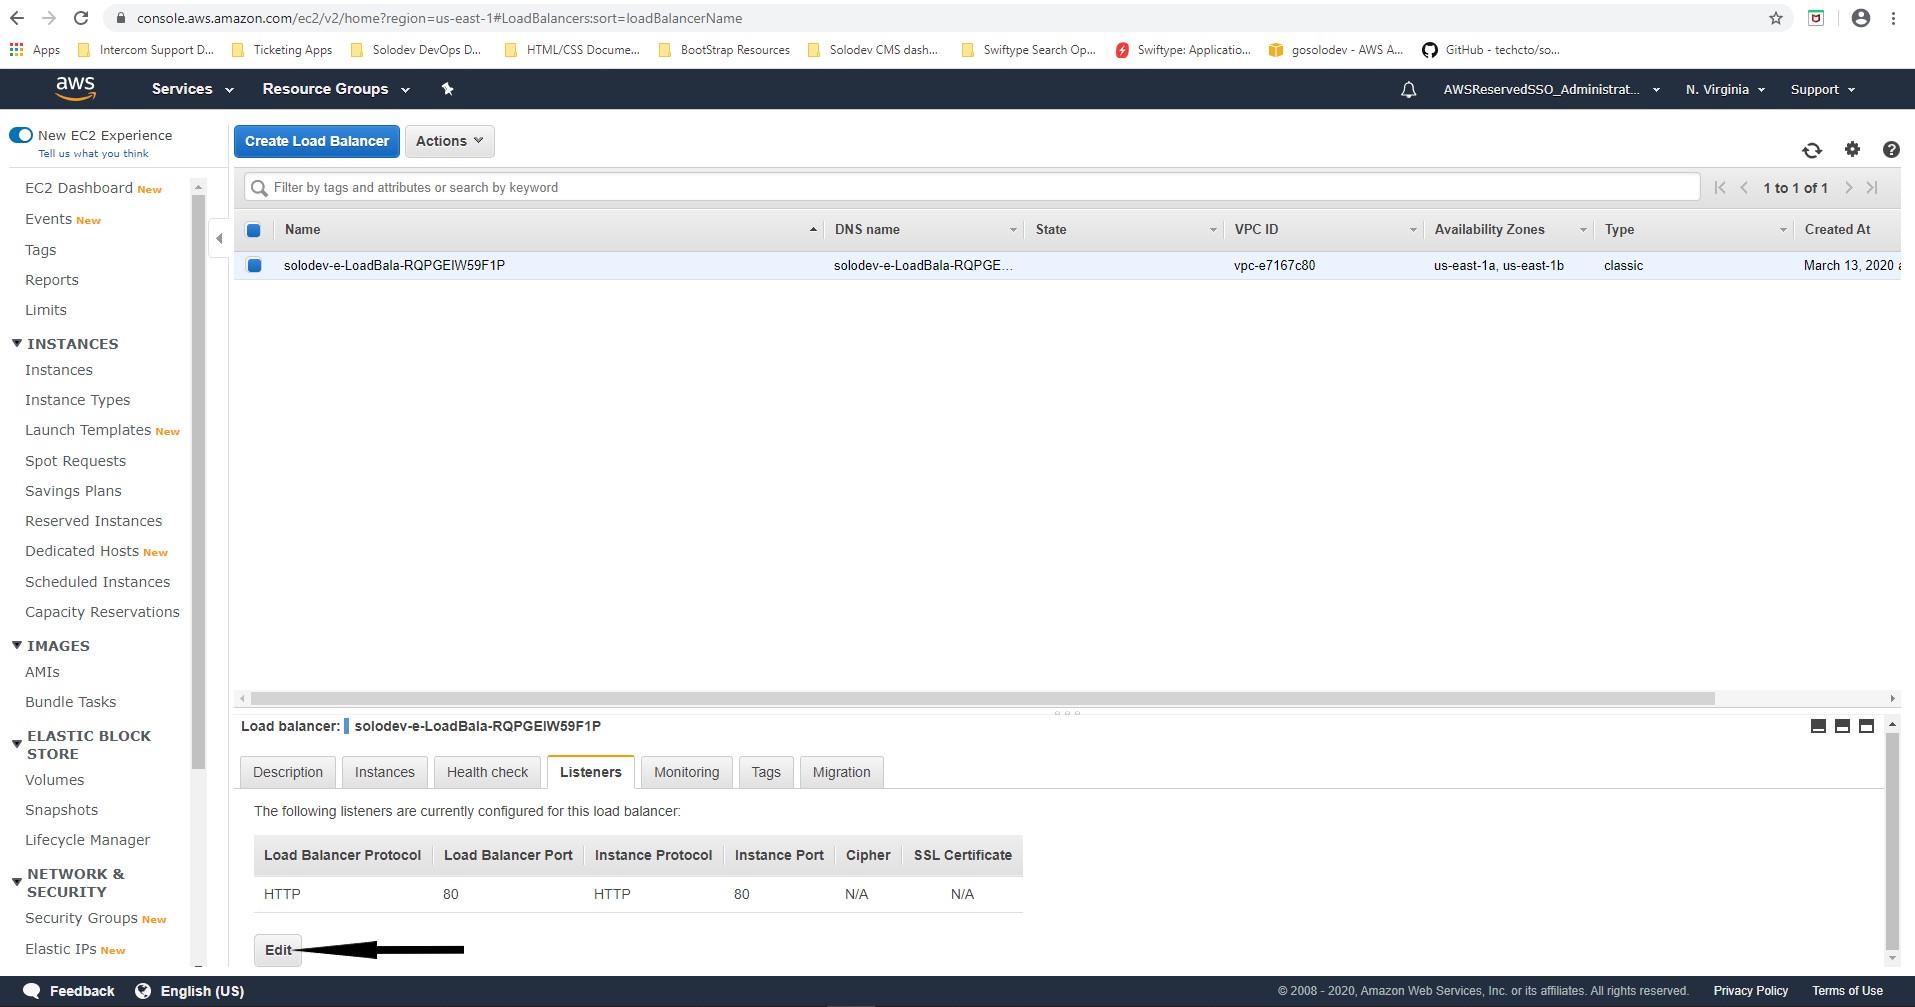
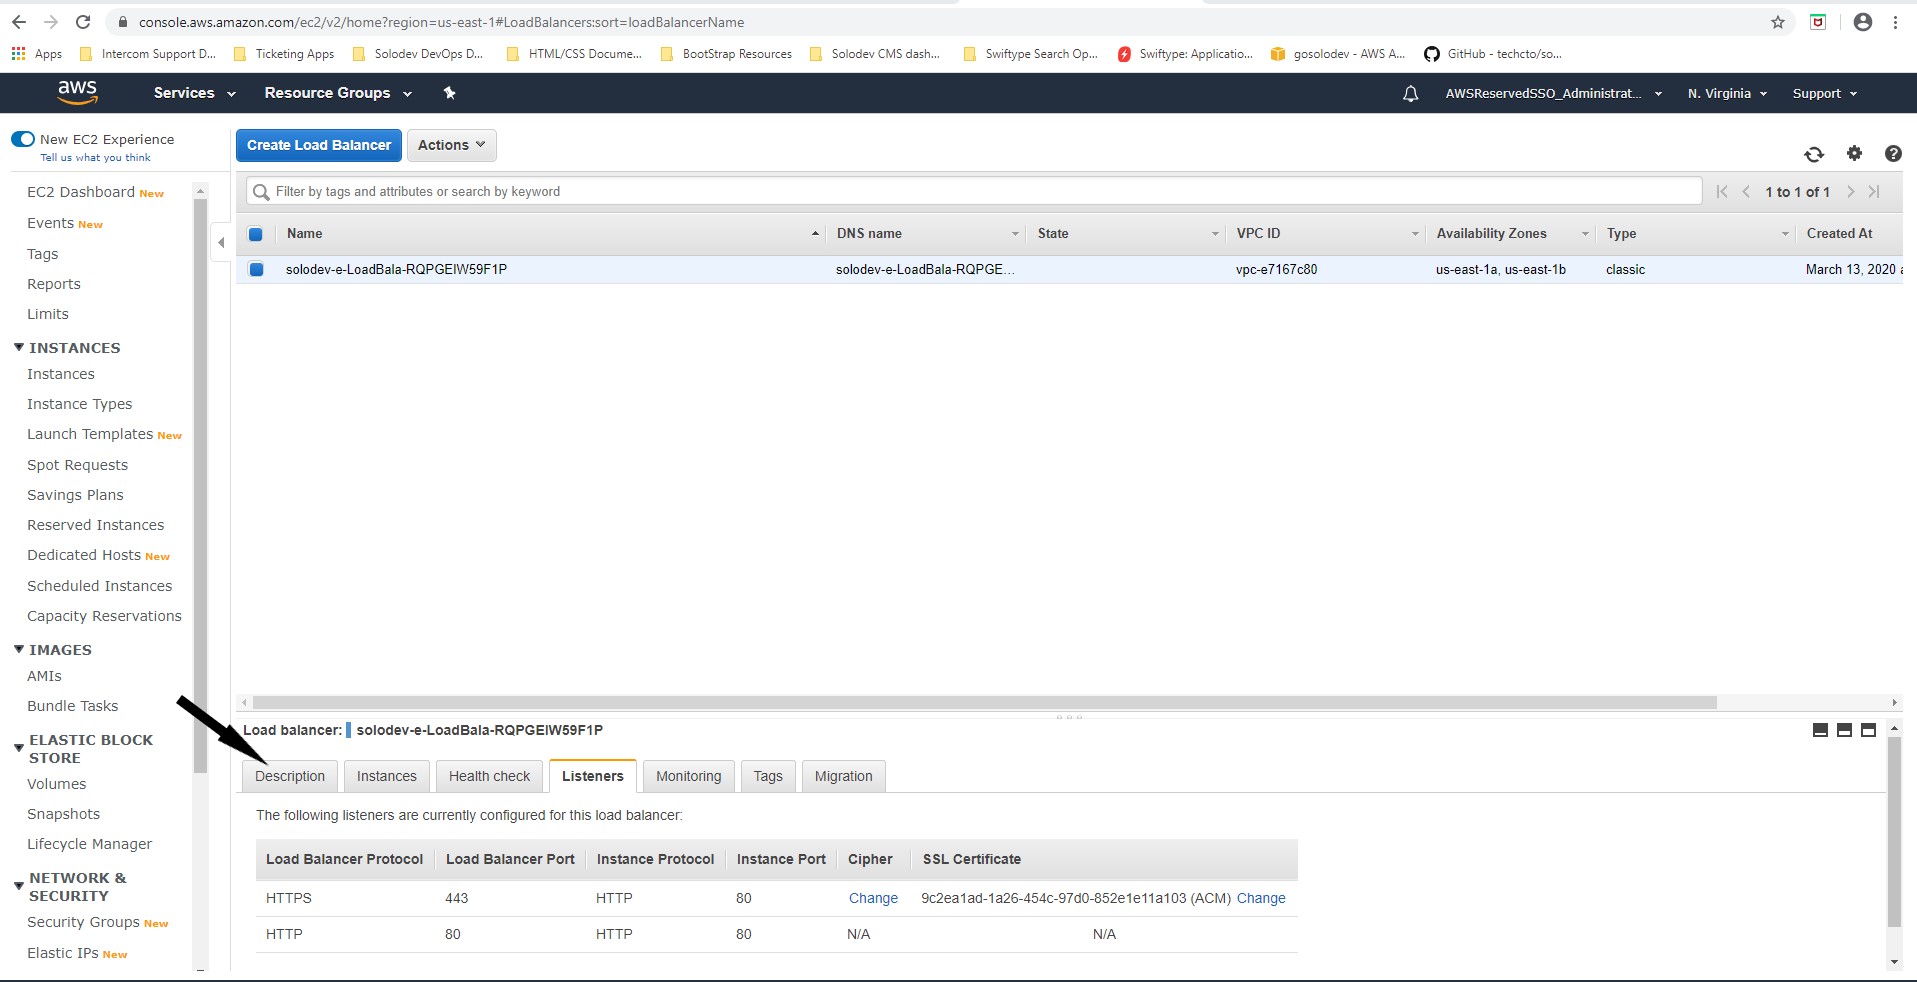
- Click the desired load balancer in question to bring up the load balancer page below.
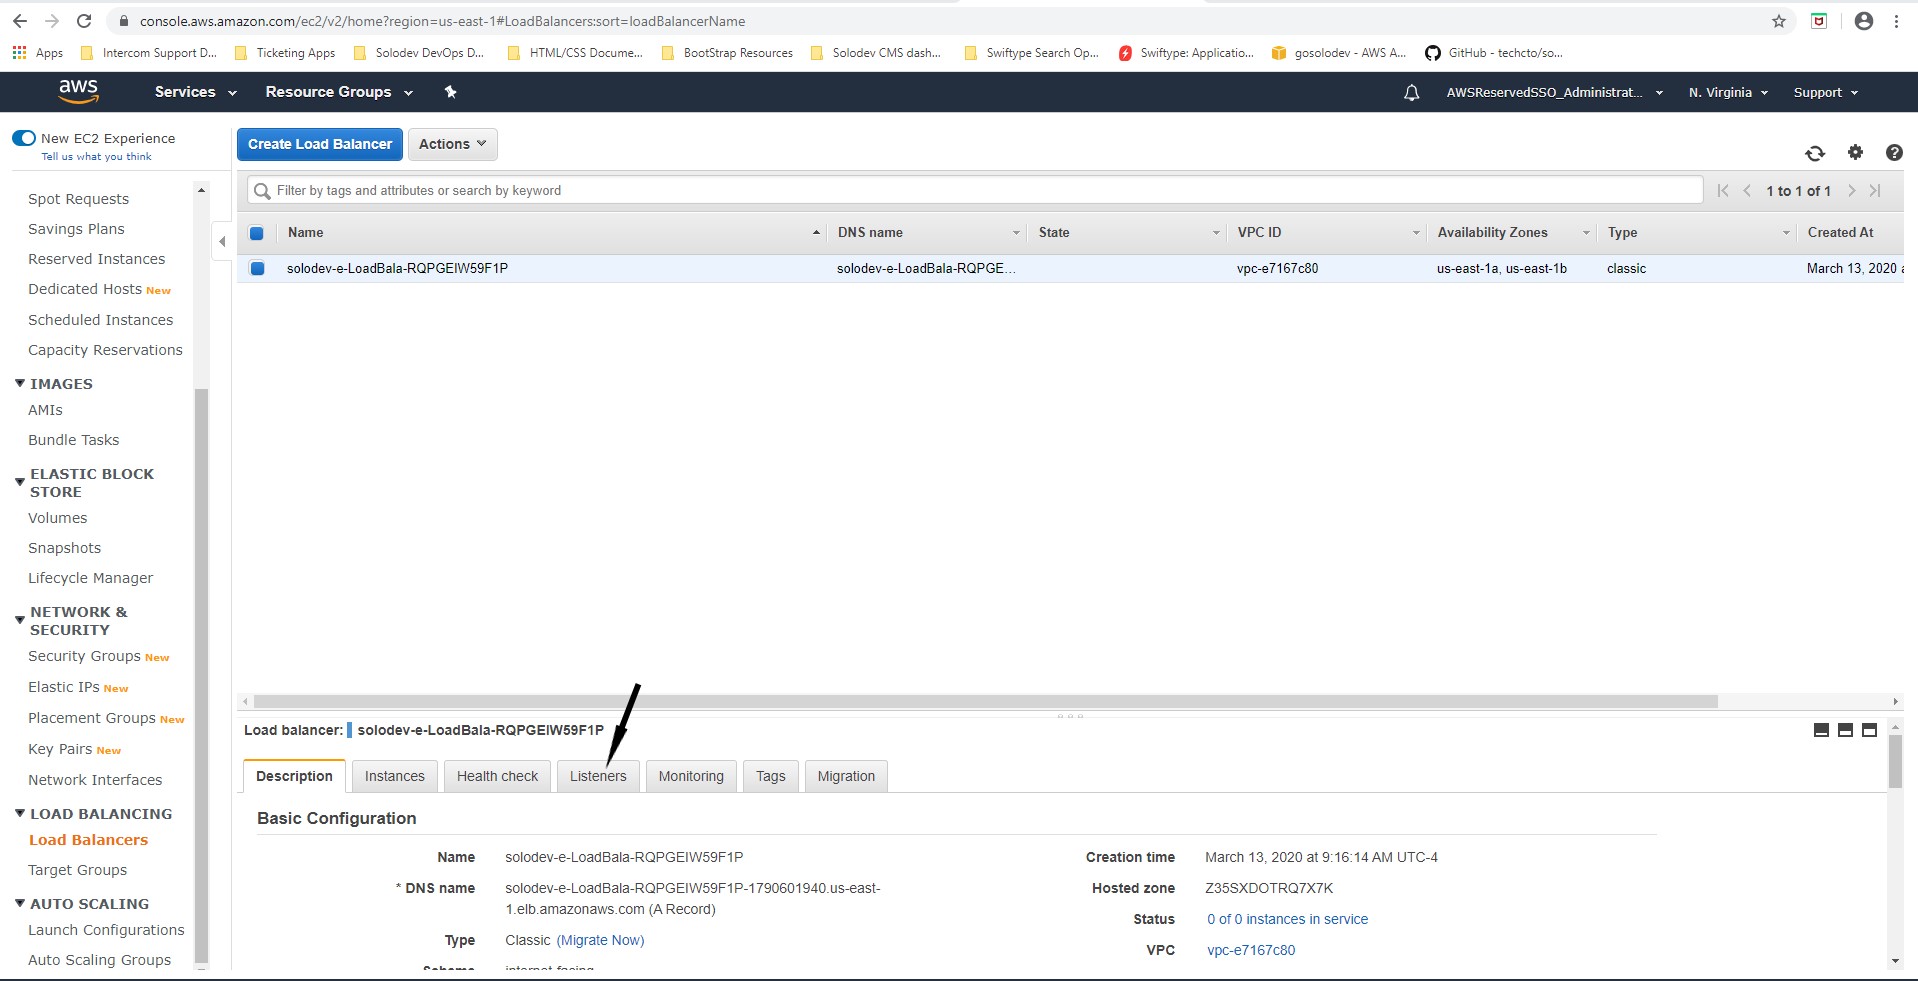
- Click the Listeners tab to bring up a list of listeners.
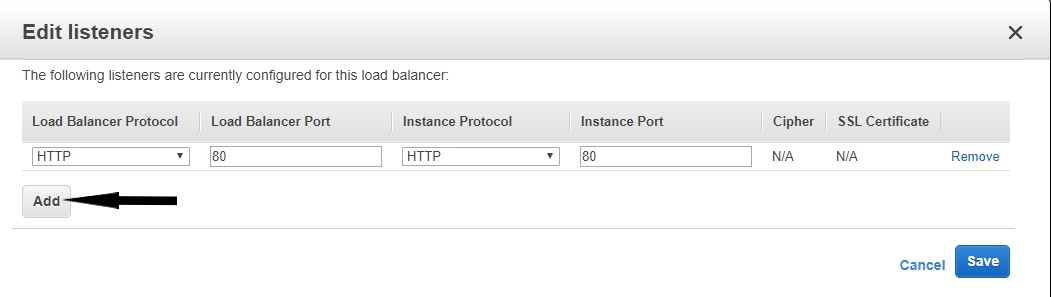
- Click Edit to bring up the edit listeners modal window.
- In the modal window click Add.
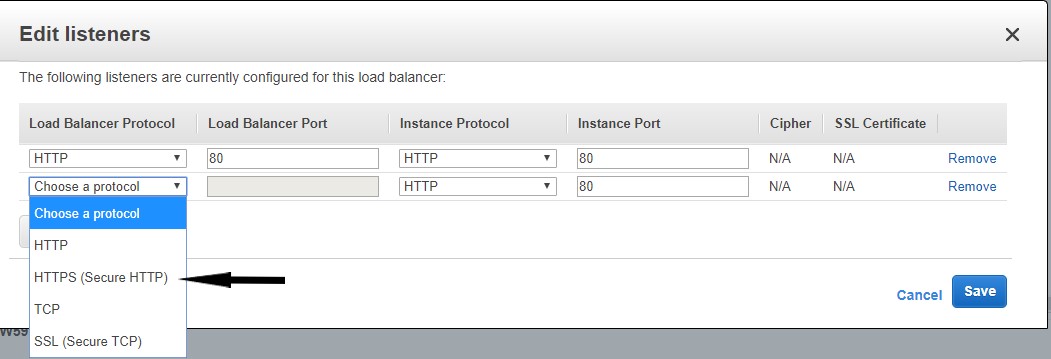
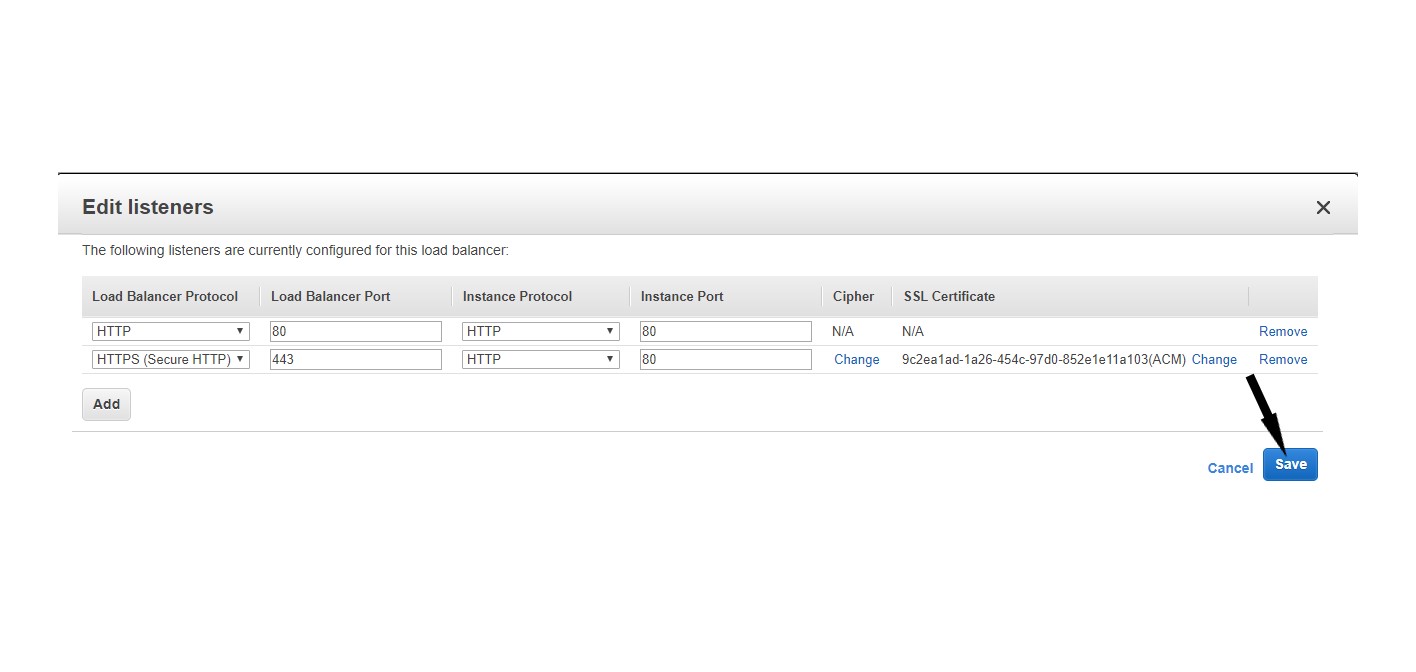
- In the Load Balancer Protocol choose HTTPs(Secure HTTP) from the select box.
- The Load Balancer Port, Instance Protocol, and Instance Port are populated automatically.
- Accept the defaults.
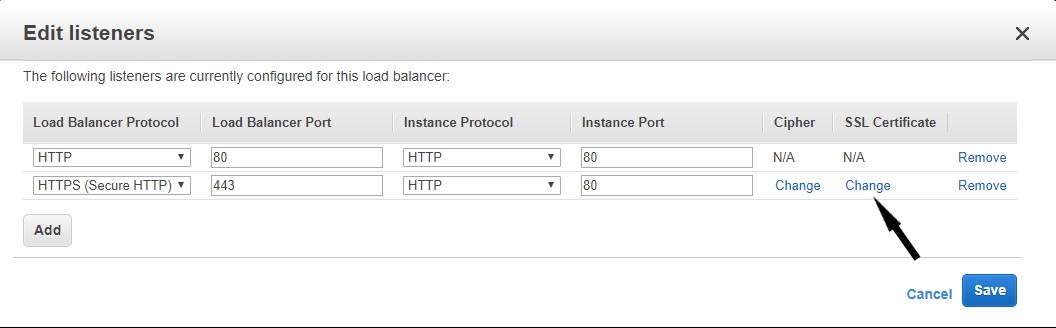
- Under the SSL Certificate column, click change.
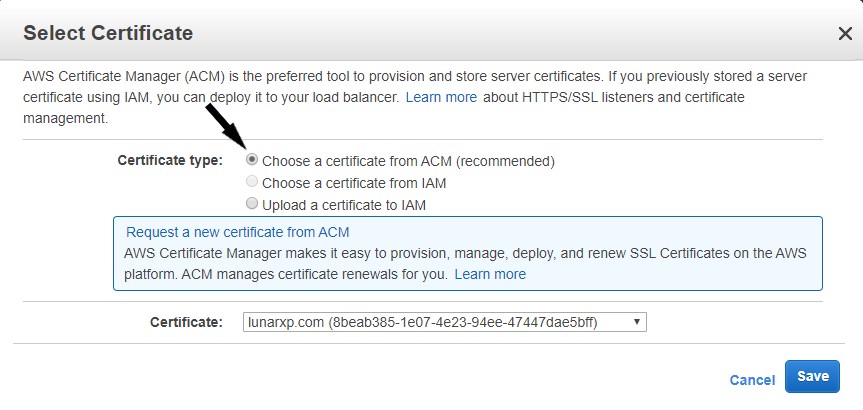
- In the Certificate type section, check the Choose a certificate from ACM radio button.
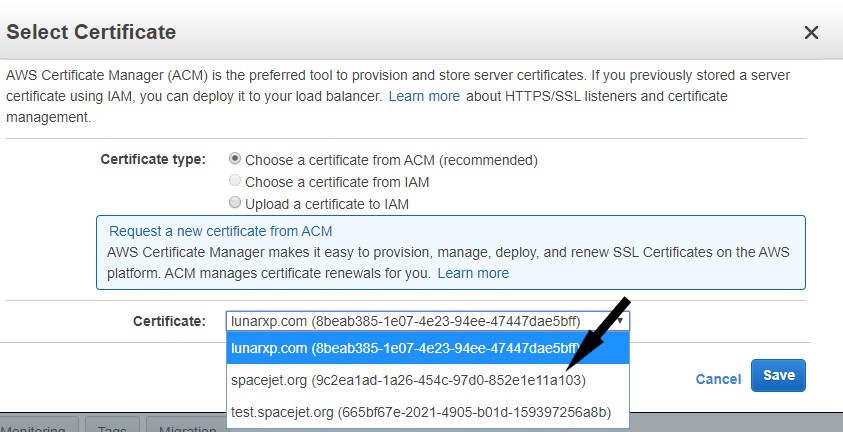
- In the Certificate section, select the publicly requested certificate that was requested from the select box.
- Click Save to return to the Edit Listeners modal window.
- Click Save to confirm the settings.
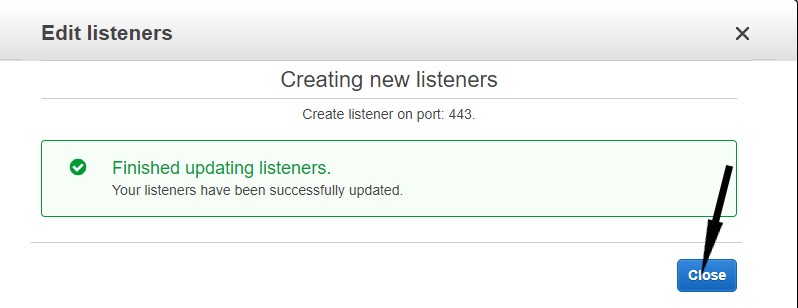
- Review the confirmation for the newly created listeners and click Close.
- Click the Description tab on the load balancer page of the Solodev instance.
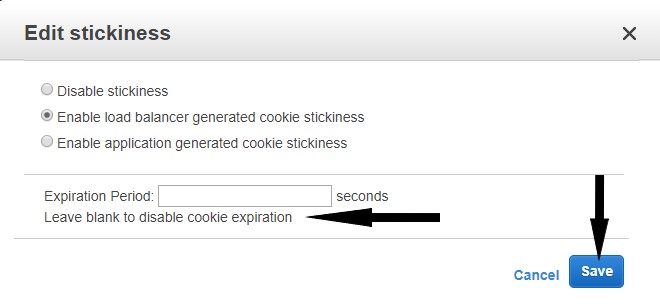
- In the Port Configuration section, click Edit stickiness under 443 (HTTP) forwarding to 80 (HTTP).
- Select the radio button to Enable load balancer generated cookie stickiness.
- Leave the expiration period blank to disable cookie expiration.
- Click Save.
- In the Basic Configuration section, copy the link beside *DNS name into a text-editor.


Note: Stickiness does not need to be added to port 80 as it already enabled. Stickiness is disabled on port 443 by default.
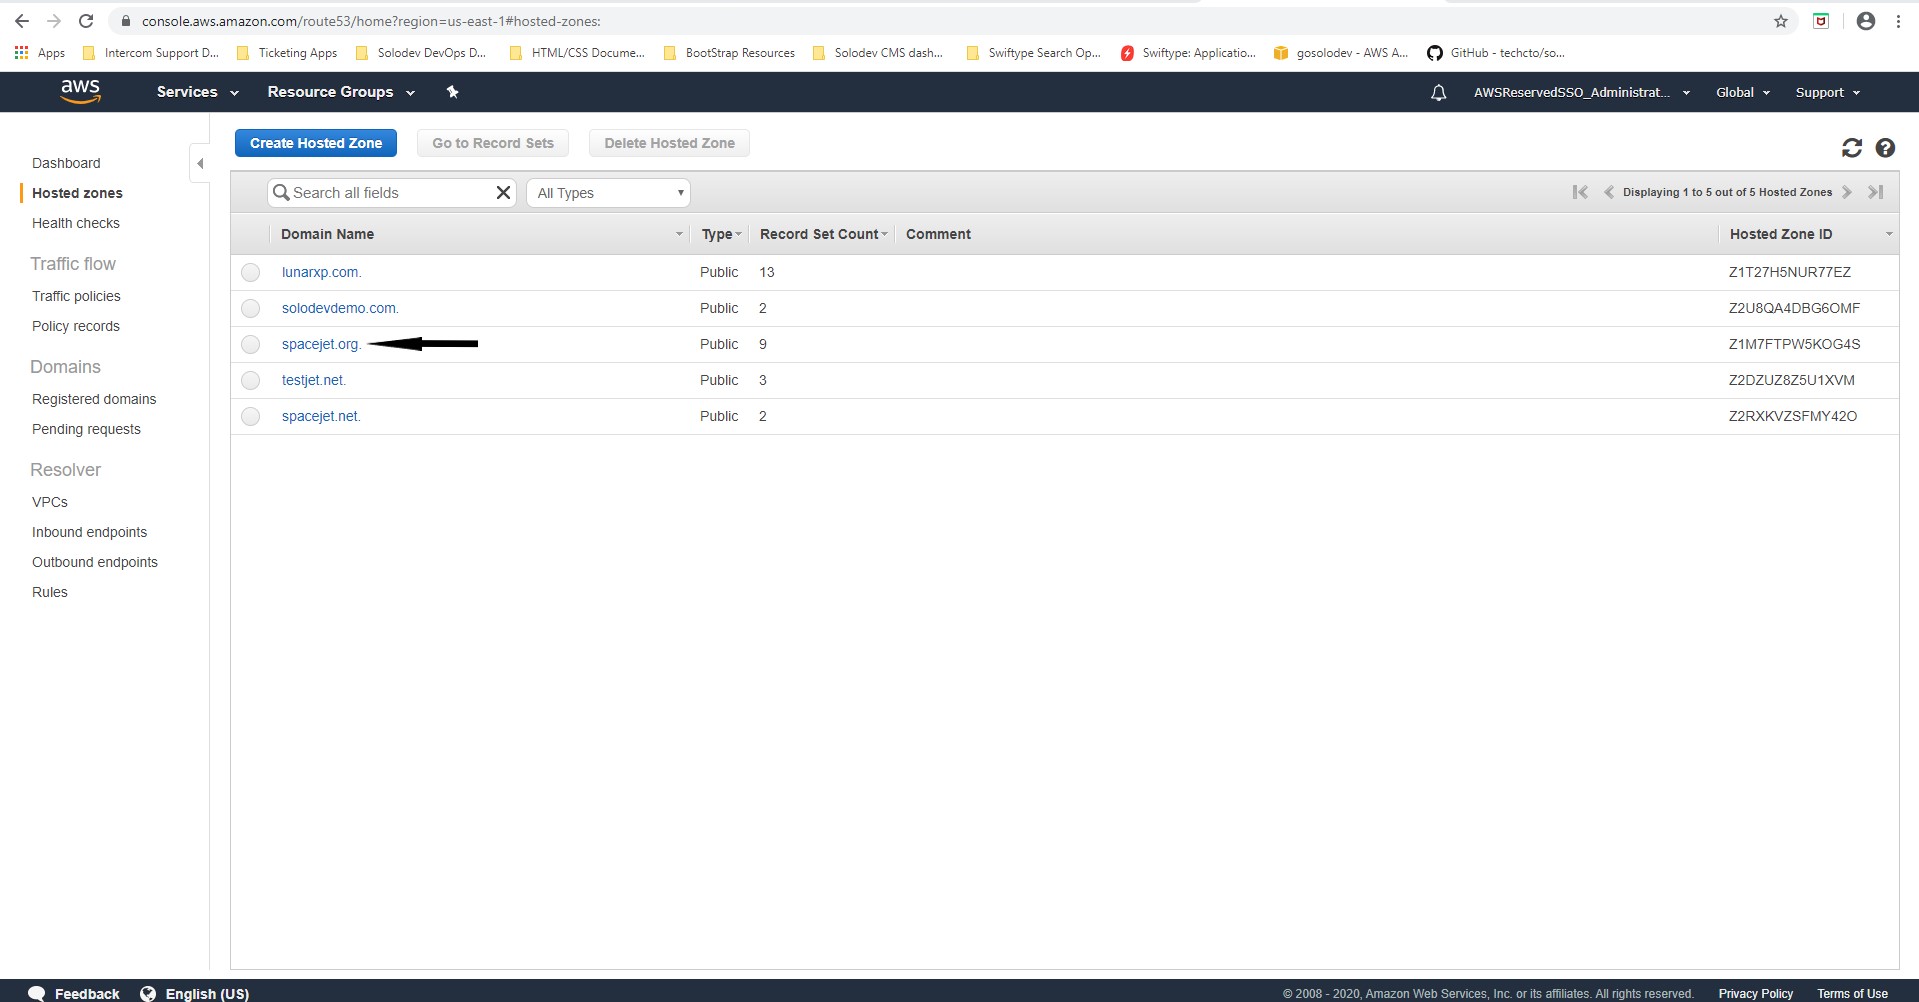
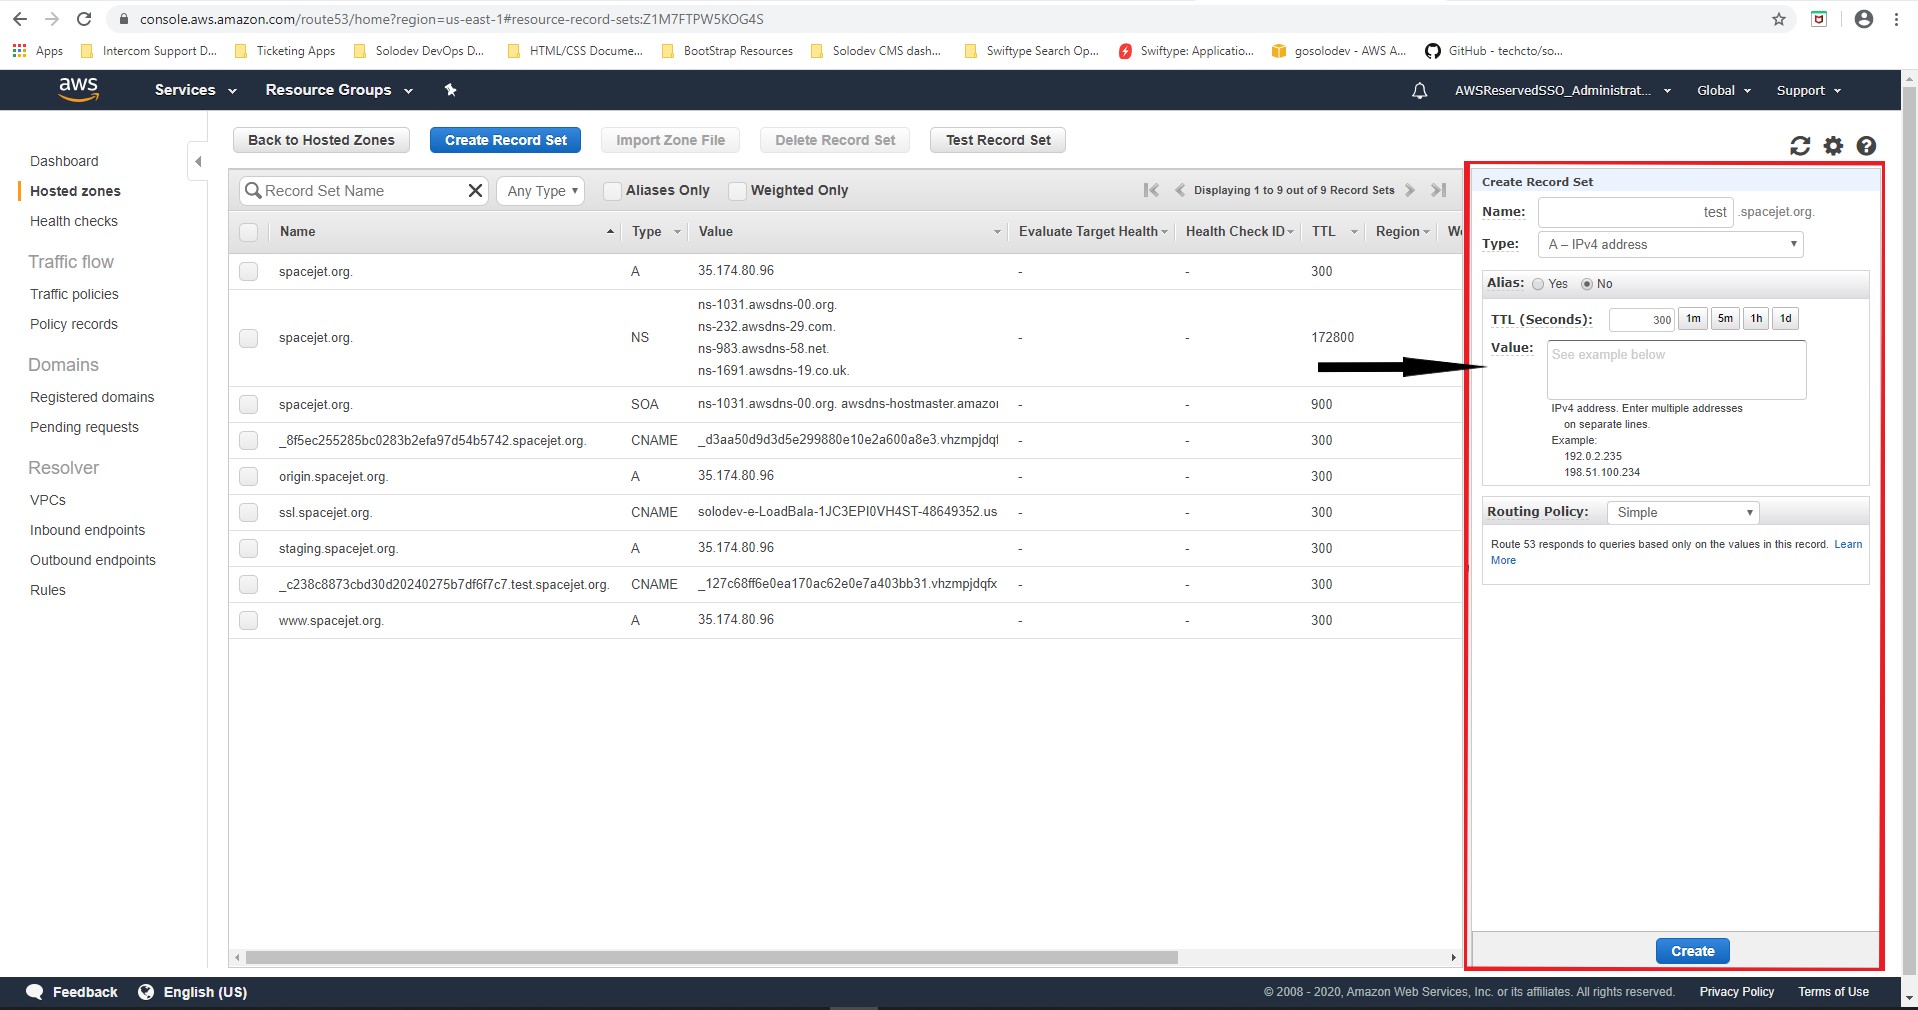
- Open Route 53.
- Click Hosted Zones under DNS management.
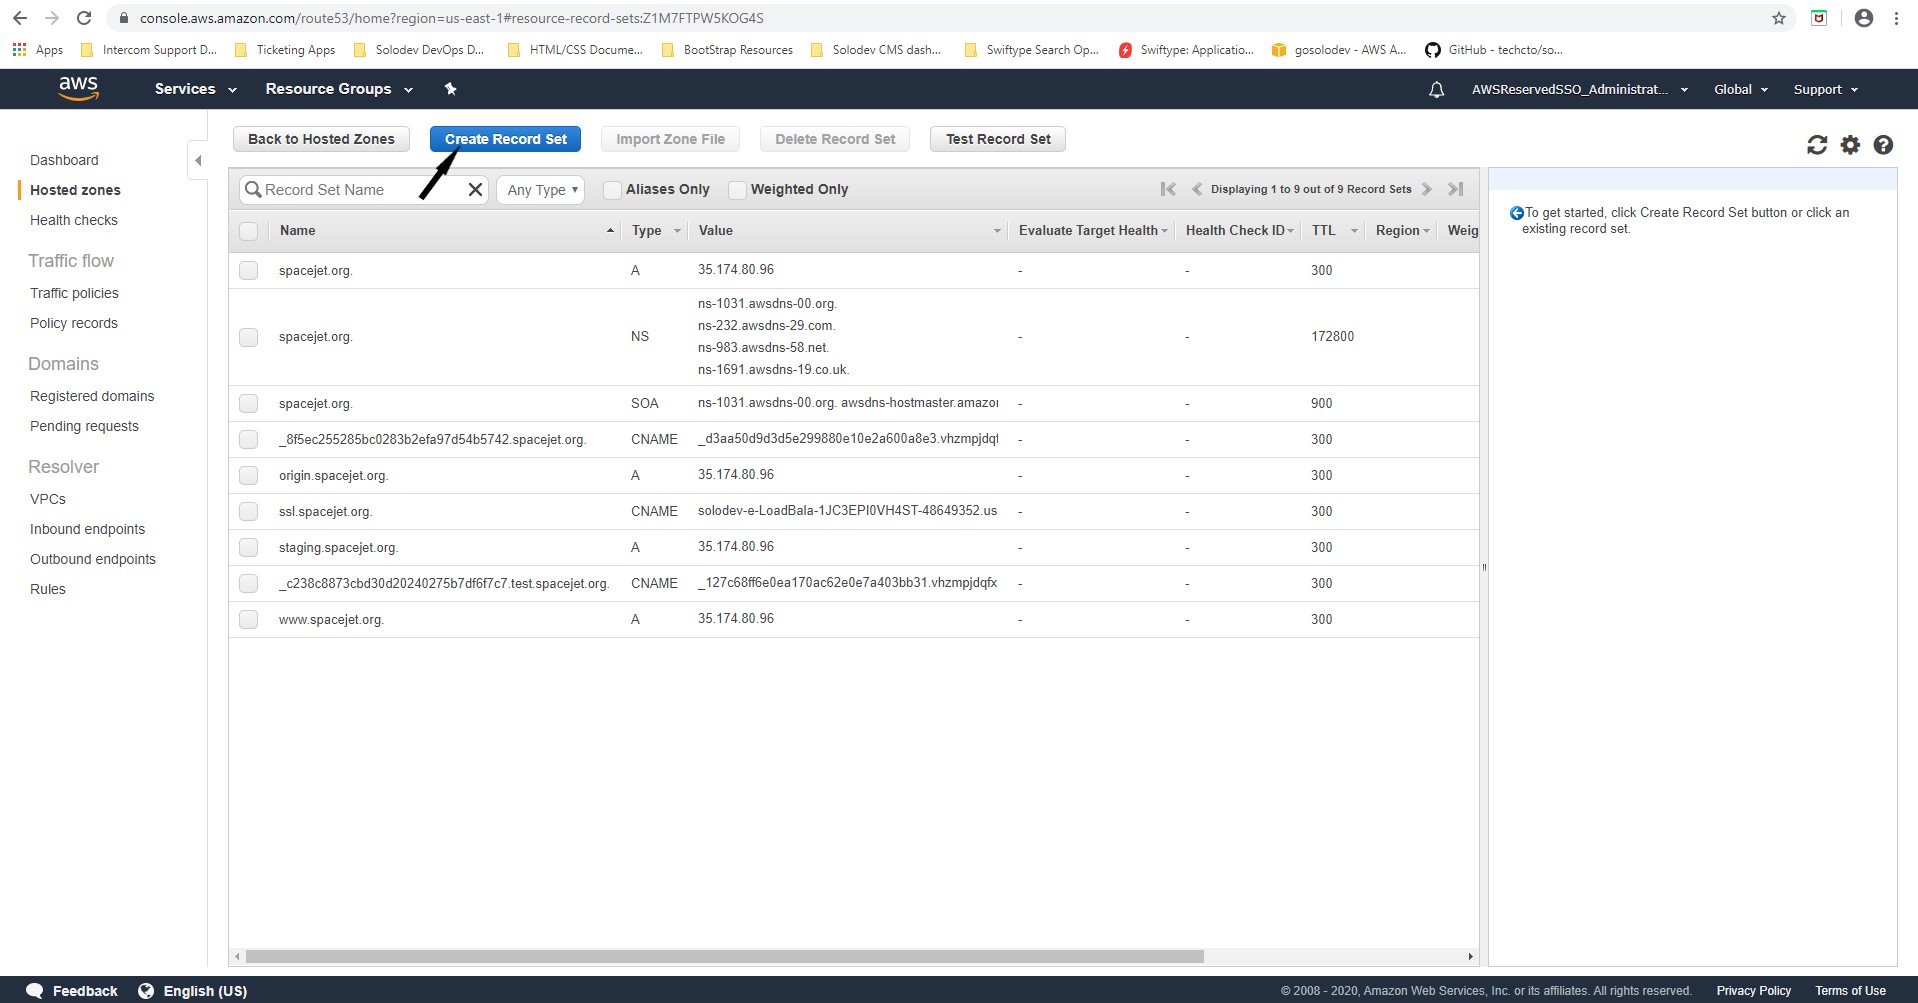
- Click the Hosted Zone created and click Create Record Set.
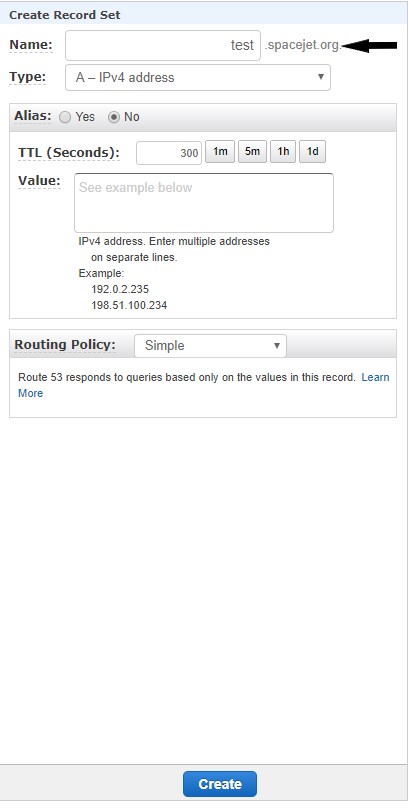
- Under Name, enter a text value to create a Cname for example(company.solodev.net)
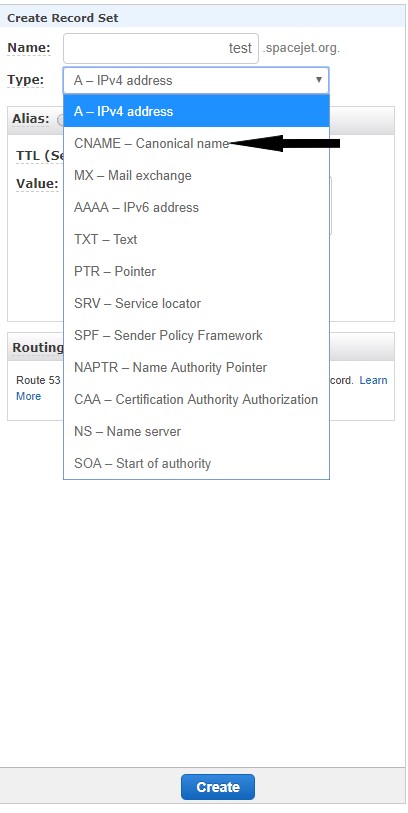
- Select CNAME for the Type.
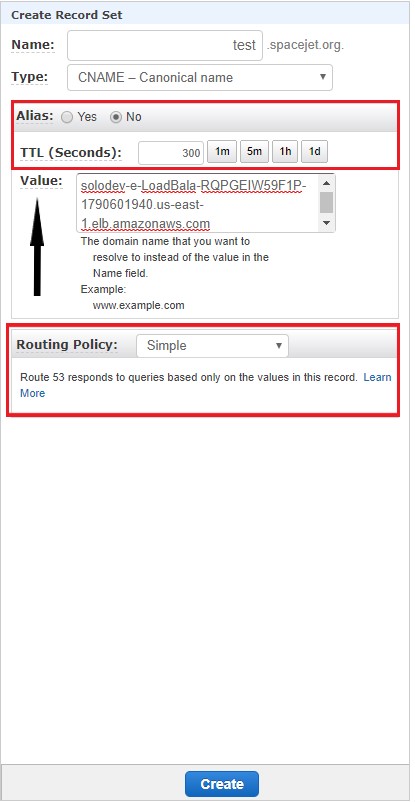
- Accept the defaults for Alias and TTL(Seconds).
- In the Value text box, copy the link obtained from the Basic Configuration section in the Description tab of the Load Balancer for the EC2 stack.
- Accept the default for the Routing Policy.
- Click Create.
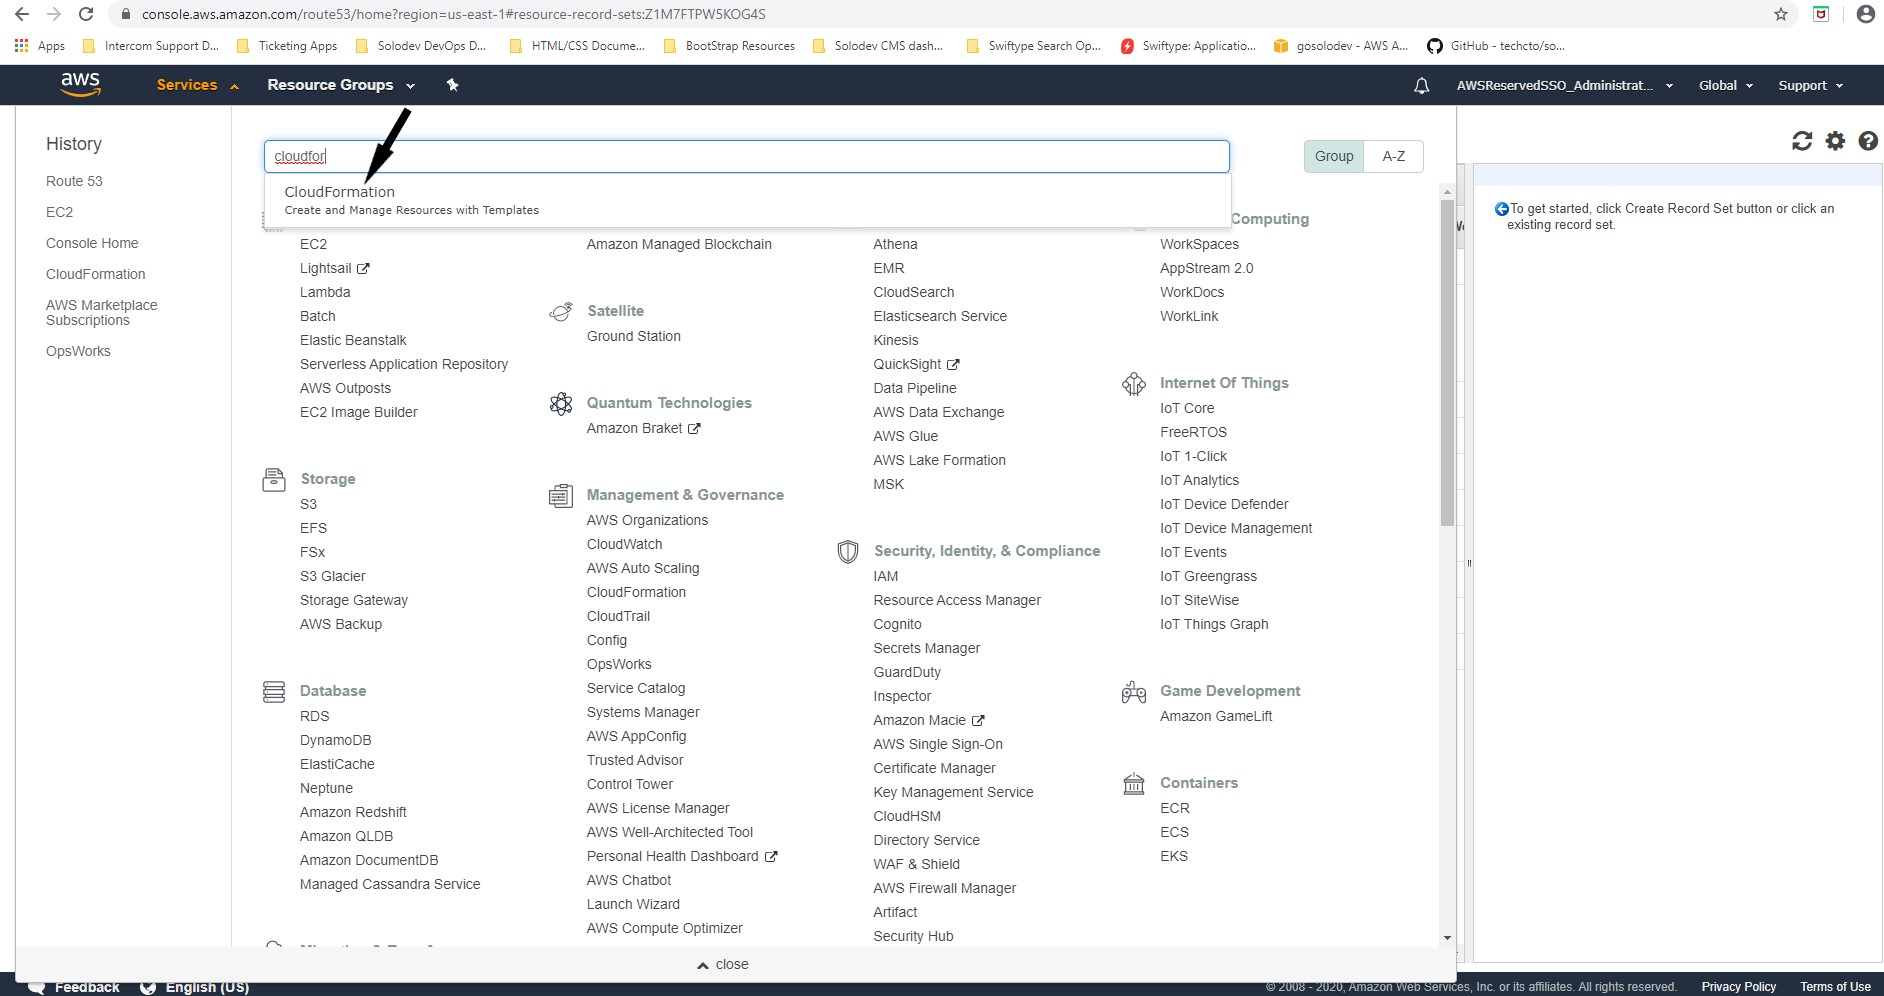
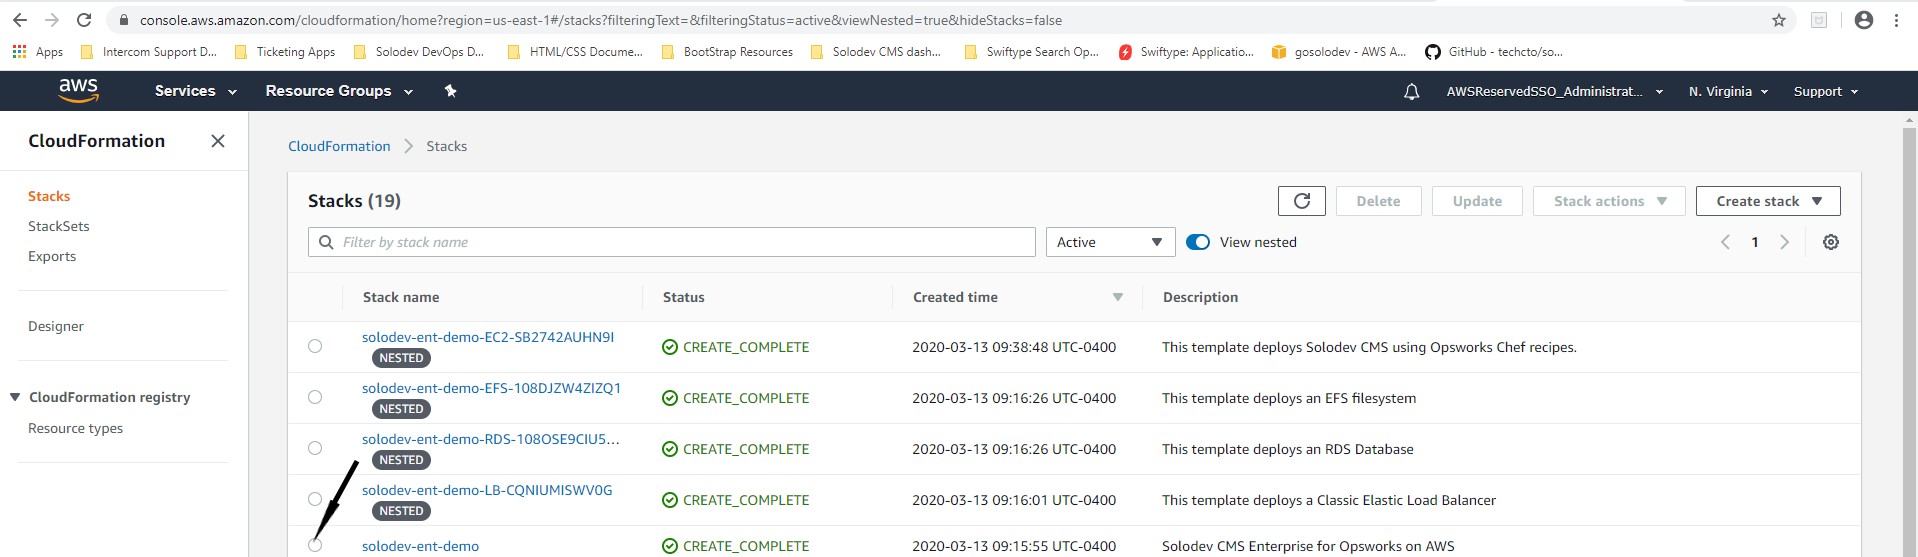
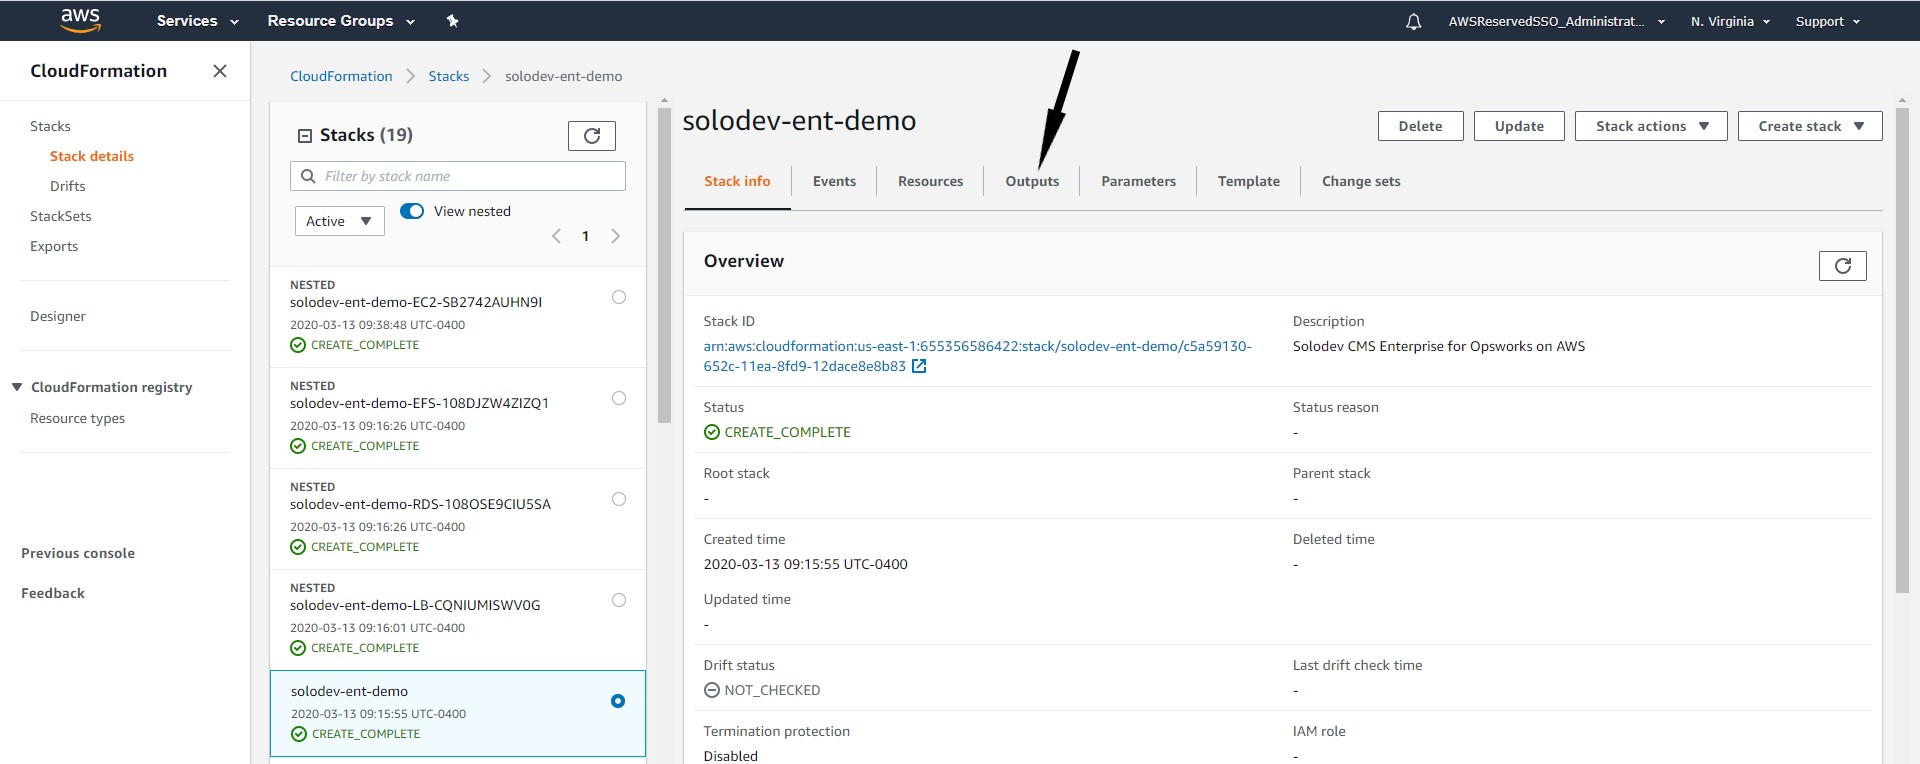
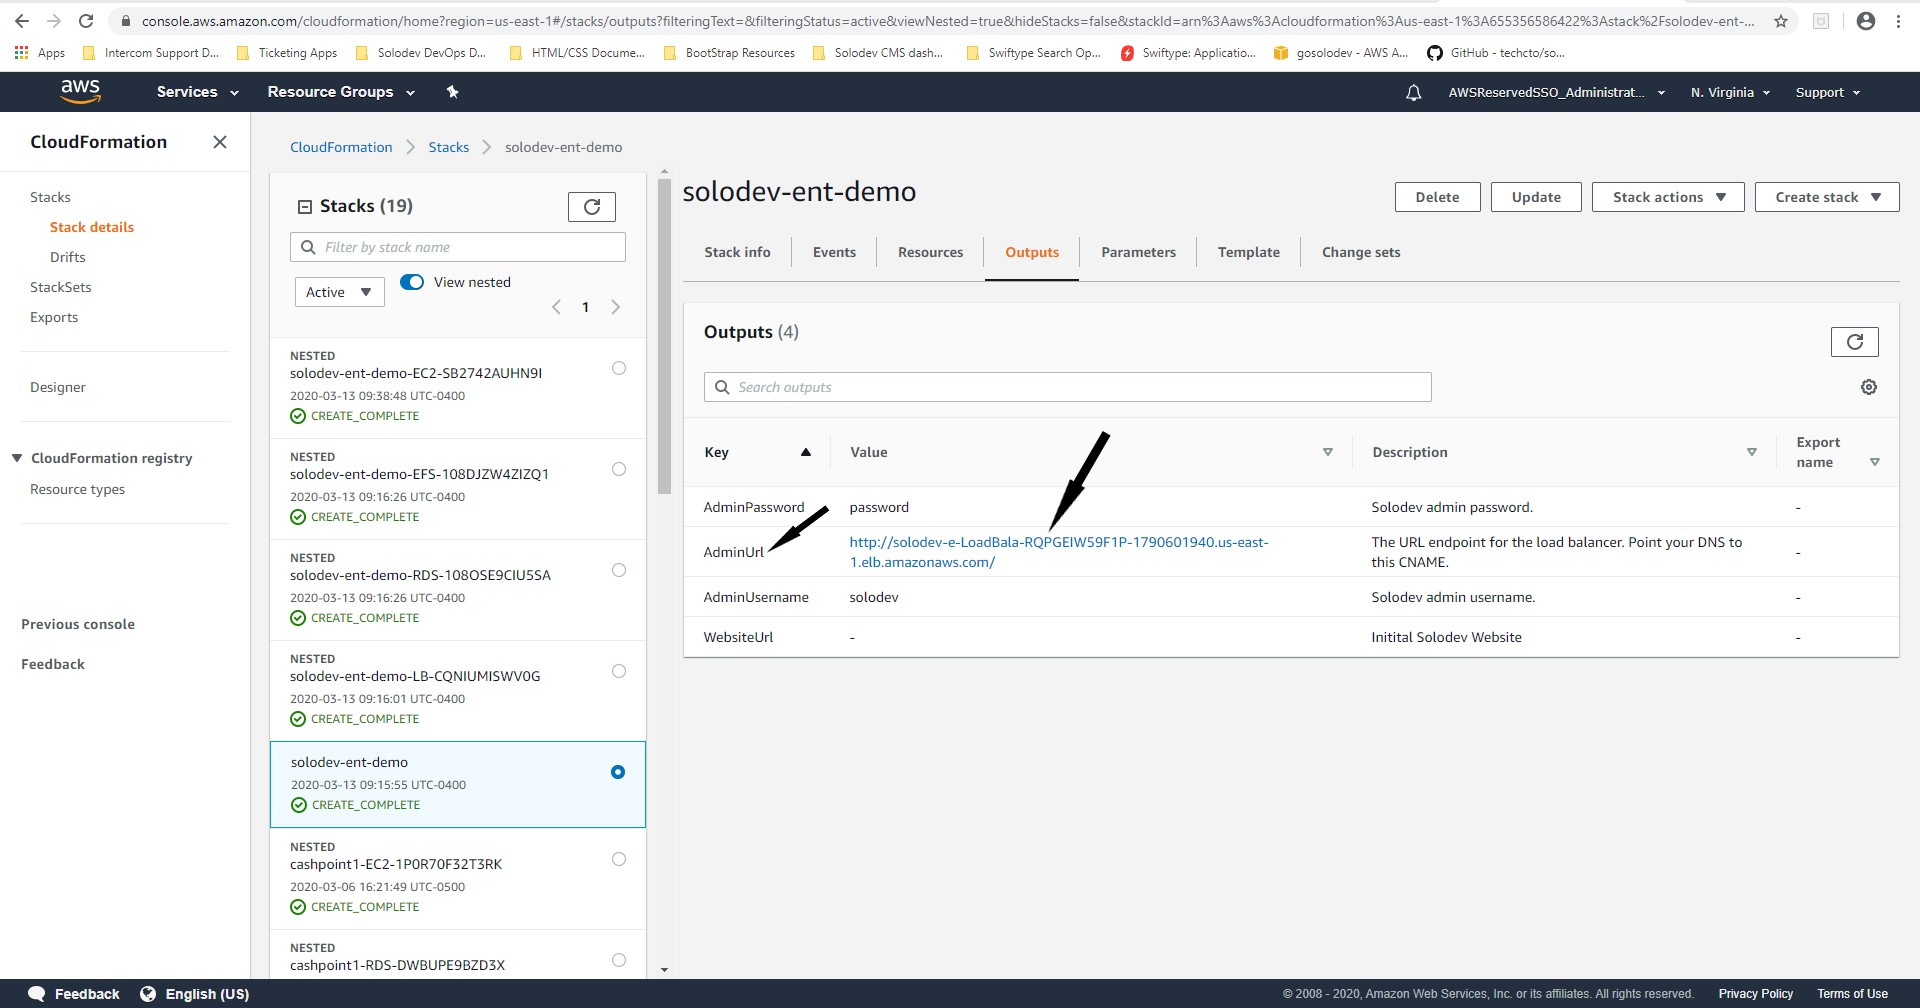
Note: The value of the DNS name obtained from the basic Configuration section in the Description tab of the Load Balancer page, can also be obtained from the CloudFormation template. Open CloudFormation, choose the Solodev Enterprise stack, click the Outputs column and copy the value of the AdminUrl. The description of the AdminUrl determines the url type for the record set in the hosted zone. Solodev recommends obtaining the value for the record set in the hosted zone from the CloudFormation template across all stacks when configuring SSL.

- Login to Solodev
- Under the Admin section of the Solodev dashboard, click Settings.
- In the Settings dashboard, click Config.
- Expand the SSL accordion.
- Click the checkbox to enable Force SSL.
- Under SSL Type, select Custom.
- Enter the domain name associated with the SSL certificate.
- Click Submit.
© 2019 Solodev. All rights reserved worldwide. And off planet. Visit solodev.com to learn more.